To properly enable and manage online Meal Benefit Applications, the following setup steps must be completed:
Household income guidelines are effective on July 1. As a result, the online meal benefit application for the new school year should be made available to parents on July 1st. Your district should not allow online applications to be submitted prior to July 1st. Paper applications can be submitted at any time.
Step 1. Assign Proper Tool Rights and District Assignment Values
Tool Search: Tool Rights
In order for Campus application users to properly manage and process Meal Benefit Applications, proper tool rights must be assigned to appropriate user groups.
Along with proper FRAM tool rights, users responsible for processing applications must have the FRAM Processor checkbox marked on their District Assignment.
Step 2. Set Up Messenger Email Settings
Tool Search: Email Settings
For online Meal Benefit Applications to function correctly, Messenger Email Settings must be established. See the Email Settings article for more information.
Step 3. Enable Password Reset
Tool Search: Password Reset
Password Reset functionality must be enabled for online Meal Benefit Applications to function correctly. See the Password Reset Configuration article for detailed instructions on how to enable this feature.
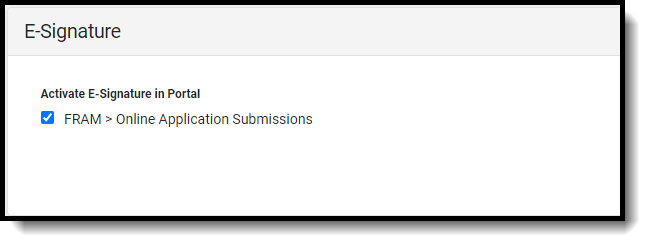
Step 4. Enable E-Signature
Tool Search: E-Signature
E-Signature is a functionality that allows application signers to submit a legally-binding signature with their application.
See the E-Signature article for instructions on setting up E-Signature functionality.
If you do NOT Activate E-Signature Functionality
- It is ultimately the responsibility of each CNP SA (Child Nutrition Program State Agency) and local agency to review their state’s statutes and policies regarding what is required for the electronic transfer of information in state-administered Federal programs. Know the requirements before activating or deactivating E-Signature.

Step 5. Create Year Preferences and Permissions
Tool Search: FRAM Preferences
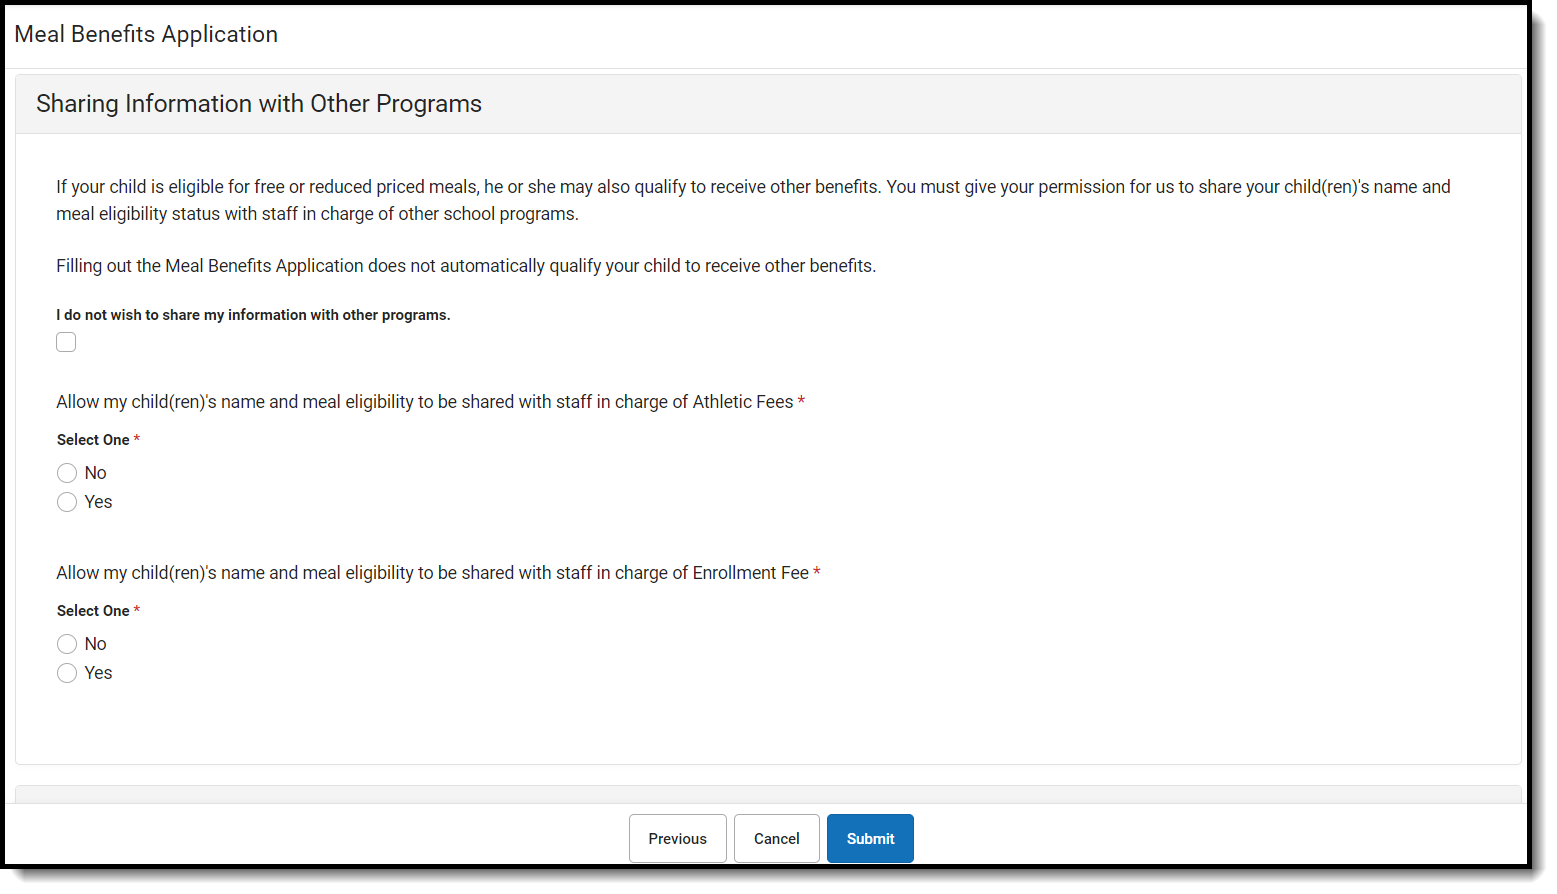
Permissions allow parents to determine what additional programs may have access to their child's eligibility in order to receive Free and Reduced benefits.
- Campus Product Permissions: Specific tools within Campus will adjust item pricing based on if the parent has selected to share or not. Subject to any additional Free and Reduced preferences within the tool.
- Custom Permissions: Custom Permissions are permissions that may be needed for programs outside of Campus, such as free textbooks, weekend food backpack programs, etc
If your district provides additional educational benefits (i.e. reduced or no charge sports fees, text books, etc.) to students who have a free or reduced meal benefit, then permissions can be established on the Year Preferences. Year Preferences allow the application signer to give the district permission to share their child(ren)'s free or reduced meal benefit with staff in charge of other school programs.
Once permissions are established, application signers will be asked whether or not they authorize the district to share their student's meal benefit information with relevant district staff.
Establishing permissions will also enable permissions to appear within the Household Applications tool, where the user can decide whether or not the child(ren)'s meal benefits are shared with relevant district staff members.
Step 6. Establish Online Application Templates
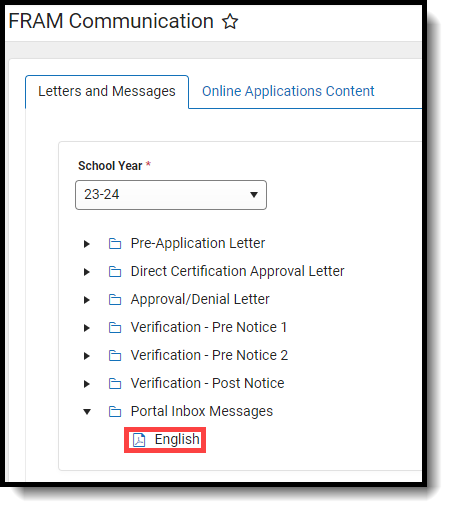
Tool Search: FRAM Communication
Once permissions have been entered, Online Application and Inbox Message templates must be reviewed and filled out accordingly. These templates allow districts to dictate what text is provided to the Portal user during the online Meal Benefits Application process.
For more information, see the following articles:
Step 7. Establish Application Preferences
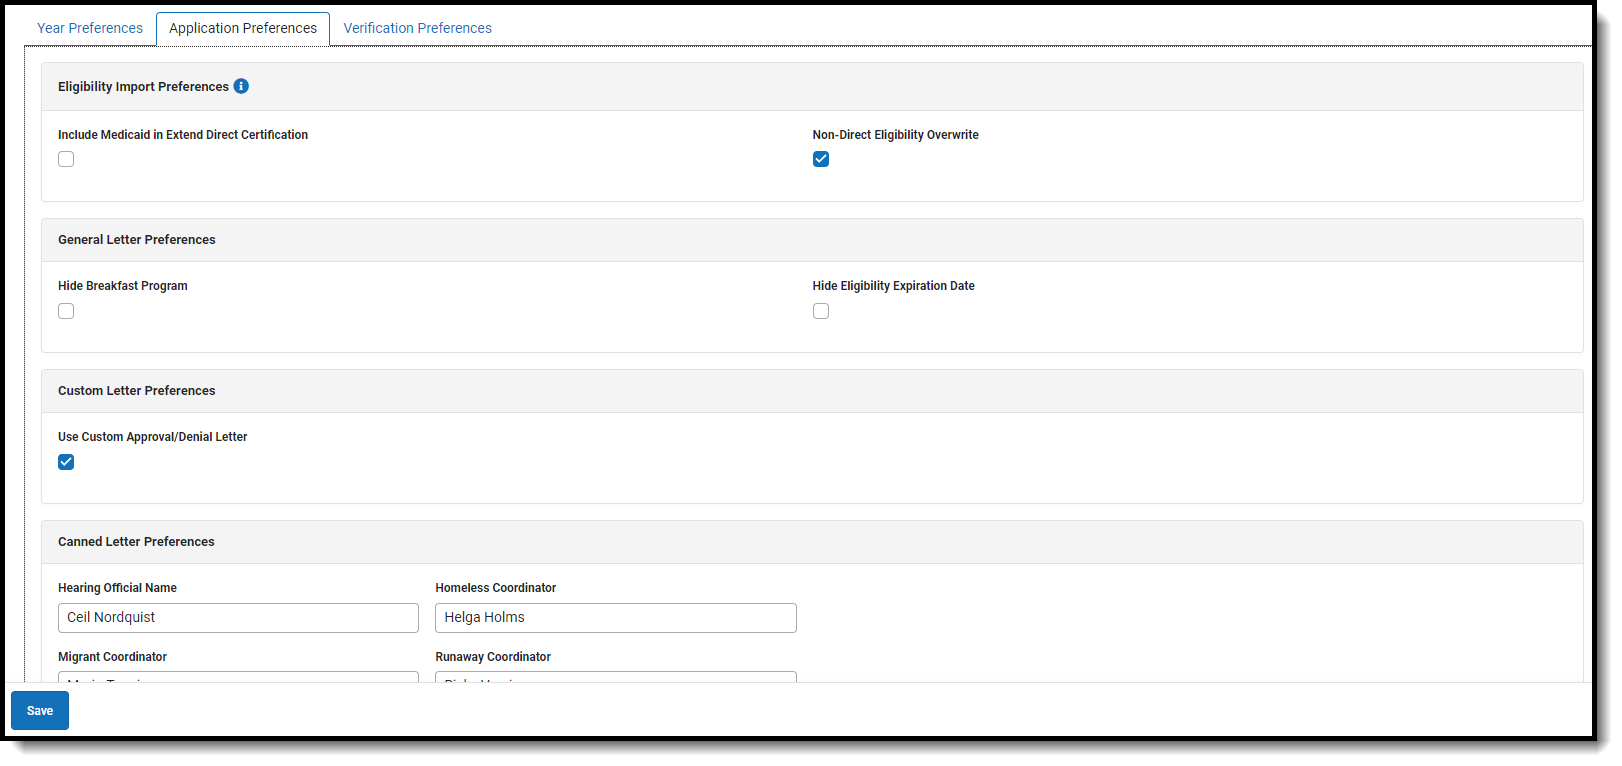
Tool Search: FRAM Preferences
Users must establish Application Preferences related to Meal Benefit Application functionality.
For more information about each field, see the FRAM Preferences article.
Step 8. Enable Online Meal Benefit Application Functionality
Tool Search: FRAM Preferences
To enable online Meal Benefit Application functionality, mark the Meal Benefits checkbox on the Application Preferences. Once this checkbox is marked and saved, the Applications/Forms section of the Portal will become available, allowing users to select the Meal Benefits Application link and begin submitting their applications to the district.
This checkbox is not available unless Steps 1 - 6 are complete.
Household income guidelines are effective on July 1. As a result, the online meal benefit application for the new school year should be made available to parents on July 1st. Your district should not allow online applications to be submitted before July 1st. Paper applications can be submitted at any time.
Step 9. Assign Emancipated Students to the Campus Parent Portal Homepage
To access the online application, emancipated students must be assigned the Campus Parent Portal homepage on their user account and given the Campus Parent Portal URL to fill out the online application.
Emancipated students who are assigned the Campus Parent Portal homepage in their user account can access their information in Campus Student and Campus Parent. If the emancipated student is assigned as a guardian to other students, information for the other students can be viewed by the emancipated student. For more information about emancipated students, see the Emancipated Students article.
Submitting Meal Benefit Applications via Portal
Once the Meal Benefit Application setup is complete, users can access and submit applications via the link within Portal: More > Meal Benefits Application.
For more information about the Portal application process, see the Meal Benefits Application (Portal) article.


