Tool Search: Messenger 2.0
| What can I do? | What Do I need to know? |
|---|---|
Messenger 2.0 Feature Comparison
| Feature | Messenger 1.0 | Messenger 2.0 |
|---|---|---|
|
Send messages to students and their messenger contacts (Parents, guardians, etc.) |
X |
X |
|
Enforce a messaging limit (regulates how many messages a parent with multiple students in the school receives) |
X |
X |
|
Include Ad hoc filter options |
X |
X |
|
Option to review before sending |
X |
X |
|
Create and schedule a message to send at a later date and time |
X |
X |
|
Navigation buttons to move back and forth through the process |
|
X |
|
Total recipient count tracking |
|
X |
|
Option to view recipients before completing the entire message |
|
X |
|
Option to send message to student AND parents AND staff from one place |
|
X |
|
Create and send messages from a mobile device |
|
X |
|
Option to provide suggestions and feedback to our developers during the development process |
|
X |
| One-time scheduled messages generate recipient lists at time of delivery |
|
X |
| Recurring messages can be scheduled to send to multiple calendars in a single campaign |
|
X |
| Edit a one-time scheduled message |
|
X |
| Conveniently view and manage scheduled messages |
|
X |
Access Messenger 2.0
Messenger 2.0 is available in the Communications area of Campus and is mobile device friendly.
All Messenger 1.0 functionality remains available and DOES NOT include any added functionality. Messenger 2.0 and its features function separately from Messenger 1.0.
Email Settings
Be sure to check the Email Settings tool to configure general settings for email messages.
Recipient Requirements
The following requirements must be established for recipients to receive a message.
| Recipient | Requirements |
|---|---|
| Students |
|
| Parents/Other |
|
| Staff |
|
Navigate Messenger 2.0

|
Progress Tracker
| |
|---|---|
 |
An alert indicates there is missing information for required fields. |
 |
The green checkmark indicates all required fields are complete. |
 |
A white circle indicates the screen has not been viewed and no entries have been made. |
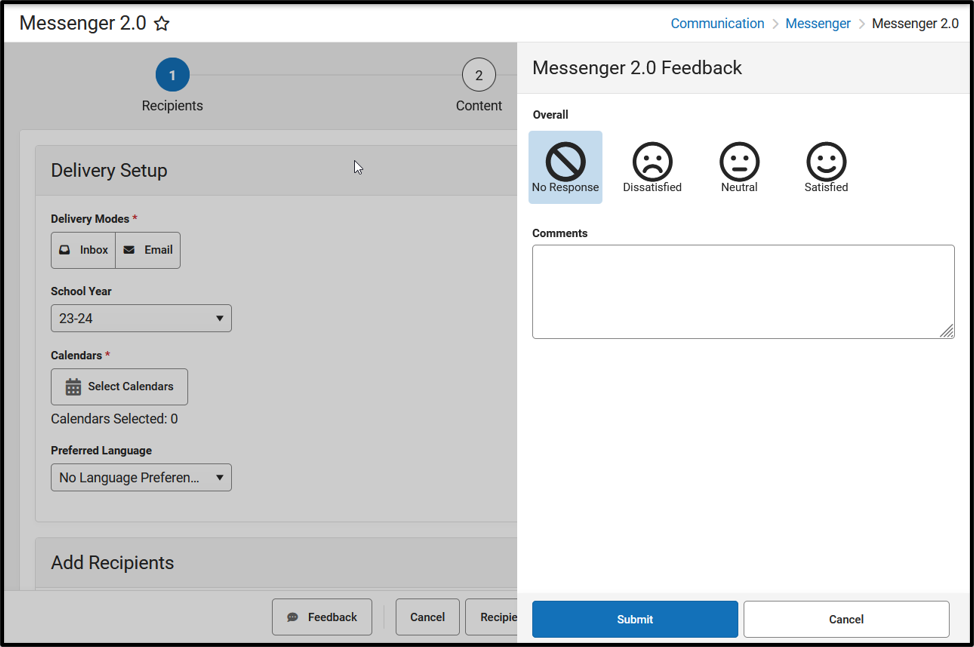
Submit Feedback
As we continue to enhance the Messenger 2.0 tools your feedback is critical to help us provide the best user experience possible.
The Feedback button is available on each step of the messenger workflow.
- Press the Feedback button on any step of the workflow and a side panel will open.
- Choose an Overall response (No Response, Dissatisfied, Neutral, Satisfied).
- Enter any comments you have regarding the tool. For example, features you like, features you dislike, questions you may have, enhancements you would like to see in the future, etc.