Tool Search: Check In/Out Kiosk
Use the Check In/Out Kiosk to track students who are late to school or who leave before the end of the school day.
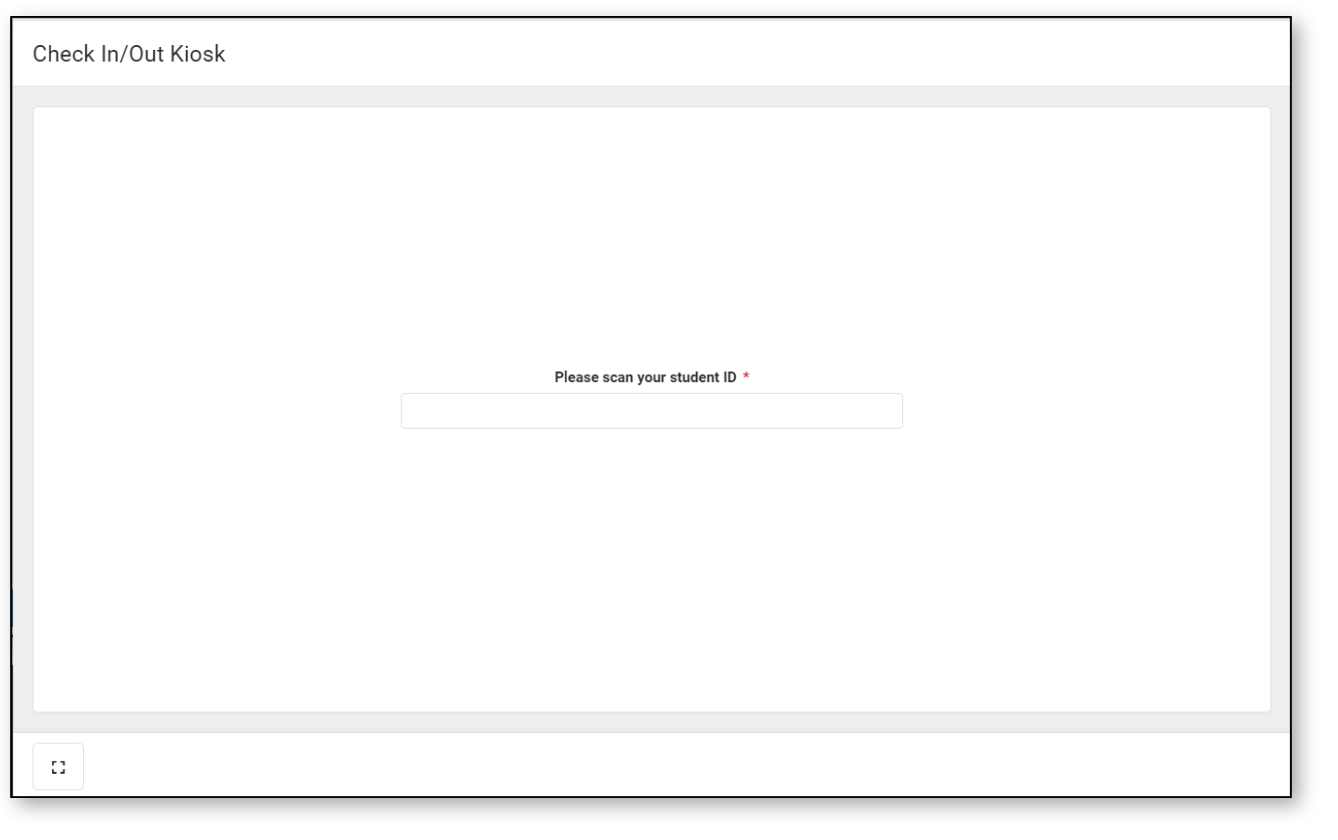
Check In/Out Kiosk is designed to be used by students in a self-service mode to check in and out of school. After scanning in and selecting check in/out, students select a button for the reason. Options set for each button in Scanner Settings determines how the event is processed in Absence Request Processing.
It is recommended to have a webcam with the ability to auto-focus at close distances if you plan to use your webcam as a scanner. Webcams without this feature may have trouble reading barcodes.
Launch the Kiosk
NOTE: Once logged into the kiosk, the kiosk remains open unless the computer on which it's running has an inactivity logout time. For the kiosk to remain open, the computer itself must remain awake.
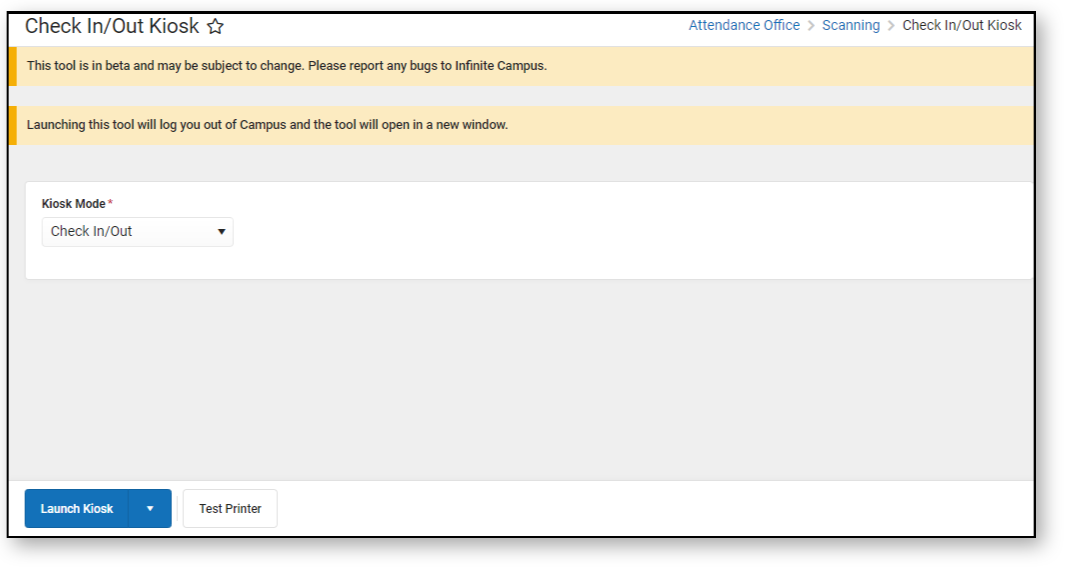 Check In/Out Kiosk Screen
- Select the Kiosk Mode. Options include Check In only, Check Out only, or both.
- Click the Test Printer button to make sure the hall pass printer is ready to use.
- If the printer is not configured correctly, the No Printer button will display. Consult the Scanning Printer Setup for configuration details.
- Check In/Out Kiosk can be launched in two modes:
- In Launch Kiosk mode, students can scan in with a connected barcode reader, by using a RFID reader if Alternate Identifier is enabled in Scanner Settings, or by typing in their student number.
- Launch Kiosk w/Camera mode enables the webcam on the computer to read student barcodes on student ID cards.
- The Check In/Out Kiosk launches in a new window. You are logged out of Campus, but the kiosk remains connected allowing students to scan in/out as needed.
- Before the kiosk can launch, if you are currently logged in with a Single Sign On account, you must use the Sign Out of Single Sign On button to sign out of your account. As you are signed out of your account, additional windows automatically open and close.
- The kiosk window can be maximized if desired.
- When the kiosk is no longer needed for the day, close the kiosk window.