This functionality is only available for Minnesota users.
The Direct Admission Survey allows students to select and indicate which post-secondary schools they have an interest in receiving additional information. Within the Survey Designer tool, the Direct Admission Survey is separated into 6 versions, each representing a corresponding DSPA Reported Tier. This means if the district sends out the survey for Tier 5, only students with a DPSA Reported Tier of 5 will receive the survey.
The steps below describe the process for sending out the survey to students:
Prerequisites
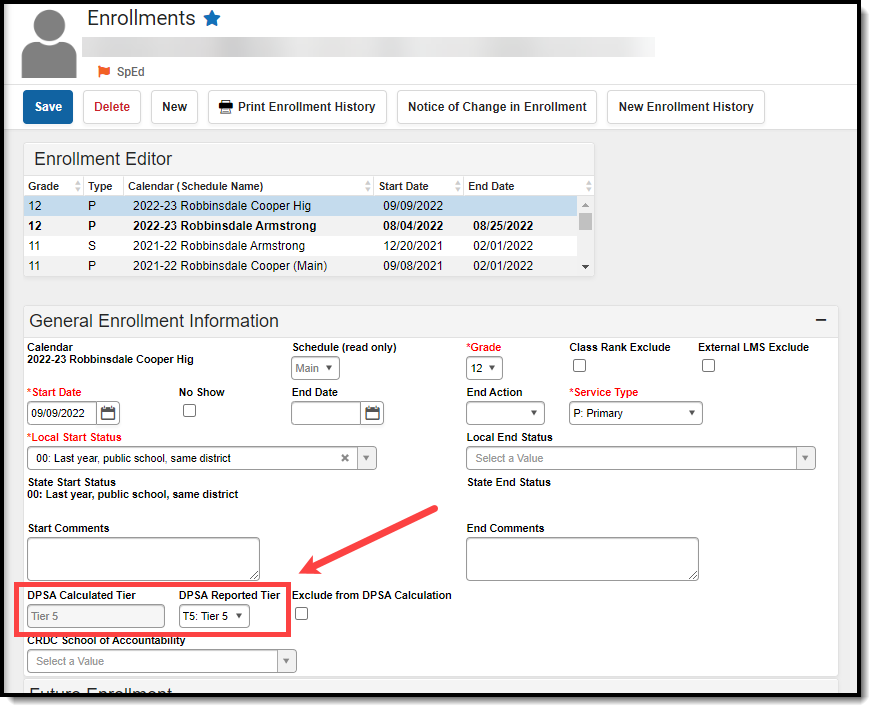
In order for a student to receive the Direct Admission Survey, they must first have the DPSA Calculated Tier and DPSA Reported Tier calculated and populated on their enrollment record. See the Course Plan Administration article for more information on calculating these values.
Step 1. Create Direct Admission Survey Ad Hoc Filters
Before the survey can be sent out to students, we first need to create Ad hoc filters for each DPSA Tier so that each specific Tier survey is sent to the appropriate students.
To create these filters:
- Navigate to the Filter Designer tool (Ad Hoc Reporting > Filter Designer)
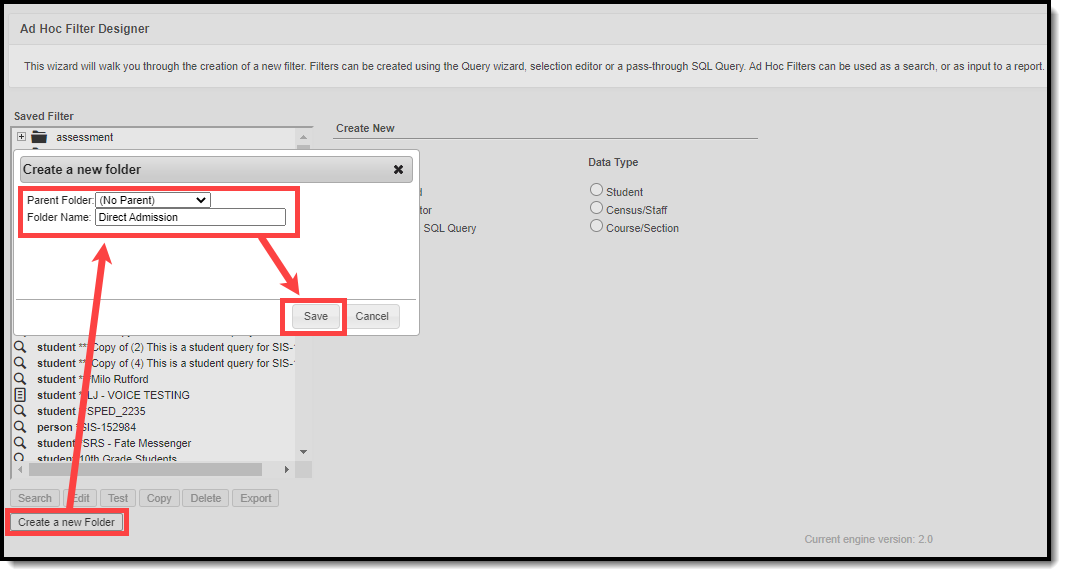
- Create a folder for these new filters by selecting Create a new Folder, giving it a Folder Name (such as Direct Admission) and clicking Save. This step is optional but is useful in organizing and finding these filters when running the survey.
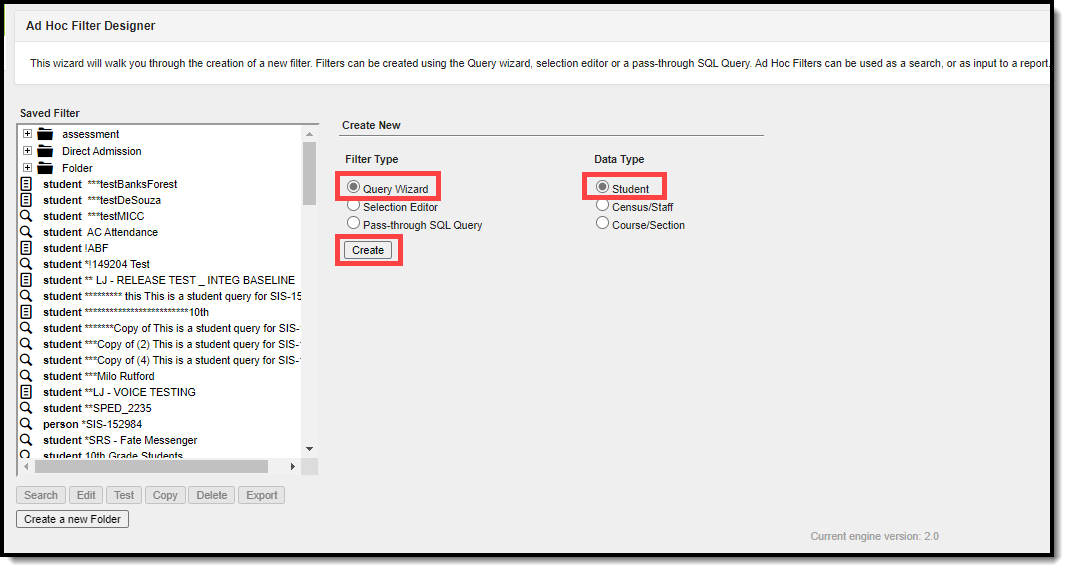
- Once the folder has been created, we can now start creating the filters. Select a Filter Type of Query Wizard, a Data Type of Student, and click Create.
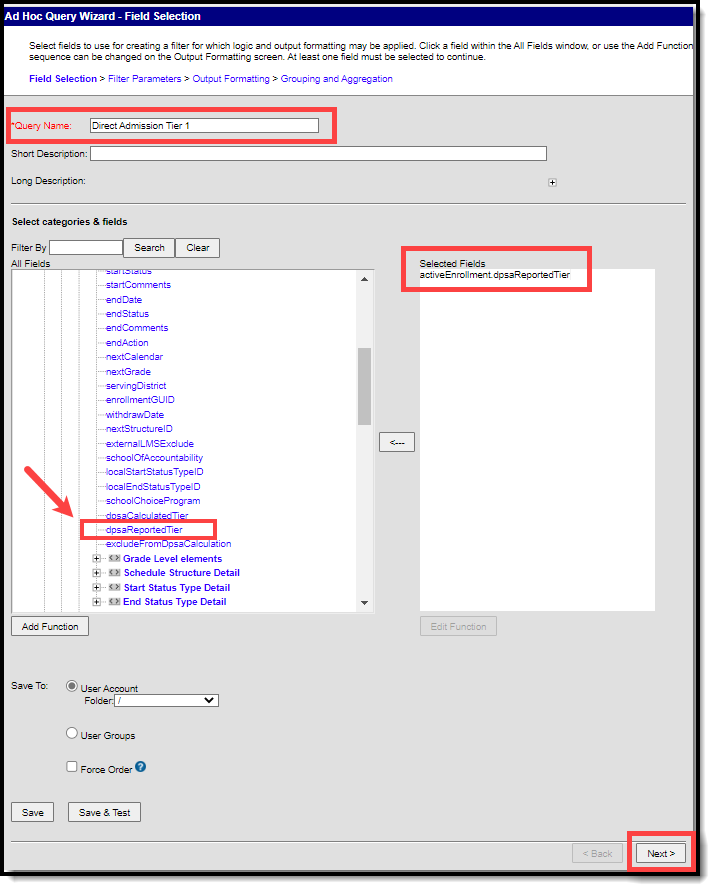
- Give the filter a Query Name. Since we are creating the filter for Tier 1, we suggest a name such as Direct Admission Tier 1 (or something equally recognizable when running the survey).
- Select and add the DPSA Reported Tier field (Student > Learner > Active Enrollment > Core Elements > dpsaReportedTier) and click Next.
- In the Filter the data section, select an Operator of = and enter a Value of T1. This is how we tie the filter to only those students who have a DPSA Reported Tier value of T1.
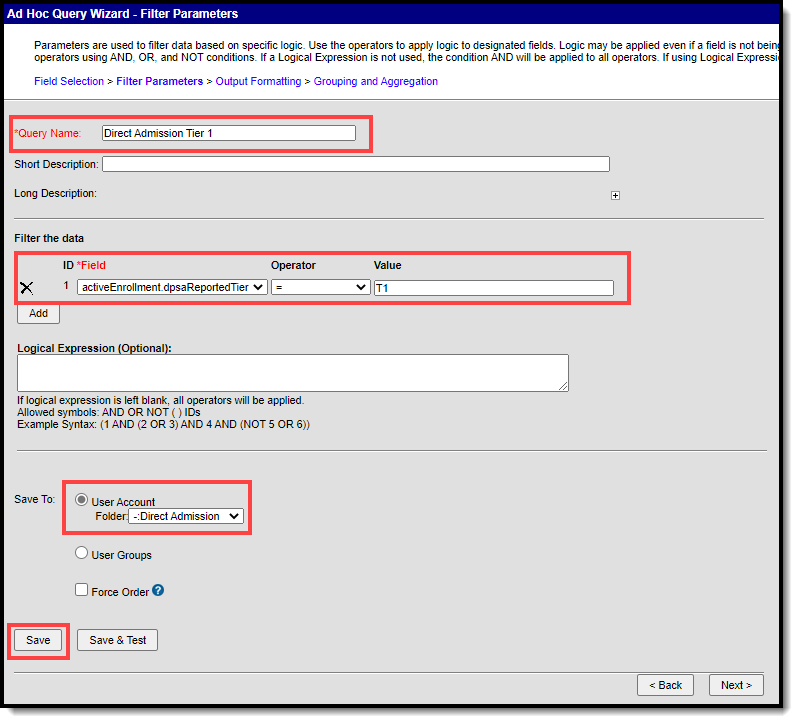
- Select the Save To value as the Direct Admission folder created in Step 2 (this is optional and only relevant if you decided to make a folder).
- Click Save. The filter needed for Tier 1 is now complete. We now need to complete this same process for Tier 2, 3, 4, 5 and 6.
- Repeat Steps 1-8 for each remaining DPSA Tier, making sure each Query Name and Value correspond with the Tier.
For example, to create the Tier 2 filter, give the filter a unique name such as Direct Admission Tier 2 and set the Value to T2. These are the only two fields that need to vary between each filter, the name to differentiate each filter and the Value to tell the filter to only look for students with that specific Tier (T2, T3, T4, T5, T6).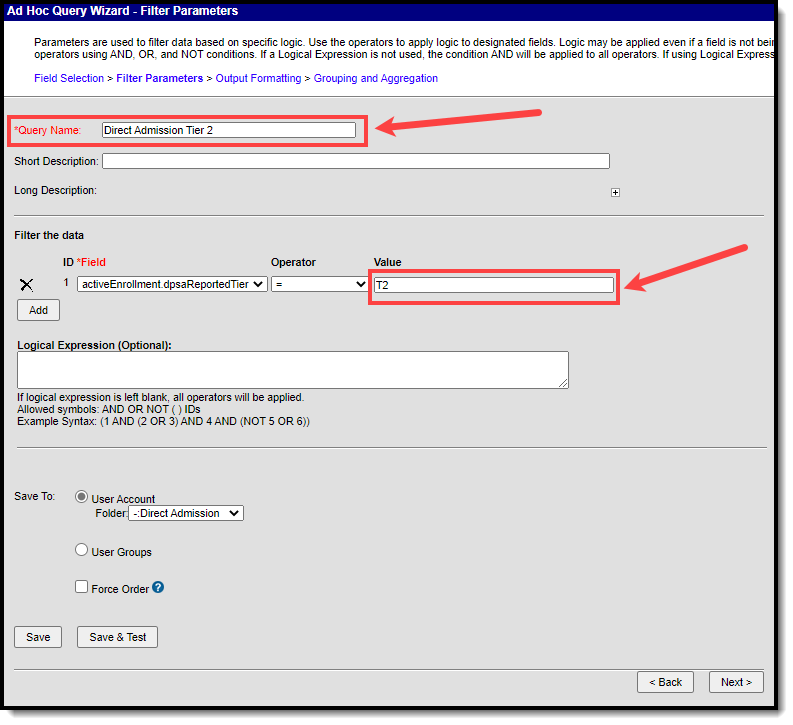
- Once filters have been created for all 6 DPSA Tiers, move on to Step 2 below.


Step 2. Send Out the Survey Per Tier
Now that filters have been created, we can now send out the Direct Admission Survey per DPSA Tier.
To send out the survey:
- Navigate to the Survey Designer tool (Surveys > Survey Designer).
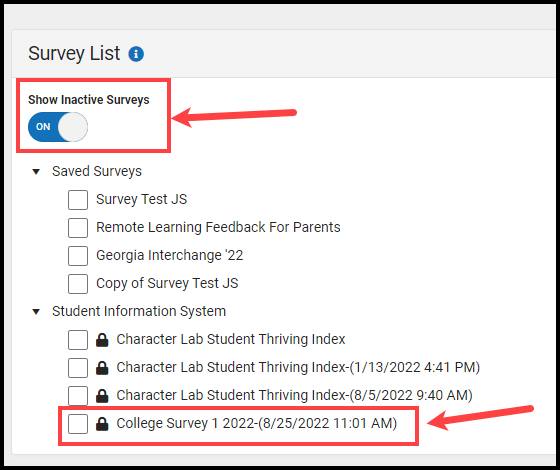
- Within the Survey List, you should see the surveys under the Student Information System section listed as College Survey 1, College Survey 2, etc (where each number corresponds to their respective Tier).
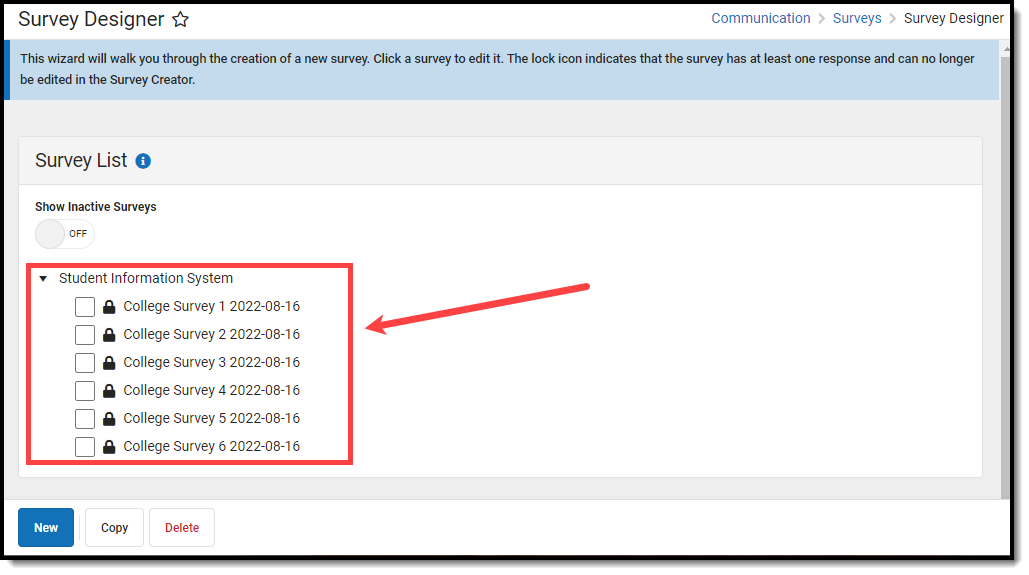
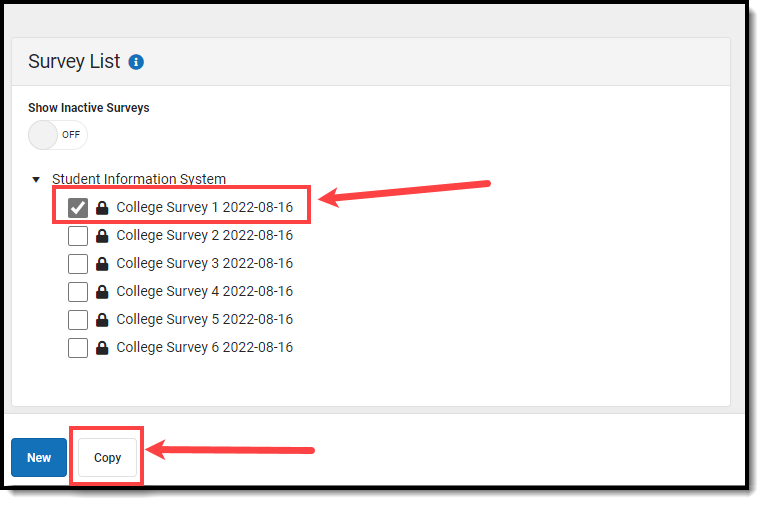
- Decide which survey you plan to send out, mark the checkbox next to the survey and click Copy.
- Set the Show Inactive Surveys to ON and locate and select the copy of the survey you just created (it will have the same name with the date and time you copied it appended to it).
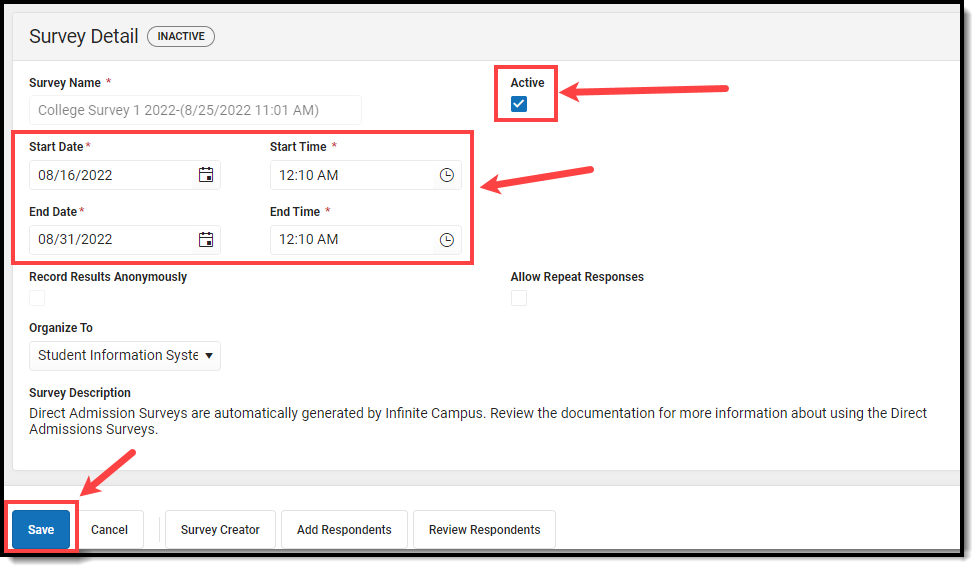
- Within the Survey Detail editor, mark the Active checkbox, enter the Start Date, Start Time, End Date, and End Time for the survey and click Save. The survey is now active and ready for respondents (which students will receive the survey).
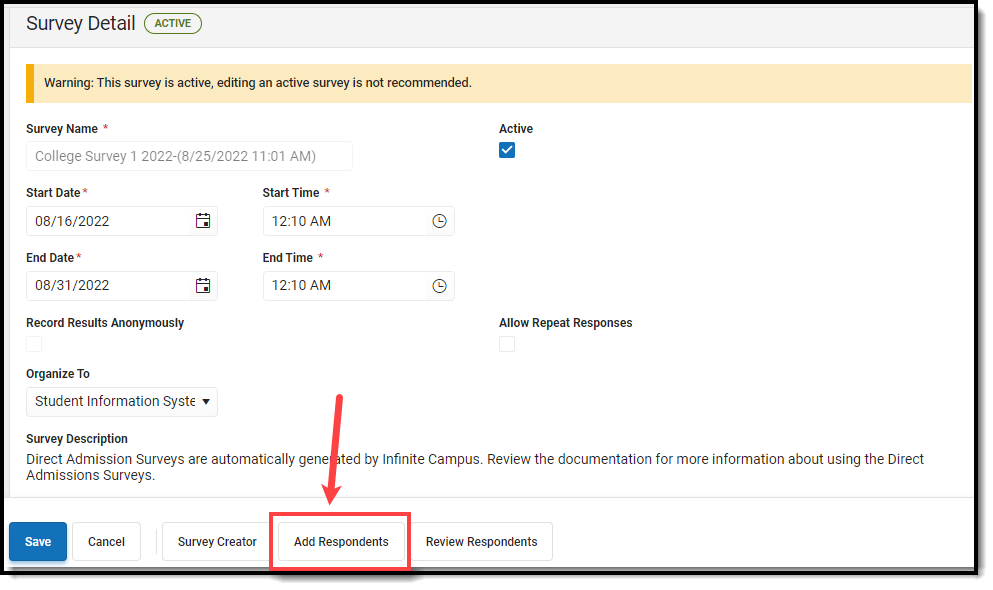
- Click Add Respondents.
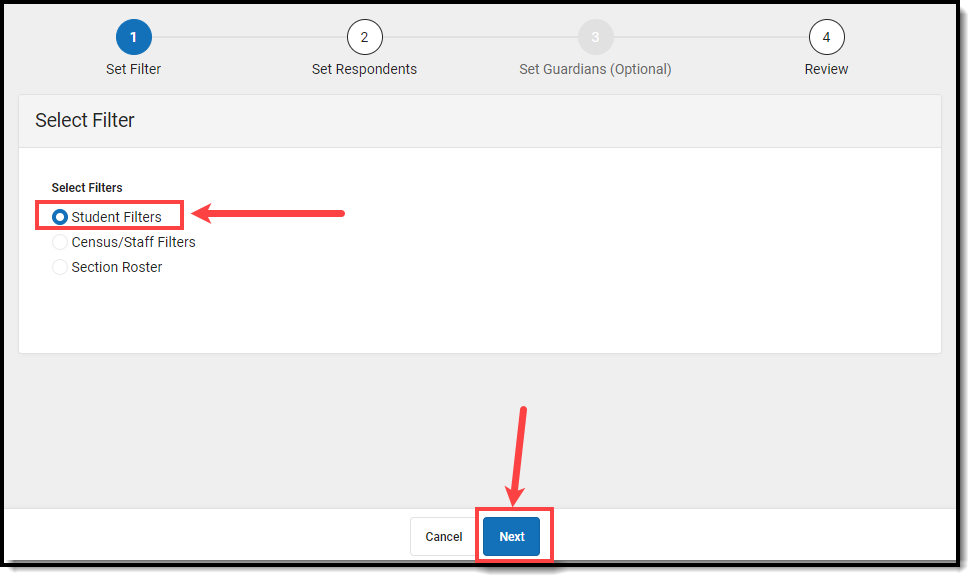
- Select Student Filters and click Next.
- Locate the proper filter, click the arrow to move the filter in the Selected Filters window and select Next.
For example, if you are sending out the Tier 1 survey, you should be using the College Survey 1 and you would select the Direct Admission Tier 1 filter (or whatever you named the Tier 1 filter).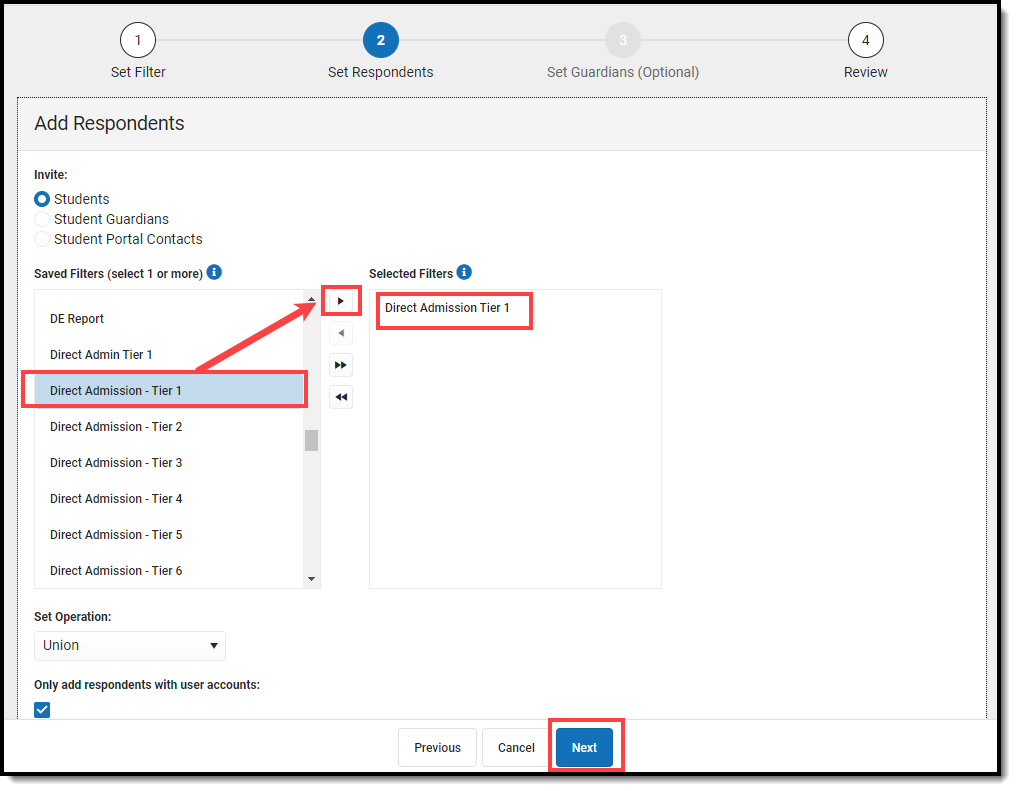
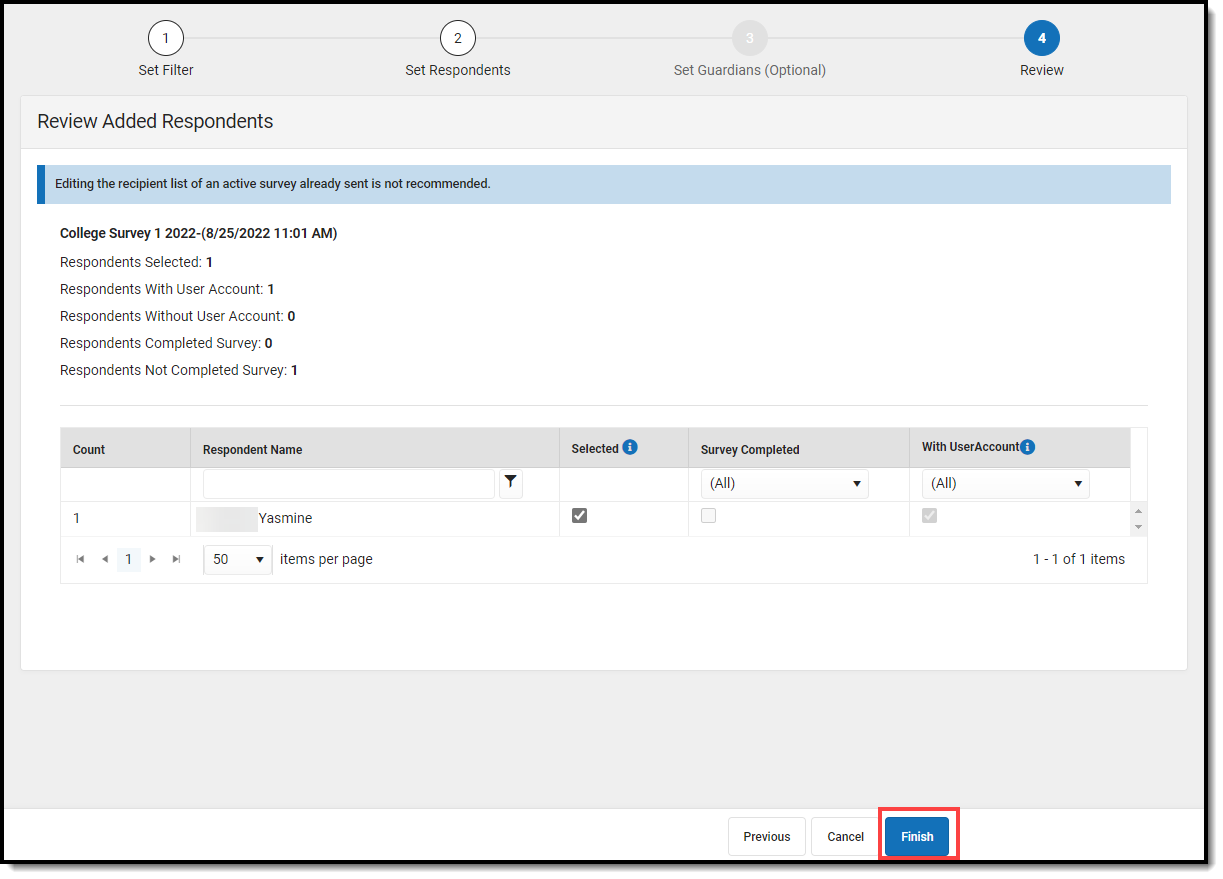
- A list of which students will receive the survey will appear. Review this list and once you are ready to send the survey, click Finish. The survey has now been sent to all of these students. The final step in this process is for the students to take the survey.
- Repeat Steps 1-9 for each Tier Survey you wish to send out.


Step 3. Student Takes the Survey
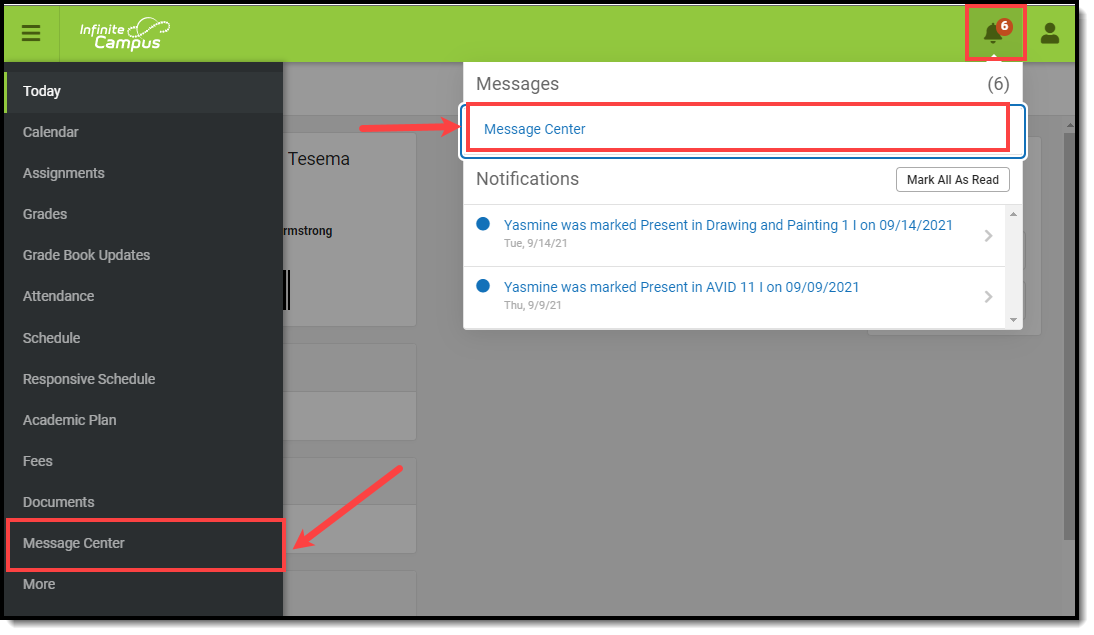
Now that surveys have been sent out, students who have a DPSA Reported Tier matching the survey sent out will receive the survey in their Message Center.
To take the survey:
- Click the Bell icon and select Message Center or select Message Center on the main menu.
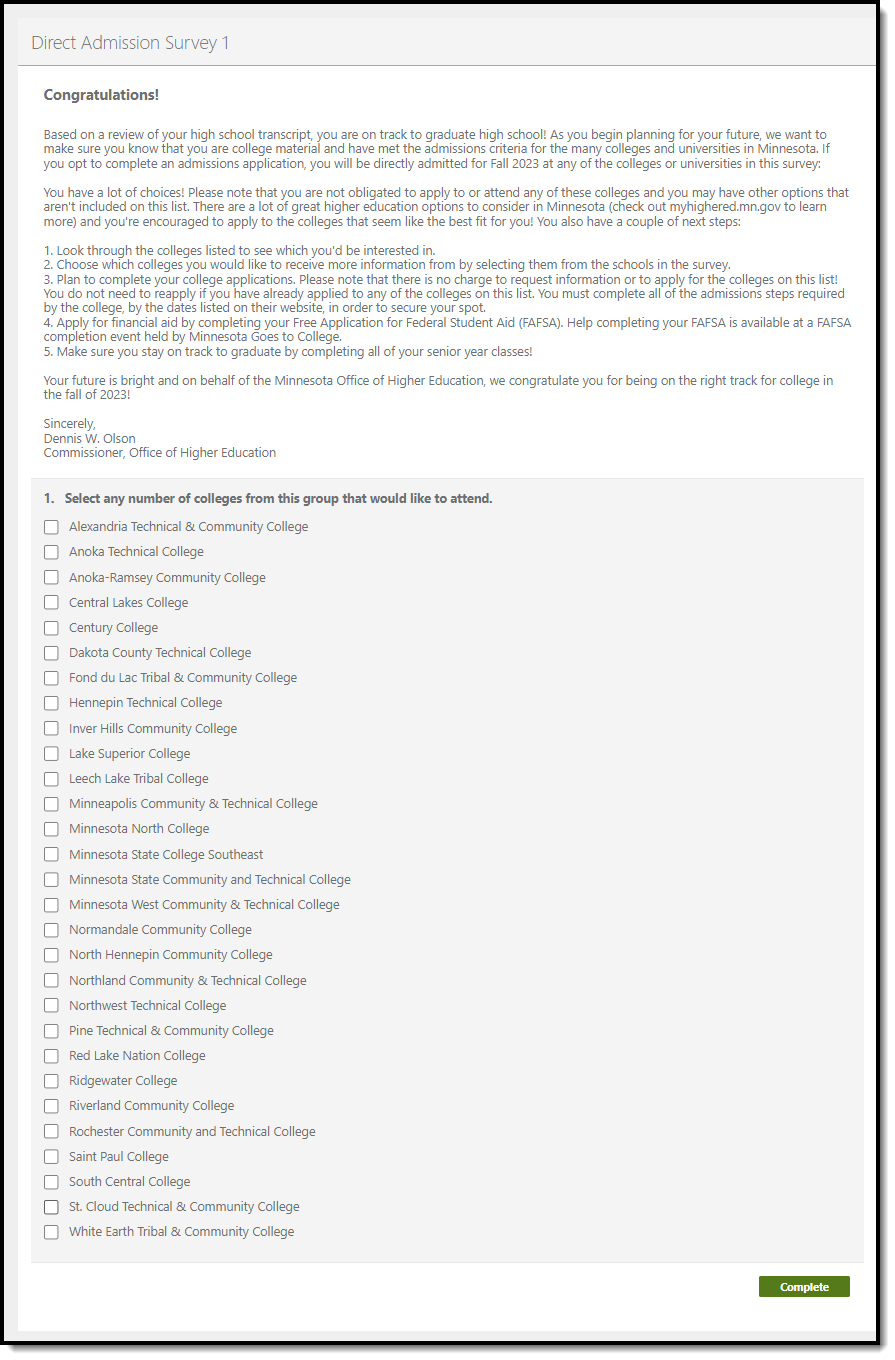
- Select the Surveys tab and click on the survey.
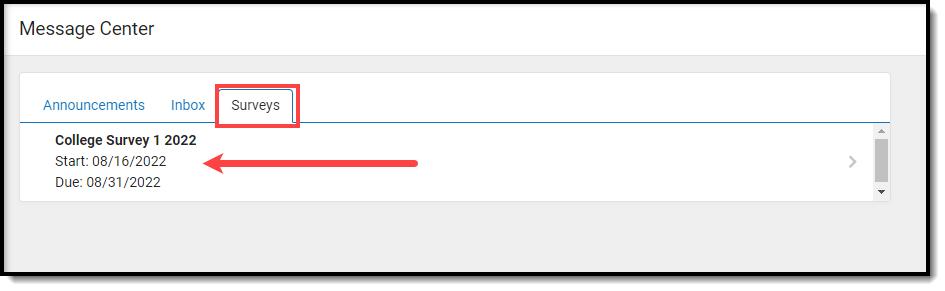
- Mark the checkbox next to each school you would like to receive more information about and once finished, click Complete.
- That's it! Survey filters have been created, surveys have been sent out, and students are able to complete the survey.


