This article provides suggestions for troubleshooting issues with custom form documents and tips for making requests to Campus Support.
Any forms that are refreshed from a production site to a sandbox/staging site will display "an error occured when loading document" when a user attempts to access them. To work with forms on a non-production site, it is recommended that forms be created on the sandbox/staging site where they will be used and named accordingly to differentiate them from any forms that originated on the production site and therefore cannot be used.
Tips for Creating a Custom Form
Any time you create a Custom Form Document, optimize the form to reduce size and eliminate unexpected metadata and hidden information that may have come from a previous application such as Microsoft Word. When forms are created in these other applications and then converted to PDF files, there is often a great deal of formatting code added behind the scenes. This extra data makes the file much larger than necessary and could result in printing inconsistencies.
Only PDFs created using Adobe Acrobat Professional or Adobe DC are supported for Custom Form creation.
All Custom Forms should be run through the Action Wizard prior to deployment.
Complete the following setup to create a customized Action in the Action Wizard:
- In Adobe, navigate to Tools > Action Wizard
- Click Create New Action. The Create New Action menu displays.
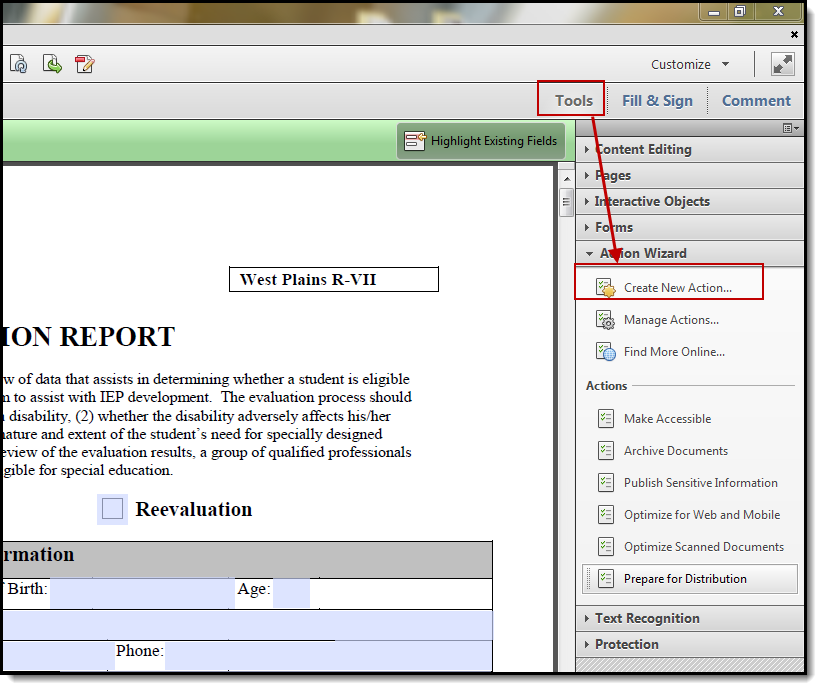
- In the Create New Action Menu, navigate to Protection and select Remove Hidden Information.
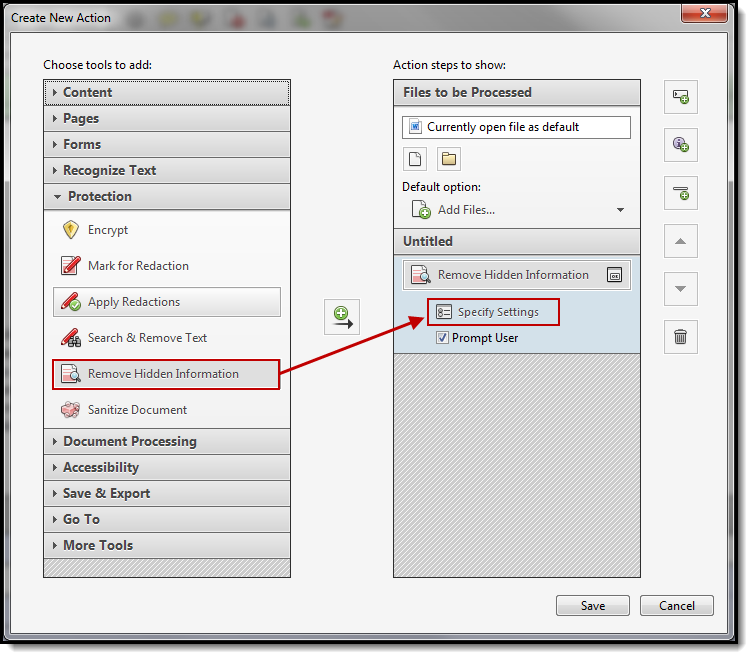
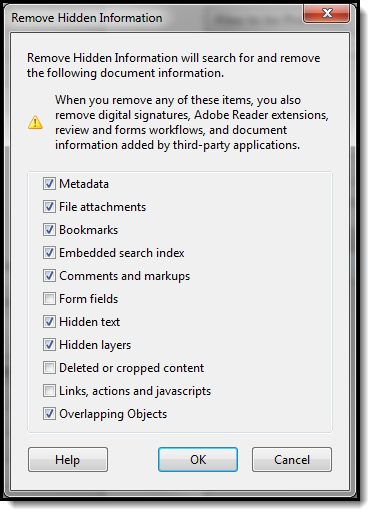
- Click Specify Settings and unmark the following options:
- Form Fields
- Deleted or Cropped Content
- Links and Actions.
- In the Create New Action menu, navigate to Document Processing and mark Reduce File Size.
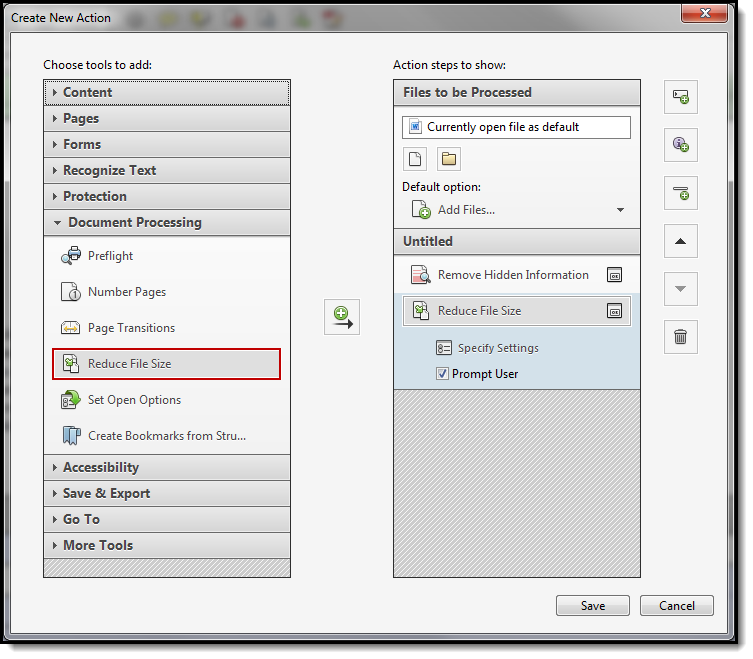
- Save the Action.


Once all form fields are added and formatted as desired, run your customized Action on the completed form and save the resulting file. The form is now ready to be uploaded and used.
Recommended Text Field Properties
- Text field properties should be as brief as possible and never include scrolling long text.
- Do not use special characters.
- Multi-line text should only be used for text fields that are taller than one line.
- Using unsupported fonts may cause text to be unreadable. Supported fonts include:
- Helvetica
- Times New Roman
- Times Roman
- Courier
Other Best Practices
- Use checkboxes instead of radio buttons because a radio button cannot be unmarked once selected.
- List Boxes, Signature fields, and Bar Codes are not supported field types.
- Limit the use of Buttons.
- Do not use JavaScript.
- Form field names should be as short as possible. Do not let Adobe automatically name form fields.
- Do not use the Form Field Recognize wizard offered when editing an form with no form fields. Decline this offer and add forms manually.
- Only use multi-line text fields when fields should have multiple lines of text. This may cause forms to print unnecessary pages. Users should select auto-font for text fields that should not print on a second page, such as names, dates, addresses, etc.
Tips for Submitting Issues to Campus Support
To simplify the process of submitting a case with Campus Support, please collect the following information:
Identify the Form
Campus Support needs to know if the form in question is one created by the user or the district. Additionally, Support needs the name of the actual file in question, rather than the name that displays in the Documents tabs in Student Information. The file name is found in System Administration > Module (such as Special Ed) > Custom Forms > Document Name.
In this example, the display Name is Counselor Meeting Notes, but the Document Name of the file is Counselor Meeting Notes_2017-04-03-15-35-56.pdf:

The Uploaded by field is also useful for determining if the file is maintained by Campus or a particular district:

If the file is maintained by the district, the person submitting the case to Campus Support will need to attach the original form to the case (not just a screenshot).
Edit a Secured PDF Using Adobe
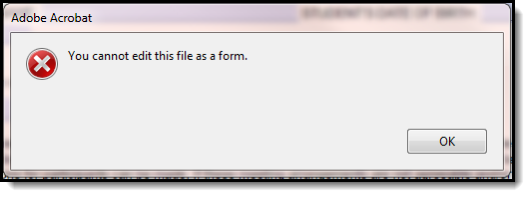
- Confirm the document is secured by opening the document and selecting Tools > Edit. An error appears indicating the form cannot be edited.
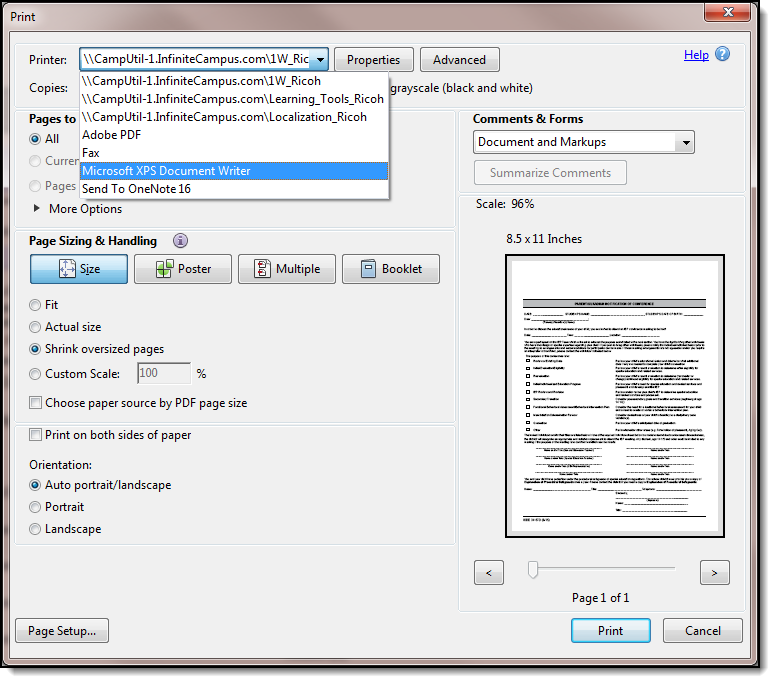
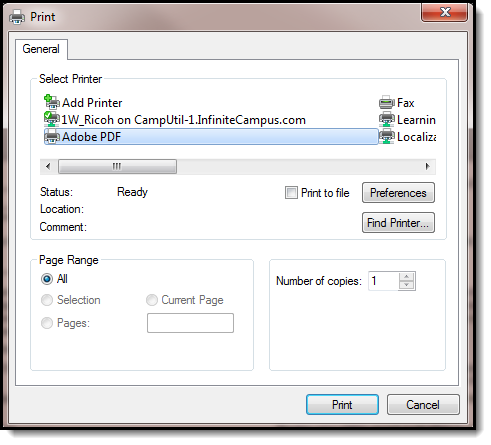
- Go to File > Print.
- Select the "Microsoft XPS Document Writer" in the Printer dropdown. Click Print.
- A progress bar displays:

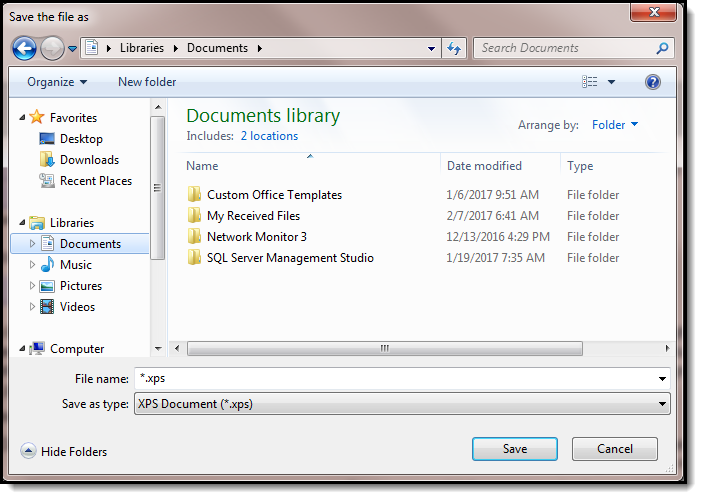
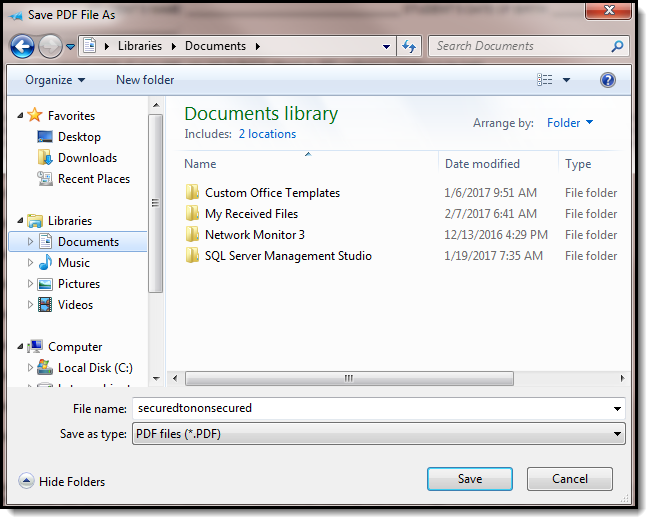
- A "Save the file as" screen displays. Determine the location and file name of the document and then click save. The document will be saved as an XPS document.
- Close the document in Adobe.
- Open the document using XPS Viewer by double-clicking the document.
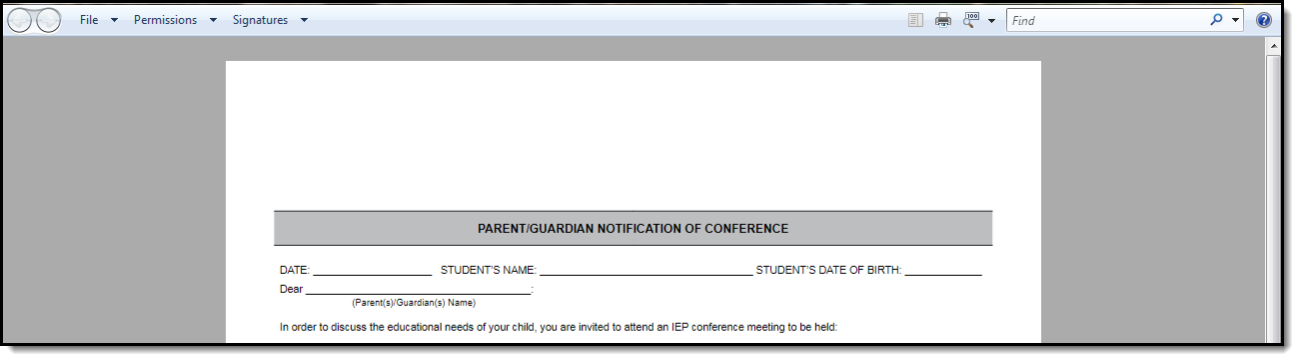
- Click File > Print.
- Select the "Adobe PDF" in the Printer options window. Click Print.
- A "Save the file as" screen displays. Determine the location and file name of the document and then click save. The document will be saved as an executable PDF document.
- The new PDF displays in Adobe. Go to Tools > Edit to edit the document. Complete the updates as needed and save the PDF.


Other Common Custom Forms Errors/Tips
- Admin should create the form in Word. Using Google Docs is not supported.
- List box, digital signature, and bar code fields are not supported.
- JavaScript is not supported.
- Admin should remove all custom print and save buttons on the form.
- Only use multi-line text fields when fields should have multiple lines of text. Using multi-line text fields for single line text may cause forms to print unnecessary pages. Users should select auto-font for text fields that should not print on a second page, such as names, dates, addresses etc.
- Recommended fields to use for parent's name:
- Contacts.lastName
- Contacts.firstName
- Contacts.relationship
- Recommended fields to use for Special Ed:
- teamMember.lastName
- teamMember.firstName
- teamMember.title
| Problem | Possible Diagnosis |
|---|---|
Student Information > [Module] > General > Documents Text is disappearing when the form is printed. | This problem may be caused by the following:
|
System Administration > [Module] > Custom Forms A Form Admin is unable to upload a form. | This problem may be caused by the following:
|
| Extra pages are printing | The multi-line text option has been selected when the form was created. Multi-line should not be used for names, dates, or addresses. Use the auto-font option or a standard font size instead of the multi-line option when creating the form. |
| Empty space is printing after text fields | This problem may be caused by the following:
|
| Overflow text fields are not working. | The overflow field in Adobe should be formatted with auto-font, multi-line, and scroll long text. |
| Form was created using unsupported JavaScript | End date the JavaScript form to make it inactive and unavailable for users to select. Create and activate a new form using proper formatting. |
