Tool Search: Device Management
The Campus Mobile Payments app is used to pay for purchases using a credit or debit card on a mobile device such as a smartphone or tablet. An M2 card reader is used to process the credit/debit card.
The app can be used at an event hosted by a school or the district. For example, a mother purchases basketball tickets with her credit card or a father uses a debit card to purchase cookies at a bake sale.
The devices used to record the purchases may include those owned by the school, staff, or parents/volunteers working at the event. These devices need to be set up in Infinite Campus using the Device Management tool and the Campus Mobile Payments app must be installed on the devices.
When the device is ready to be used at an event, the Campus Mobile Payments app is launched on the device and scans a QR code. This gives the device access to events at the schools it has been specifically assigned to. After entering a pre-assigned Cashier PIN, the device is connected to a specific event.
If a card is chip-enabled, it must use the chip (insert or tap) first. Only after three failures to read the chip is the swipe enabled for that card. If a card does not have a chip installed, you can swipe it.
Hardware
| Hardware | Its Function |
| Android 12 (or greater) Device
or Apple iOS 14 (or greater) Device |
The Campus Mobile Payments app needs to be installed on the device. The device will be used to record purchases made a card reader. |
Stripe Reader M2
 |
A Bluetooth device that works with the Campus Mobile Payments app to record credit/debit card purchases. For more information, read the Stripe Reader M2 instructions. |
Tool Rights
Device Management can be found under School Store > Administration and System Settings > Payments.
Users can only view devices assigned to schools to which they have rights. If a device is assigned to multiple schools, users can modify the device for the schools to which they have rights.
- R = users can view the devices on the Device Management tool.
- W = users can view and modify existing devices.
- A = Users can view, modify, and add new devices.
- D = Users can view, modify, add, and delete existing devices. A device can still be deleted even if purchases and payments were recorded on it. These transactions are retained for the Sales report.
View Devices

The initial view of the Device Management tool is a summary list of all devices. This summary list can be searched based on the following options:
| Option | Description |
| Status | Status consists of three buttons:
|
| Filters |
|
Add a New Device

- Click New. The New Device page opens.
- Enter the Device Name. This is a required field. The name must be unique across the district.
Tip: Developing a naming convention such as School Name-Department-DeviceType can be helpful for users with access to All Schools.
Example names: Harrison HS iPad, Arthur Elem Samsung Tablet, District Communication's iPad. - The school appearing in the Context Switcher is the default in the School(s) dropdown list.
- Multiple schools can be selected.
- Only schools to which you have tool rights display on the School(s) dropdown list.
- Remove schools by clicking the X next to the school's name.
- Select a Device Type.
- Click Save. The QR code displays, and it will expire in 30 minutes. If the QR code expires, a new one can be generated by clicking the Refresh QR Code button.
The QR code must be generated before the device can be saved. - Select the Mobile App Modes for Device. These selections determine whether the device can be used to process payments for events and/or in office.
- Click Save. The Device Management screen displays, and the new device appears when the Pending button is clicked from the Status button group.

Scan the QR Code on a New Device
New devices need to scan a QR code before they can be used at an event. Scan the QR code using the Campus Mobile Payments app to activate the device. After the QR code is successfully scanned, the device status changes from Pending to Active. The QR code automatically refreshes each time you select a device. If the side panel remains open for 30 minutes, the QR code will expire. Click Refresh QR Code to generate a new one.
Before You Start
- Download the Campus Mobile Payments app from your app store to the device.
- Launch Infinite Campus, navigate to School Store > Administration > Device Management or System Settings > Payments > Device Management and click the Pending button from the Status group.
- Select the device. When the side panel displays, click the Refresh QR Code button.
- Launch the Campus Mobile Payments app on the device. The Scan District QR Code screen appears.
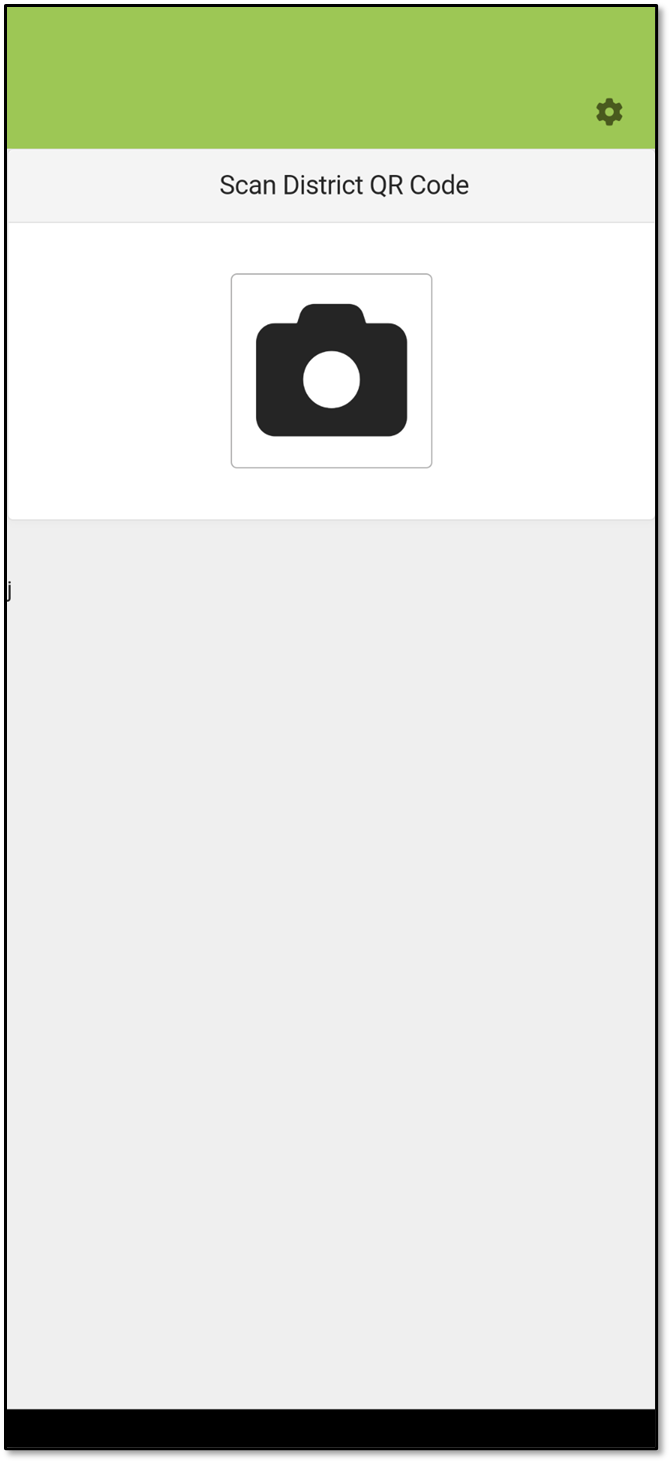
- Tap the camera icon.

- Scan the QR code in Infinite Campus with the device. The device is connected to Infinite Campus, and the user will be able to access an active event or the In Office/Pending Transactions for the school that is assigned to the device.
- In Infinite Campus, the following fields under Device Information get updated in:
Operating System, Device Model, and Last Updated, and the Active checkbox is marked.
- Infinite Campus recognizes this device. If a user attempts to add the same device again within the same school, the Existing Device message displays on the device after scanning the QR code.
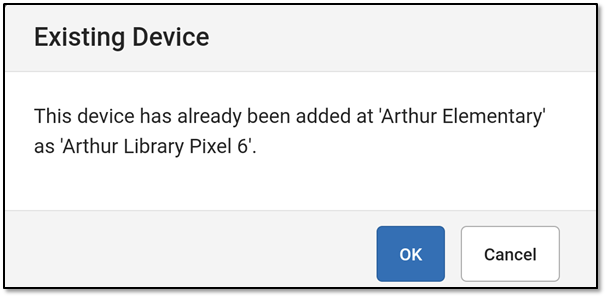 Example of Existing Device Message
 - If a user attempts to add a pre-existing device for a different school, the device does NOT get created for that school. Instead, the new school is added to the School(s) field of the existing device after the QR code is scanned.
- In Infinite Campus, the following fields under Device Information get updated in:
- Click the Save button. The side panel closes and clicking the Active button in the Status button group displays this device.
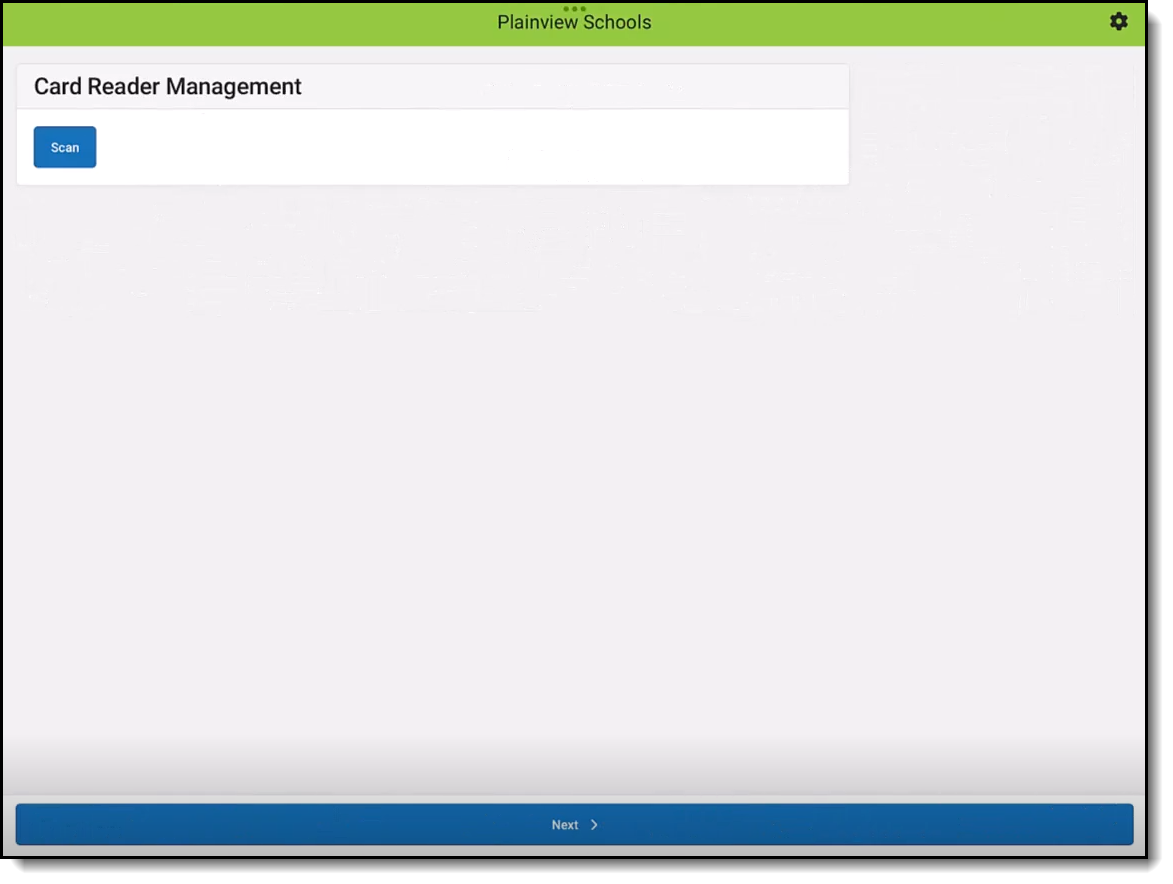
- Turn on the card reader and place it next to the device, and then tap Scan. Location and Bluetooth pairing must be allowed in order to use the app.
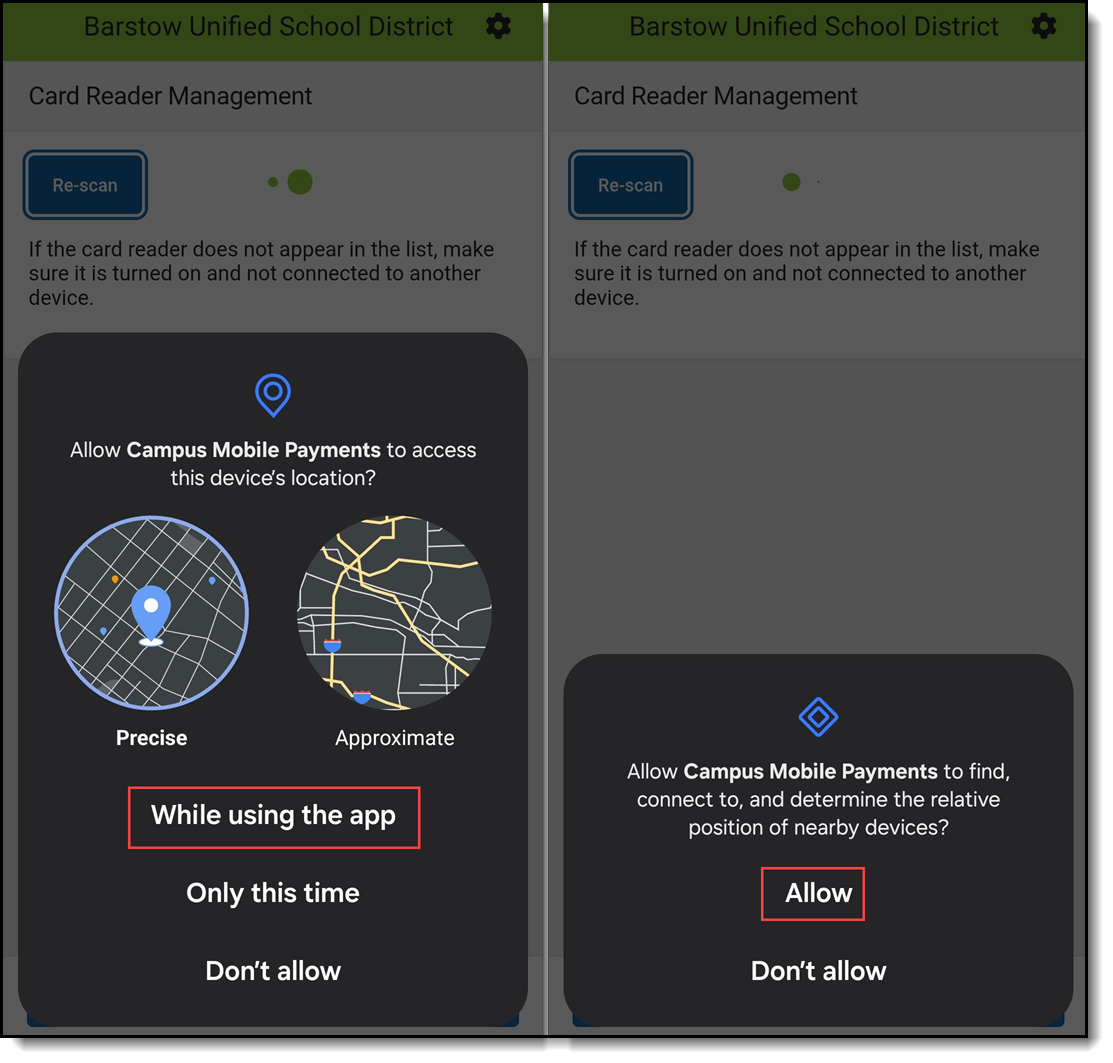
- Depending on your device, you may see one or both messages below. Select the response(s) in the orange box(es). Location and Bluetooth pairing must be enabled to use the app.
- A list displaying one or more serial numbers for card readers appears. Compare the serial number on the back of the card reader with the list.
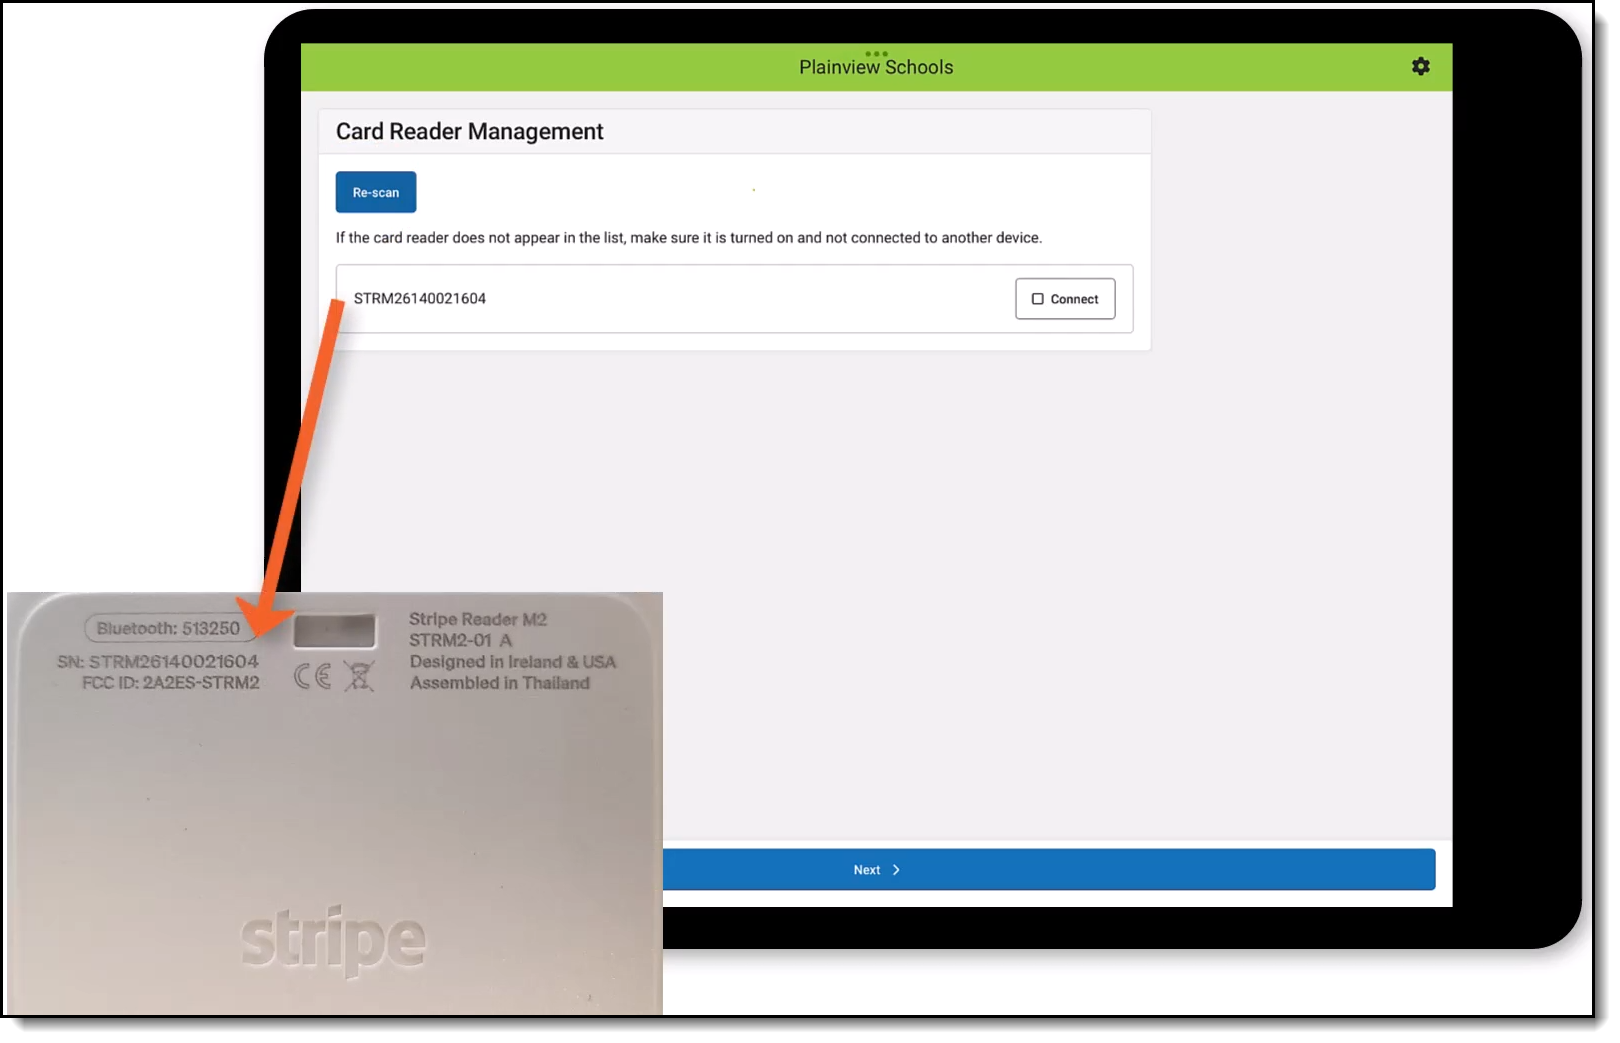 Serial Number and Passkey
 - Tap the Connect button for the serial number that matches your card reader.
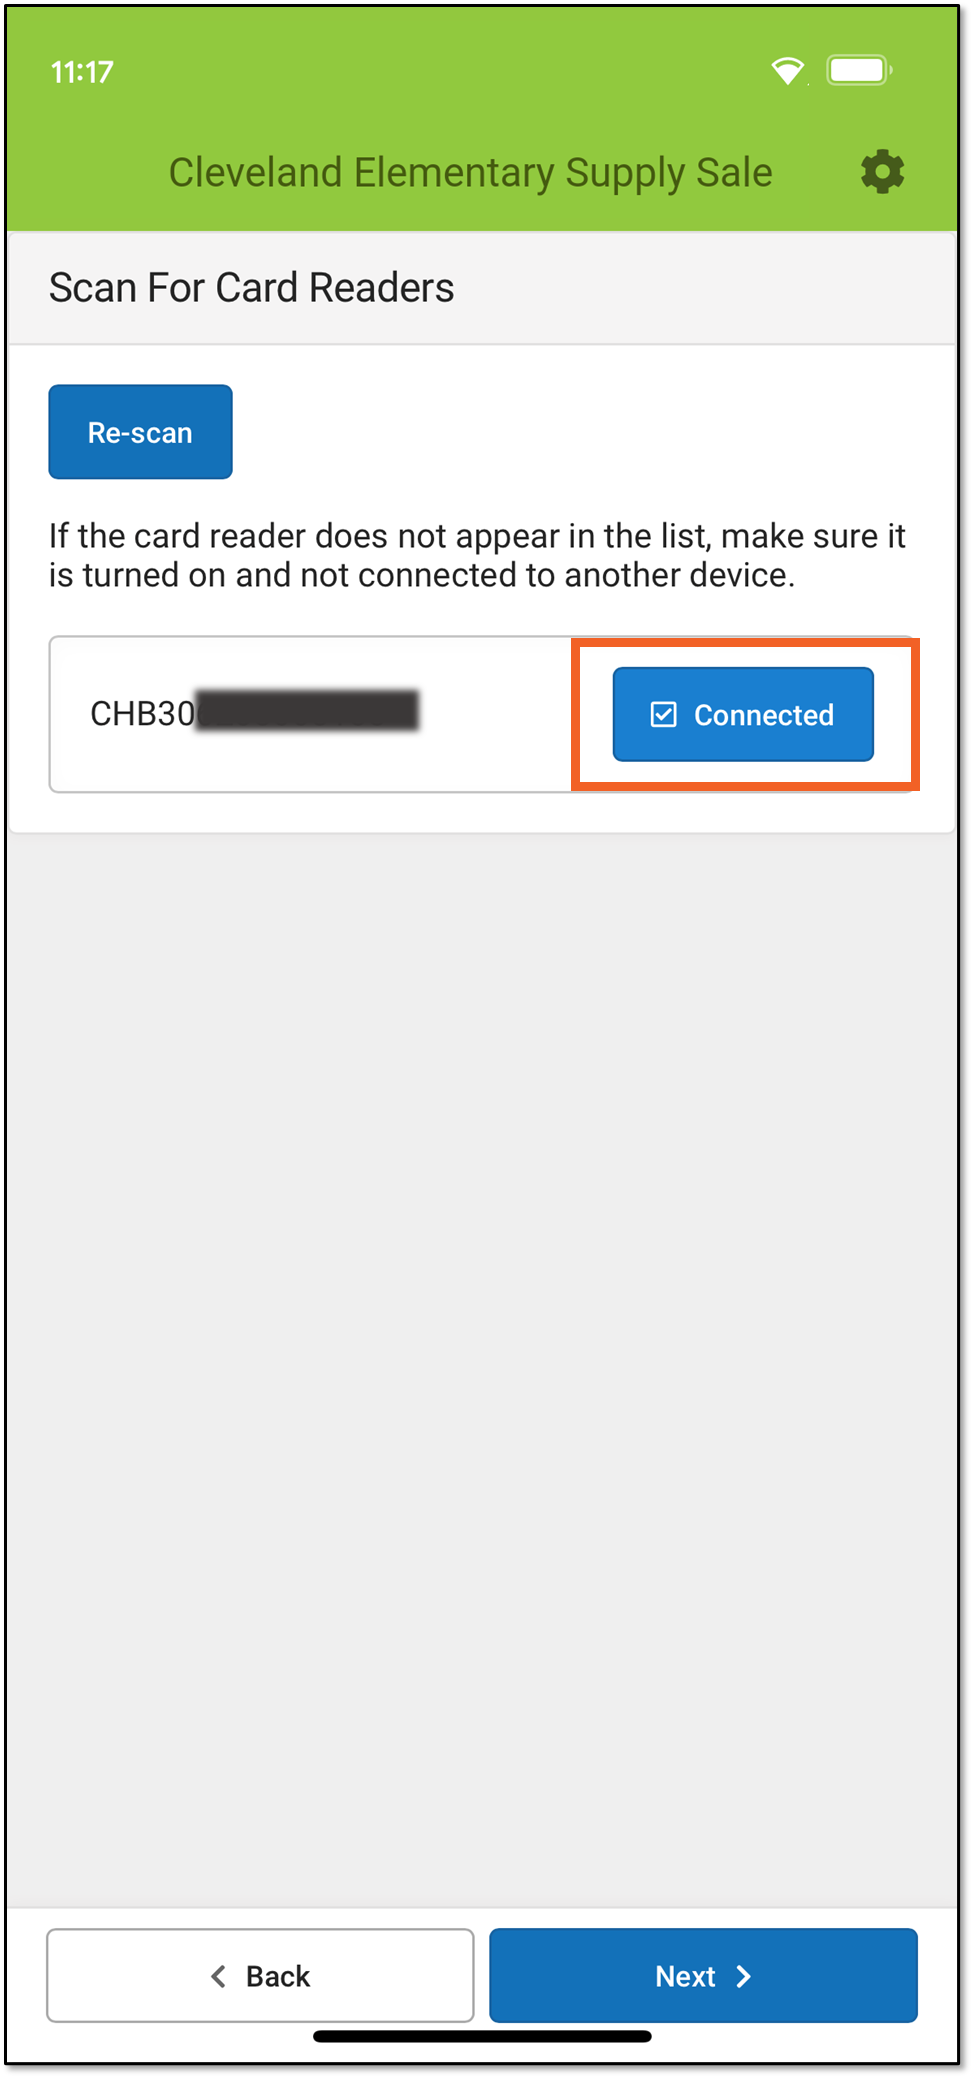
- When the green dots stop displaying and you see the Connected message next to the serial number, tap Next.
- If the device is set up exclusively for Events, you'll see the Event PIN Entry screen. If it's registered solely for In Office payments, you'll be directed to the In Office/Pending Transactions screen. If both options are enabled on the device, the Device Mode screen will appear.


Edit a Device
Devices with a status of Inactive, Active, or Pending can be edited.
- Find the device by clicking one of the Status buttons: Inactive, Active, or Pending.
- Select the device.
- If you have the rights, make the changes to the Device Name.
Schools can be added or removed from the School(s) field if you have rights to those schools.
The device can be deactivated or reactivated by unmarking or marking the Active checkbox. - Click the Save button.
Delete a Device
Devices with a status of Inactive, Active, or Pending can be deleted. Users can delete a device IF they have rights to all of the schools listed in the School(s) field.
 This device can be used at all of the schools listed in the School(s) field. This user can NOT delete this device because they have rights to three of the schools only; they do NOT have rights to the other schools (in gray). This device can be used at all of the schools listed in the School(s) field. This user can NOT delete this device because they have rights to three of the schools only; they do NOT have rights to the other schools (in gray). |
 This user can delete this device because they have rights to all of the schools listed in the School(s) field. This user can delete this device because they have rights to all of the schools listed in the School(s) field. |
- Find the device by clicking one of the Status buttons: Inactive, Active, or Pending.
- Select the device.
- Click the Delete button. The
Confirm Delete message displays.
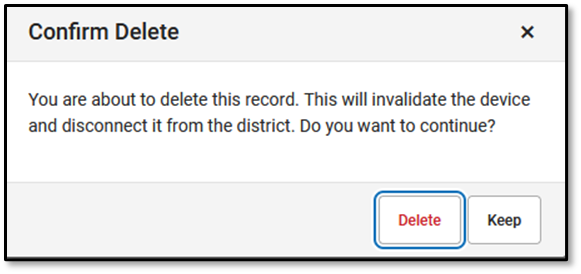
- Click the Delete button to remove the device. Click the Keep button if the device should not be removed.

Deactivate a Device
Devices with a status of Active can be deactivated. Devices with a status of Inactive can be reactivated.
- Find the device by clicking the Active button from the Status group.
- Select the device.
- Unmark the Active checkbox.
- Click the Save button. The device has a status of Inactive.
Reactivate a Device
- Find the device by clicking the Inactive button from the Status group.
- Select the device.
- Mark the Active checkbox.
- Click the Save button. The device has a status of Active.
Uninstall Campus Mobile Payments from a Device
Campus Mobile Payments can be removed and reinstalled on a mobile device. Below are the steps that need to be done after reinstalling the app.
Android Devices
- Locate the device by clicking any of the buttons in the Status button group: Inactive, Active, or Pending.
- Select the device.
- Click the Refresh QR Code button.
- Scan the QR code with the Android device.
- Click the Save button. The record for that device in the Device Management tool has been updated.
iOS Devices
After reinstalling Campus Mobile Payments app on an iOS device, the record for that device will no longer be usable in the Device Management tool; Infinite Campus no longer recognizes the device due to the way the device's information is updated for iOS devices. The current device record in Device Management needs to be deleted and recreated by following the steps below.
- Locate the device by clicking any of the buttons in the Status button group: Inactive, Active, or Pending.
- Select the device.
- Click the Delete button. The Confirm Delete message displays. Click the Delete button.
- Re-create a new record for the iOS device by following the steps in Setting Up a New Device.
