As of Release Pack .2339, this tool has been replaced by Custom Tool Setup and Publish Custom Tool
Tool Search: Custom Tab
The Custom Tab editor allows a district/state to define custom data objects for tracking state-level information that is not available elsewhere in Campus. Custom data objects will display in the interface as new custom tabs. When created, custom tabs are district-wide, but information can be displayed/hidden from users through the assignment of user tool rights.
Data entered on custom tabs created by state edition users is owned by the district that entered the data.
Creating custom tabs and publishing those tabs for district use is a three-step process.
State Edition - Custom Tab Tool
See the Custom Tab (District Edition) article for information on creating custom tabs for district edition sites.
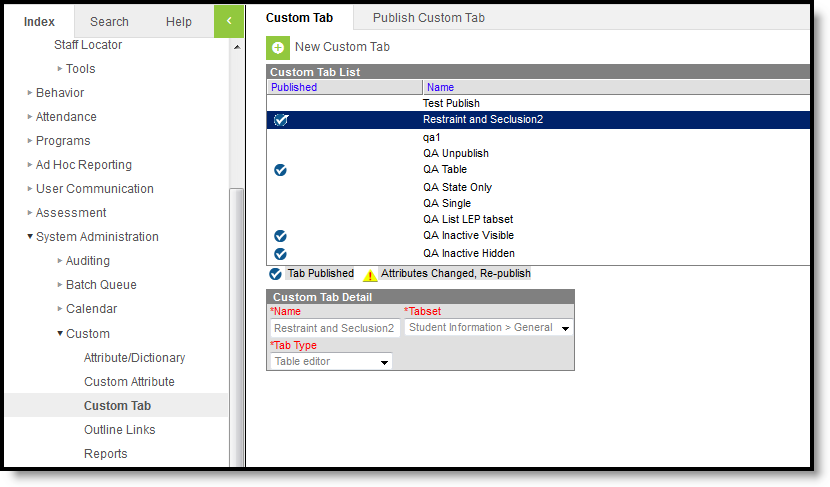
Custom Tab Detail
The following table describes the fields available on the Custom Tab Detail editor.
For State Edition custom tabs, only those custom tabs with a Tabset of General and a Tab Type of Table Editor or List Element Editor can be published.
Field | Description |
|---|---|
Name | Name that appears on the new Custom tab. This name cannot be more than 33 characters and cannot include special characters ($, %, etc.). |
Tabset | Location of the custom tab. Custom tabs can be located in the following areas:
When populating custom tabs, a district must be selected in the Campus toolbar. |
Tab Type | Indicates the format of the editor on the custom tab. See the Tab Types section for more information. Depending on the Tabset selection, a certain tab type may not be available. |
Tab Types
The following formats are available for selection from the Tab Type field of the Custom Tab Detail editor. The options available determine the format/layout of the custom tab:
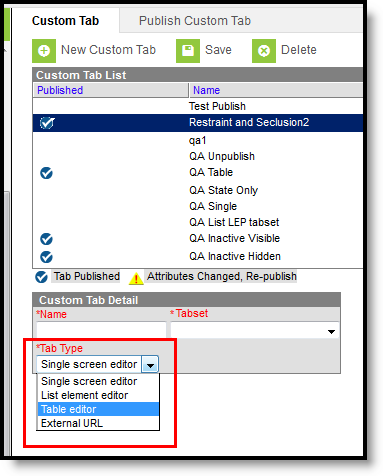
Tab Type Options
Changing types for tabs that have attributes and data associated with them is not supported and may cause issues in Ad hoc Reporting.
| Tab Type | Description | Examples |
|---|---|---|
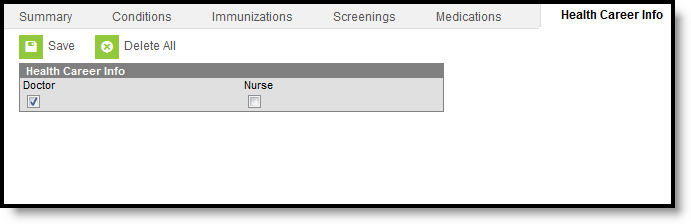
| Single Screen Editor | The Single Screen Editor is used to collect a single set of data that will only have one record. If data needs to be historical and referenced over the school year, the Single Screen Editor option cannot be used. This tab type is available for all tabset selections. |
|
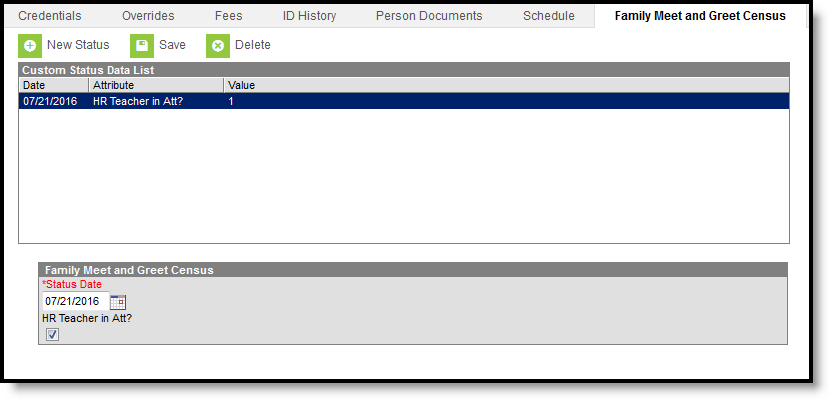
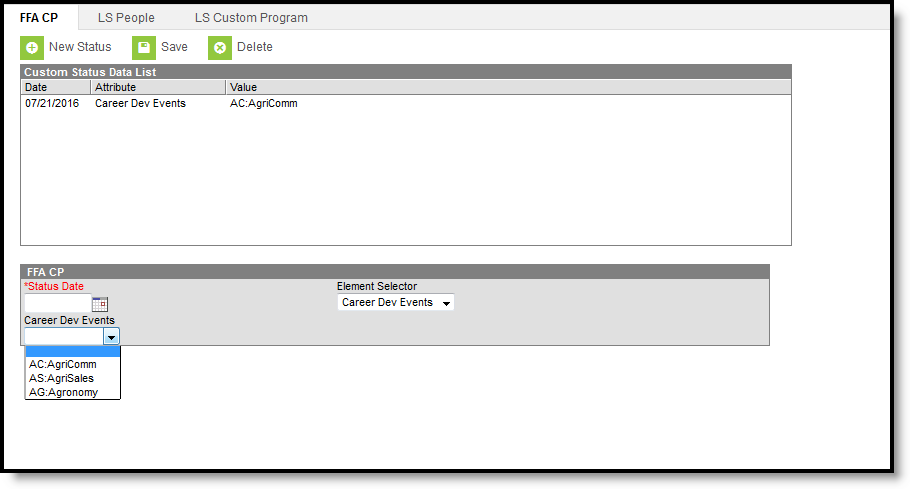
| List Element Editor | The List element editor option holds multiple sets of data and will track information over a period of time (multiple records). The user can choose which type of record to post a value for, unlike the table editor, where only the same type of data is available. A Status Date is required for each record. This tab type is NOT available for the following tabsets:
|
|
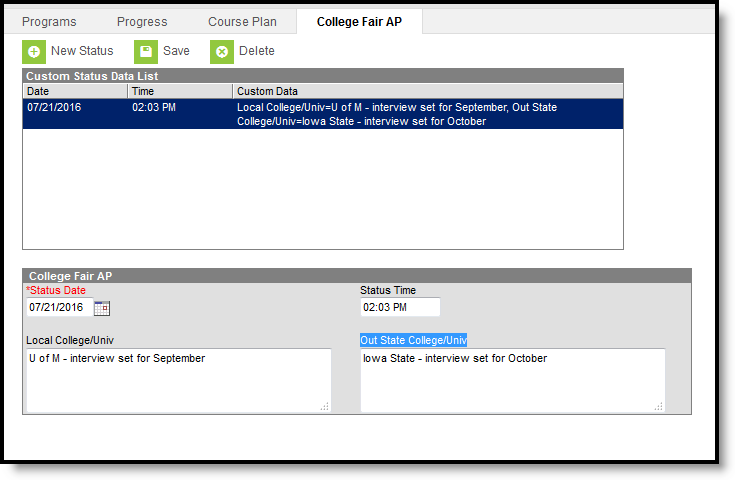
| Table Editor | This option should be selected from the Tab Type field if the custom tab will hold lists of associated values to be displayed for the same record, such as totals. Unlike the list editor, there is only one type of record created, for which multiple values may display. This option uses a date and time field to track entries. Only one entry for any given time is allowed, meaning two entries with the time of 10:10 AM cannot be saved. This tab type is available for all tabset selections. |
|
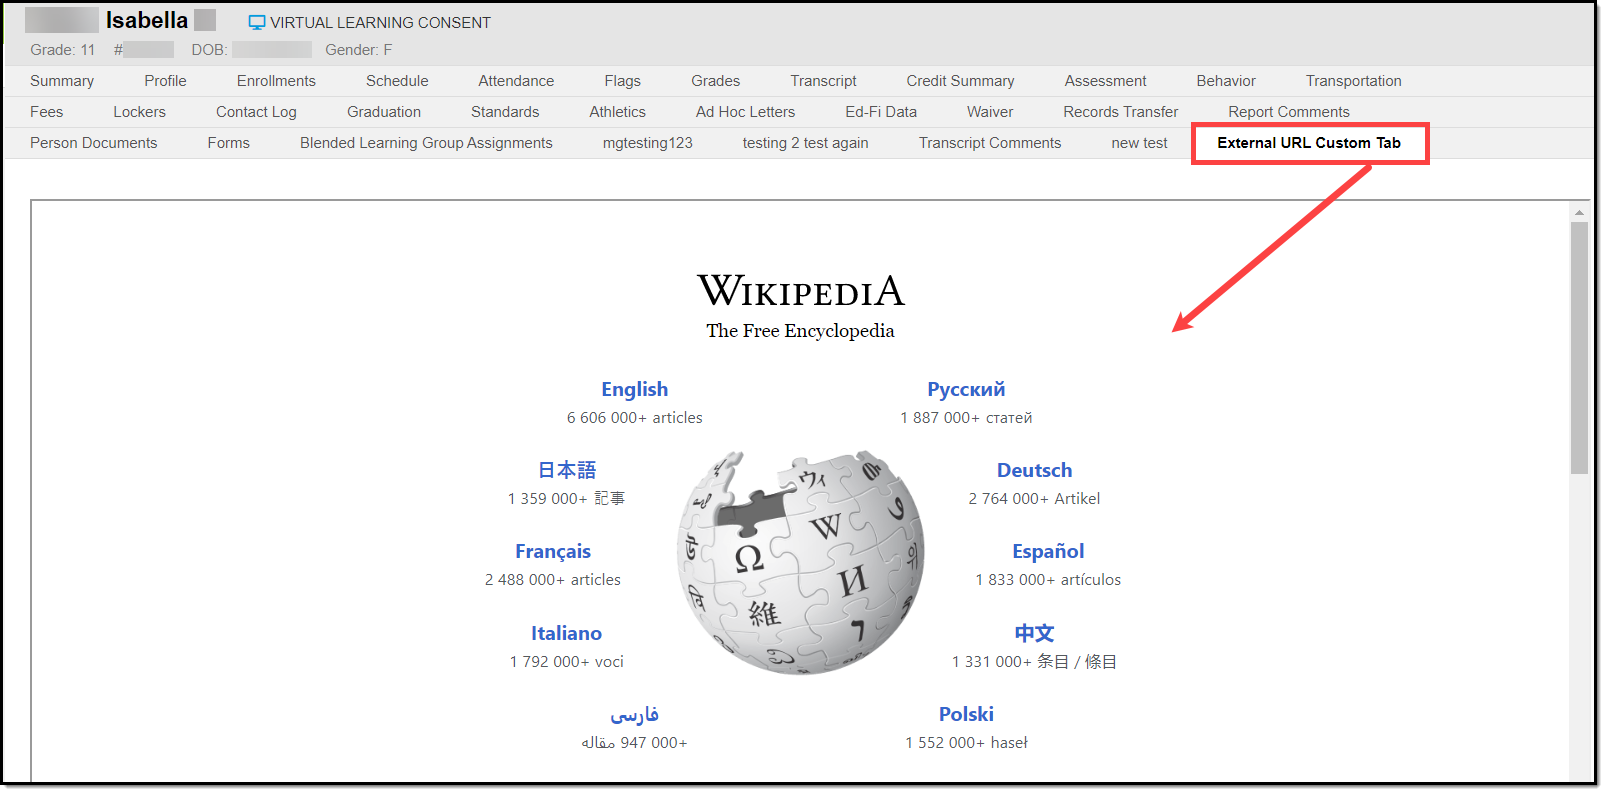
| External URL | The External URL option is selected from the Tab Type field and when selected, the custom tab will automatically display the external website. Users can navigate the external site in a normal manner (i.e., if the site is website, users will be able to use hyperlinks to navigate freely within the website). Websites with a Content Security Policy which prohibits the use of their site within other sites will prevent the page from appearing (i.e., google.com, amazon.com, etc) External URLs are automatically added to your Content Security Policy. If a custom tab is later deleted, the associated URL is automatically removed from the district's Content Security Policy. The Pass User Session field is used for auto-authentication for other external sites (especially for custom reporting). The following describes each option:
This tab type is NOT available for the following tabsets:
|
|
Step 1. Create a Custom Tab
- Select the New Custom Tab icon from the action bar. The Custom Tab Detail editor displays.
- Enter the Name to be displayed as the tab name.
- Select the area of Campus to which the new custom tab relates from the Tabset field.
- Select the manner in which the tab should organize and display data from the Tab Type field.
- Click the Save button to create the new custom tab.
The new tab will not appear in its designated location until a user logs out of his/her current session and logs into a new session.
- Click the Log Off icon from the Campus Index.
- Re-enter User Name/Password credentials.
- Click Sign In.
- Navigate to the location of the new custom tab. Because the districts do not yet have access to the tab and state edition users do not have edit rights to these tabs, no information displays. But state edition users can verify the custom tab is in the proper format prior to publishing the tab to districts.
State Edition custom tabs display with a green note icon so district users can easily distinguish between state edition tabs and district edition tabs, which display with a white note icon.
Access to the custom tab can be assigned to users through the Tool Rights (User) or Tool Rights (User Group) tabs.
Step 2. Add Custom Attributes
After creating a custom tab, the user should add and define its custom fields on the Custom Attribute tool.
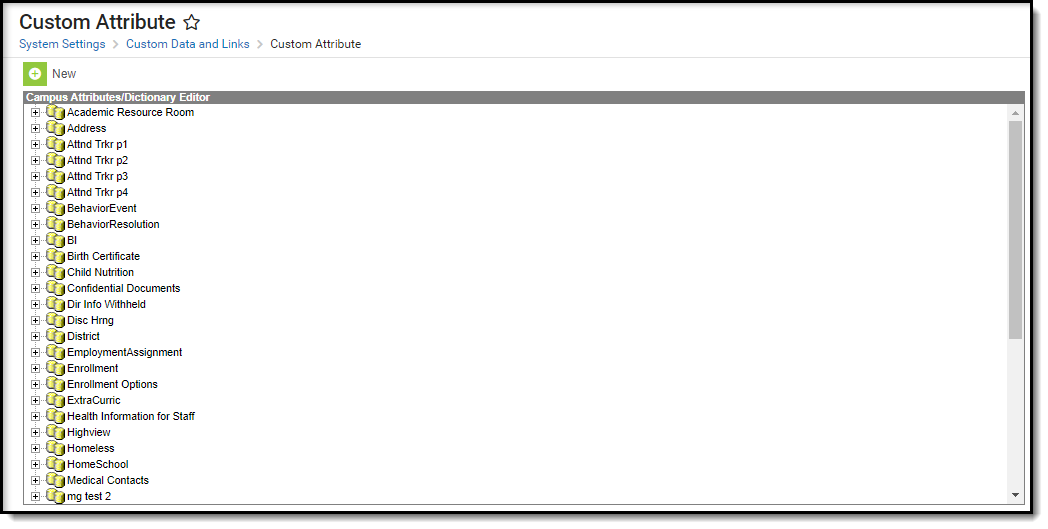
Custom Attribute Tool
Step 3. Publish the Custom Tab
After creating the custom tab (Step 1), verifying the display of the custom tab and adding custom tab fields (Step 2), the custom tab and its accompanying attributes can be published to selected districts. These published tabs can also be un-published from selected districts when deemed necessary.
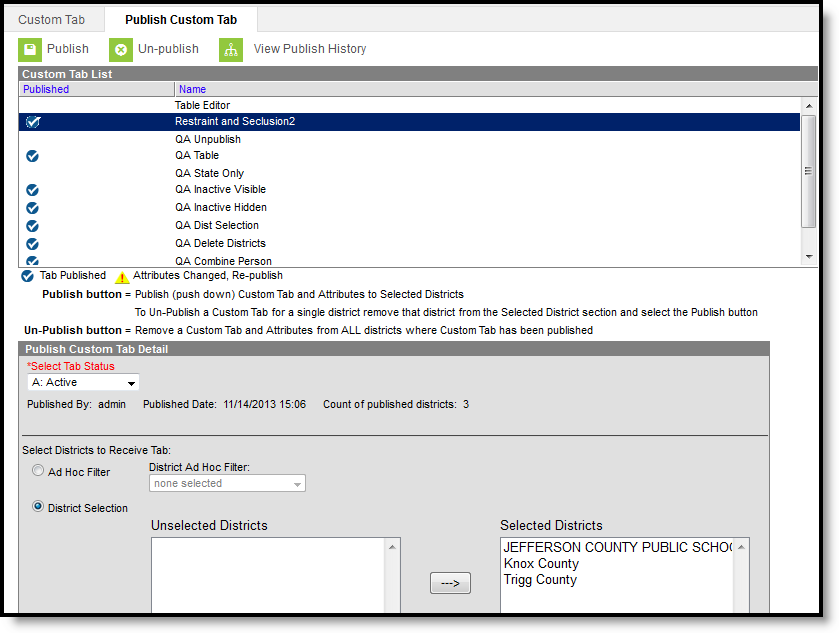
Publish Custom Tab
Publish Custom Tab Editor
The Publish Custom Tab Editor contains three parts - the Custom Tab List, the Custom Tab Information and the District Selection.
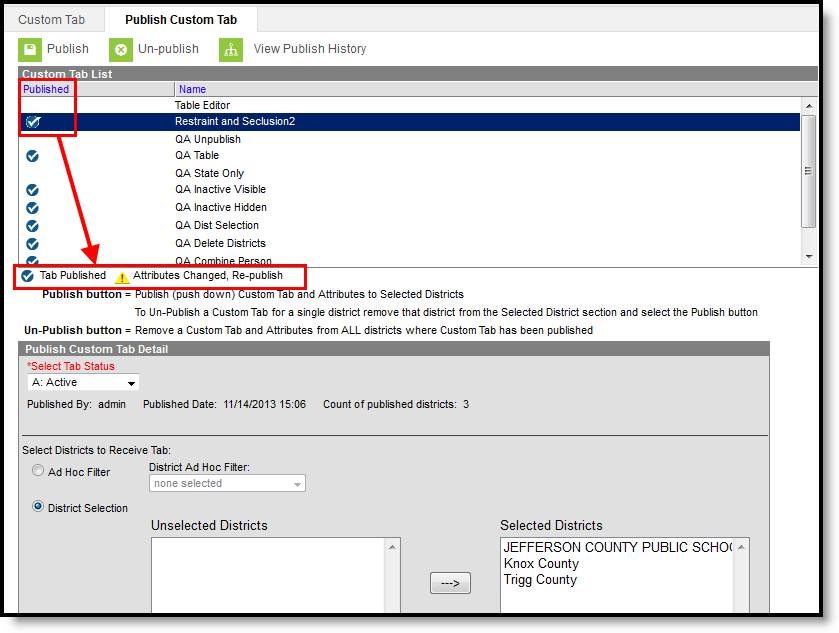
Custom Tab List
The Custom Tab List section displays the name of the custom tabs that have been created in State Edition and which ones have been published or need to be re-published because attributes have been modified.These same icons display on the Custom Tab.
Modifications can be made to the attributes included on a tab or to the districts that have been selected to view the tab. When attributes have been changed since the tab was last published, the yellow icon displays.
Custom tabs can be published for selected districts or removed for selected districts. Removed means the tab is completely gone. Custom tabs can also be removed for a single district by removing that district's name from the Selected Districts column. This would require the tab to be published again.
Publish Custom Tab List
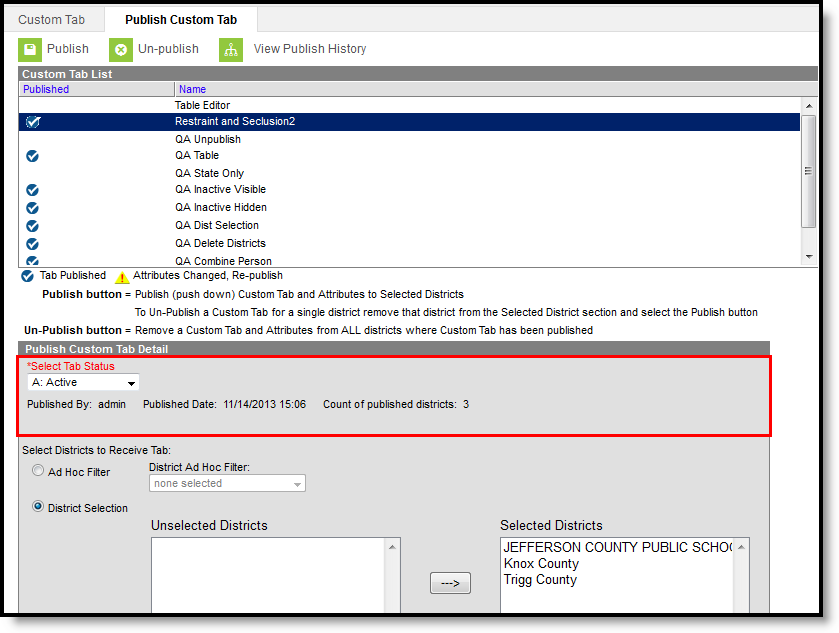
Custom Tab Information
The Custom Tab Information section determines the status of the custom tab, who published it, when it was published and the total count of how many districts have the published tab.
The Status of the tab is chosen when the user publishes the tab. The following options are available:
- A: Active - The tab is currently published to the selected districts and districts can add data to the tab.
- I: Inactive/Visible - The tab is currently published to the selected districts, but data cannot be added to the tab. Districts can still view entered information.
- H: Inactive/Hidden - The tab is currently hidden from the selected districts.
Publish Custom Tab - Detail
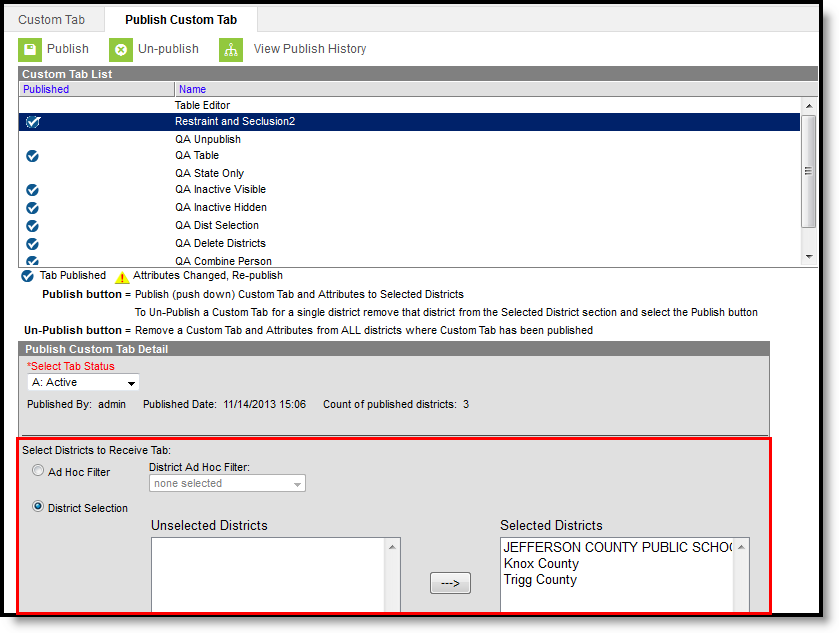
District Selection
The District Selection area allows users to choose which districts have the custom tab.
- Districts can be chosen from a pre-existing ad hoc filter. Only those filters with the Filter Type of Selection Editor and the Data Type of District are available for selection. If this option is selected, the District Selection radio button is disabled and the ability to select districts is removed.
- Districts can be chosen from the District Selection list. Once a district is selected, that name displays in the Selected Districts column. To select a district, the name of the district must be selected and the arrow key must be clicked to move the district name to the Selected Districts Column. The arrow keys on the keyboard can also be used.
Publish Custom Tab - District Selection
Districts can be selected one at a time or all at once. The same is true for unselecting districts:
- Use the right-facing arrow key to move one district from the Unselected Districts column to the Selected Districts column.
- Use the left-facing arrow key to move one district from the Selected Districts column to the Unselected District column.
- Use the Select All button to move all districts in the Unselected Districts column to the Selected Districts column.
- Use the Unselect All button to move all districts from the Selected Districts column to the Unselected District column.
Publish a Custom Tab
- Select the Custom Tab to publish from the Custom Tab List.
- Select the Select Tab Status option from the Publish Custom Tab Detail section. Options are:
- Active
- Inactive/Visible
- Inactive/Hidden
- Determine how districts will be chosen - by Ad hoc Filter or by District Selection.
- If districts are selected by ad hoc filter, select the Ad hoc Filter radio button and choose the desired Ad hoc Filter.
- If districts are chosen by selection, select the District Selection editor and move the desired districts to the Selected Districts column using arrow keys. If all districts should receive the tab, click the Select All button.
- Click the Publish icon. The selected tab will be published for the selected districts.
Districts can enter data on the custom tab and, once that data is saved, the entered data displays on the Custom Tab visible in State Edition. State Edition users can select the entered item but not modify any of the data. District users cannot modify the name of the custom tab or the attributes associate with the custom tab.
It is recommended that the custom tab from State Edition be communicated to Districts so they are aware that data is being requested from them. District users need to be given tool rights to the new tab in order to enter data.
Unpublish a Custom Tab
Unpublishing completely removes the tab and any entered data. Use this option carefully.
- Select the Custom Tab to unpublish.
- Click the Un-publish icon. A warning message displays explaining what will happen to the existing information.
- If the custom tab should be removed and data not available anywhere, click the OK button to continue.
- If the custom tab should not removed because data is still needed, click the Cancel button.
Remove a District from a Published Tab
- Select the Custom Tab that should not be visible for a district.
- Select the District that should be removed from the Selected Districts column and click the left-facing arrow. The district's name no longer appears in the column.
- Click the Publish icon again. This will remove the Custom tab from the district that was removed but leave the tab for the remaining districts.
Change the Status of a Published Tab
- Select the Custom Tab that needs to be changed.
- Modify the option selected in the Select Tab Status dropdown.
- Click the Publish icon. This will make the necessary adjustments to the custom tab for the selected districts.
View Publish History
The View Publish History button lists which districts received the custom tab, or the status of the custom tab's availability. Depending on the amount of districts chosen, the availability of the tab at the district level could be delayed.This column reads either Delivered (custom tab is available to the districts) or Pending (custom tab is in the process of becoming available to districts).
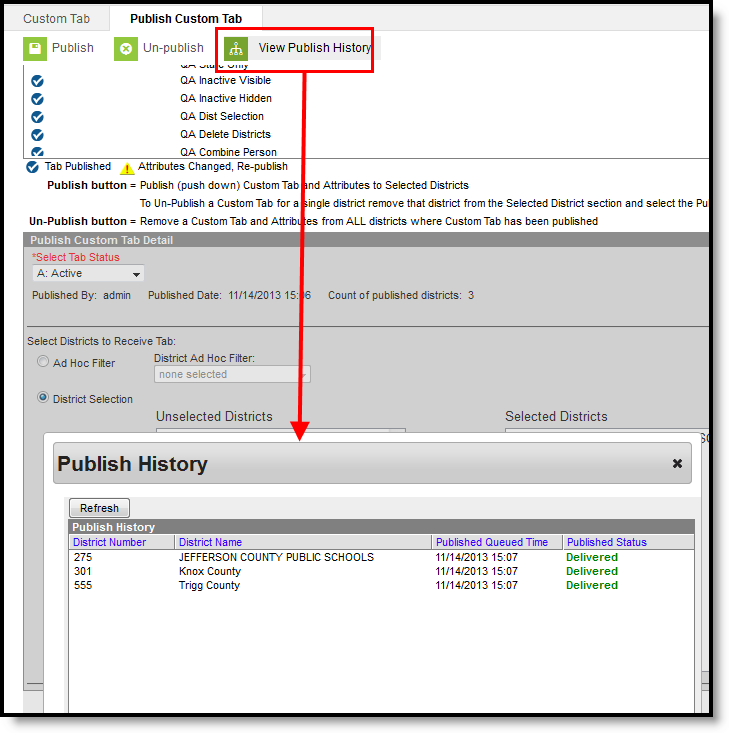
Publish Custom Tab - View Publish History
