The following installation instructions have been made available for districts who use MMF™ POS cash drawers with a USB connection.
| Step | Description | Notes |
|---|---|---|
| 1 | Disconnect the USB powered cash drawer. | N/A |
| 2 | Use the Install Terminal Enhanced option on the Terminals tool in Campus to download and install the POS terminal software. After the POS terminal software is installed and the Never uninstall the Campus POS application without first contacting Support. | See the article Terminal Installation and Configuration for complete instructions. PATH: Point of Sale > Administration > Terminals |
3 | Set Point of Sale Options.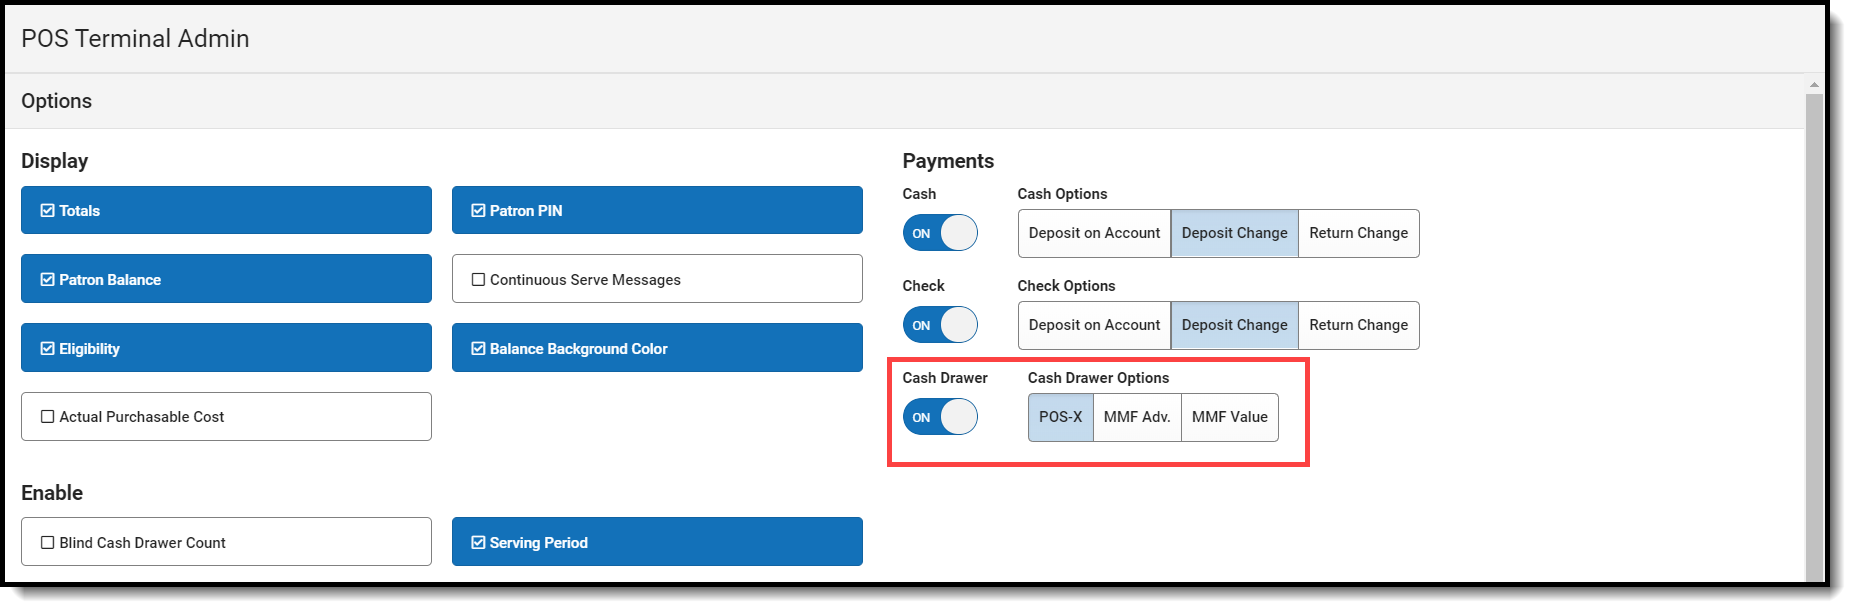 Point of Sale Options Point of Sale Options | See the article Terminal Installation and Configuration for complete instructions. Once completed, the application should be closed. |
| 4 | When setting Point of Sale Options, select MMF Adv. in the Cash Drawer button group if the cash drawer does have dip-switches on the back of the drawer or select MMF Value in the Cash Drawer button group if the cash drawer does not have dip-switches on the back of the drawer. | MMF Advantage cash drawer and dip-switches. MMF cash drawers with dip switches should be plugged into a USB port AND the provided AC power adapter must be plugged in. The dip switches MUST be set with the following configuration:
If you need to change the DIP switches, you will need to:
|
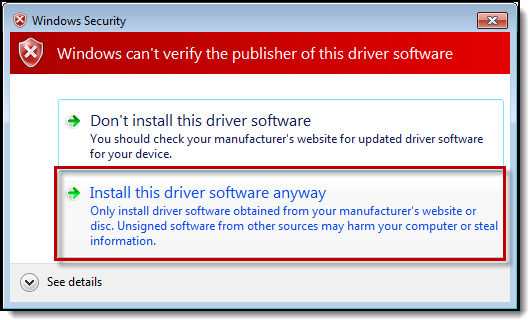
| 5 | Navigate to C:\Users\<windows username>\AppData\Local\Programs\POS\resources\extra-resources\mmf and run the driverInstall.exe file as the administrator. 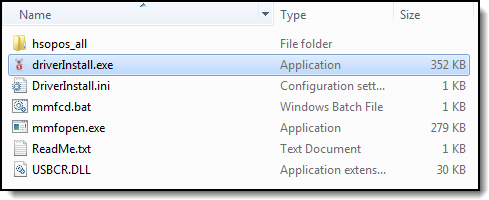 driverInstall.exe file driverInstall.exe file | If you cannot see the AppData file, click on View, and select Hidden items. If the following Windows Security message displays, click Install this driver software anyway.
If a message displays asking whether you want to "allow the following program to make changes to your computer," click Yes. |
| 6 | Restart the terminal if you are installing a new cash drawer or are reimaging your terminal. | N/A |
| 7 | Open the Start menu and locate the Device Manager utility. | Depending on your operating system, you may need to get to Device Manager by Control Panel > System > Hardware > Device Manger or by selecting the Start Menu in your task bar and typing Device Manager into the Search programs and files field. |
| 8 | Plug in the USB cash drawer and wait for the Device Manager to recognize the device. MMF Value will display here: 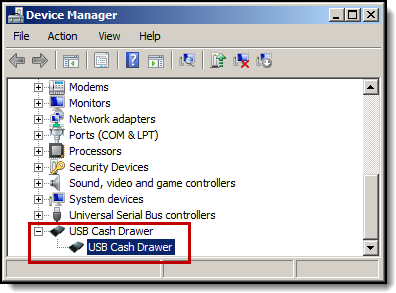 USB Cash Drawer USB Cash DrawerMMF Advantage will add additional files here: 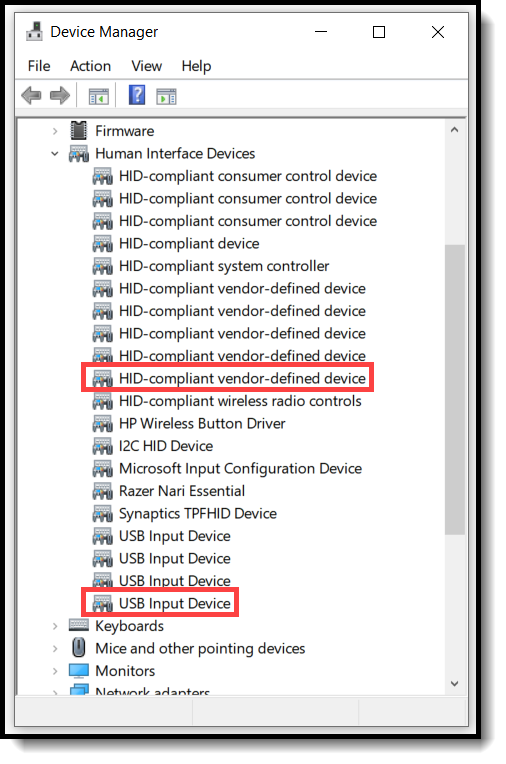 MMF Advantage Additional Files MMF Advantage Additional Files | N/A |
| 9 | If you are using the MMF Value cash drawer, double-click USB Cash Drawer. The USB Cash Drawer Properties dialog displays; select the Cash Drawer tab and select a USB Serial Port. Click OK to save your changes.
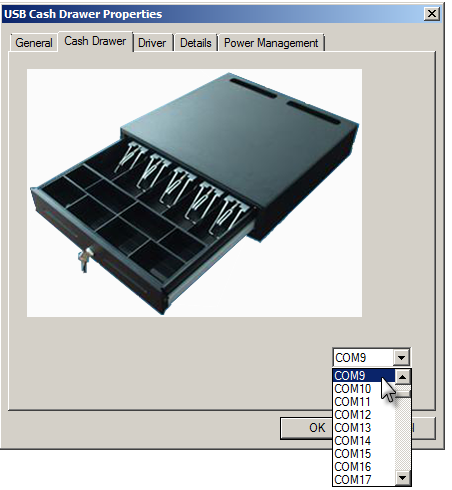 Cash Drawer Properties Cash Drawer Properties | Select the first available ComPort. |
 Campus Point of Sale shortcut has launched, configure the terminal as described in