Tool Search: School Choice Applications
School Choice Applications is designed to support student assignment, where applications exist for a specific program (Overrides). This tool allows the user to enter and approve an application on behalf of a student. Users with appropriate rights are able to view a list of all school choice applications the student or the student's guardian has entered via the Campus Portal.
A list of all school choice applications that the student or the student's guardian has entered via the portal or with the help of district personnel displays here. Users can see the status of applications as desired.
In schools where specific programs are available for student application, the School Choice tool allows users to select a program. If the program follows program boundaries, only schools within the boundary of the student's household address are available for application. The Campus user may only have rights to add and view applications for a student based on their individual calendar rights.
See the School Choice article for guidance on setting up School Choice for the district.
 School Choice Applications
Tool Rights
Depending on district needs, users may have the following limitations because of assigned tool rights:
- View and create new applications according to user's calendar rights
- Rights to only change the approval status, comments and rule selection for a student application.
- View and edit only the highest priority non-denied application.
Create School Choice Applications
- Select the New icon.
- Select the Program Name, Year and Grade level from the dropdown list. A validation occurs, ensuring the user has adequate rights to perform this function.
- Select the Calendar Name from the dropdown list.
- Select the Schedule Structure from the dropdown list.
- Enter the Application Date (when the application was submitted by the student in mmddyy format.
- Enter the Acceptance Status of Pending for the initial application.
- Select the appropriate Sequence for this student's application.
- If applicable, mark any School Choice Rules that the student has met.
- Click the Save icon when finished with the initial application.
If a message displays indicating there are no schools within the user's Calendar Rights that match the selected Program, Year or Grade for the student, review and/or add Overrides assigned to the Address, the Person and the Calendar.
Process a School Choice Application
- Select the application to edit or process from the School Choice Application editor. Previously entered information displays.
- Enter a Processed Date.
- Select either Approved or Denied from the Application Status dropdown list.
- If the application is accepted, enter the date in the Acceptance Date field.
- If the applicant can accept or deny the application, mark the Enable the application to accept/decline on the parent portal checkbox. The date the applicant accepted or denied the application auto-populates to the Acceptance Date field.
- Mark the Lock Application Status to reserve a seat for this application.
- Enter any Comments related to this application.
- Click the Save icon when finished. The updated application information is viewable on the School Choice tool and on the portal.
School Choice applications may be edited or processed manually. The majority of applications automatically use the Process Applications Wizard.
Print School Choice Applications
Select the Print icon to generate a report of all of the student's School Choice applications for the year, in order of applicable weight. The report generates in either PDF or DOCX format.
Manage Documents
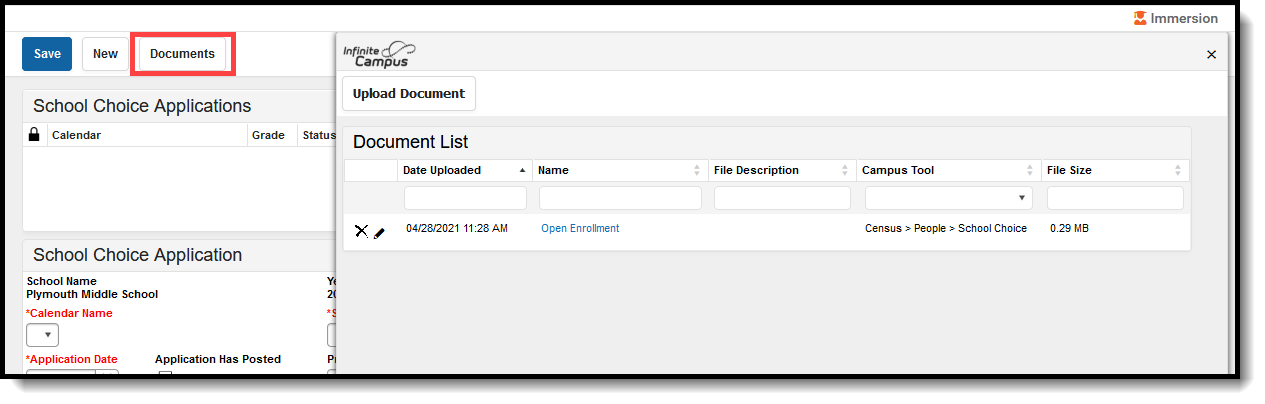
To view documents, click the Documents button on the action bar. See the Person Documents article for additional information.
 School Choice Applications Documents
