Tool Search: Add Course Master
A Course Master defines course elements of courses from a district level, so all schools are using the same number and naming convention for courses, as well as the same setup for grading. Course Catalogs need to be created first before creating Course Masters. A Course Catalog is a collection of Course Masters that is then attached to the school. Changes made to the Course Master are also applied to the courses at the schools if fields have been locked.
As of the Campus.2515 Release Pack (April 2025), the Add Course Master tool has a new look and feel! It now matches the updated Course Master Information tool.
- See the Course Master Information Field Descriptions for definitions, database information, and Ad hoc Reporting locations.
- Use your browser's search functionality (CTRL-F, F3, etc.) to locate the new field.
 Add Course Master Tool
In order to add a new course, users need at least the following:
- Read rights to Course Information.
- Read and Write rights to Course Masters Information.
For more information on necessary tool rights, refer to the Add Course Master Tool Rights article.
The Add Course Master tool is organized into the following sections:
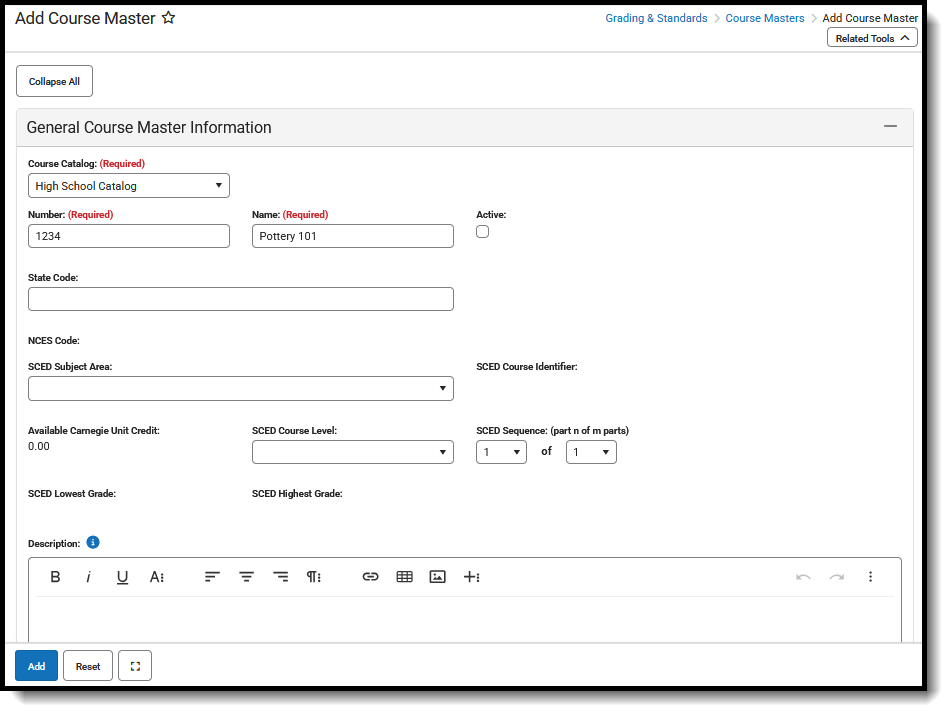
- General Course Master Information includes identifying course information, whether it's an active course (students can be scheduled into it), SCED information, and a course description.
- Scheduling includes the length of the course, the number of periods it meets in one day, the number of schedules it meets in, the department name, the maximum student count, etc.
- Course Setup includes fields like the course is an attendance-taking course, uses positive attendance, is standards-based, reports scores on a student's transcript, and much more.
- State Defined lists all of the fields that are used for state reporting in your state and includes fields like Dual Credit and State Report Exclude.
- District Defined lists any field your district has chosen to collect data on. These are added using the Custom Attribute/Dictionary.
- Comments lists any additional information about the course that your school or district wants known. This could be a note when the course was added to the catalog, that it must meet in a certain room, that it's only for seniors, or some other piece of information.
Review the Course Masters article for information on Course Masters best practices and a Course Master Workflow.
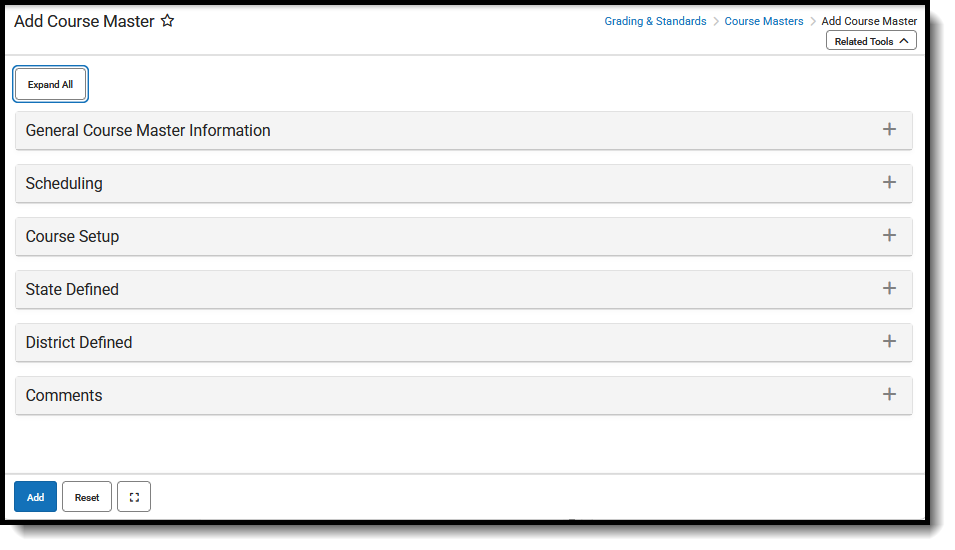 Add Course Master Tool: All Cards Collapsed
Click on the gray header or use the plus sign on the right side to expand the card. Use the Expand All/Collapse All button at the top of the tool to open or close all of these sections.
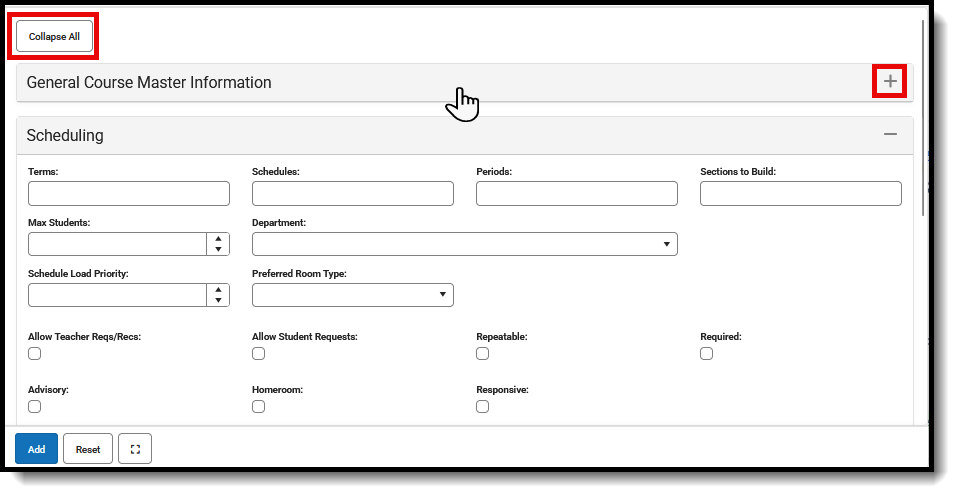 Open or Close Add Course Master Cards
The Add, Reset, and Full Screen view buttons display across the bottom of the tool.
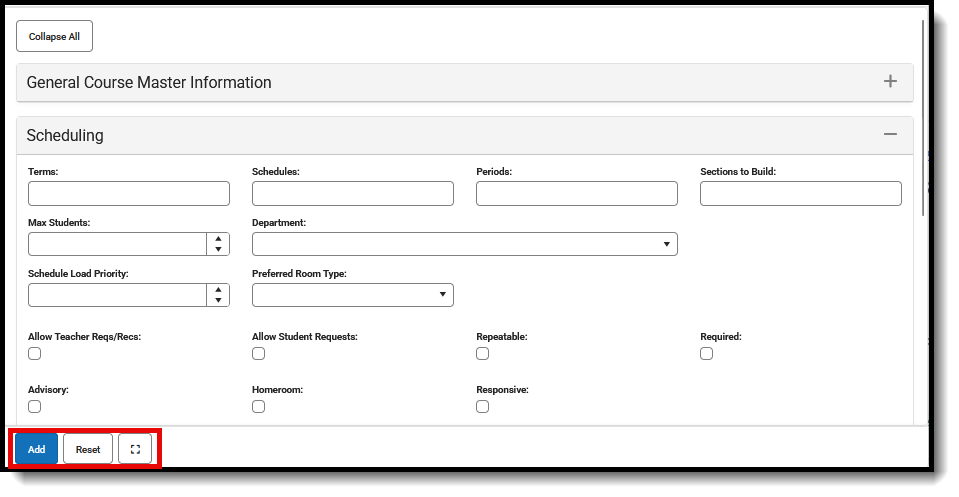 Add Course Master - Add, Reset, Full Screen
Add a New Course Master
Adding a New Course Master is Step 3 in the Course Master Workflow.
- In the General Course Master Information card, select the Course Catalog to which this new course master belongs.
- Enter a Number and Name for the new Course Master.
- Mark the Active checkbox.
- Populate all other fields as needed, following district and school policy.
- Click the Add button when finished. The new course master is added to the list of available courses masters for the selected calendar.
Verify the course master has been added by navigating to the Course Master tool and searching for the newly added course master. Then additional course master management can be done in the Course Master Information tool.
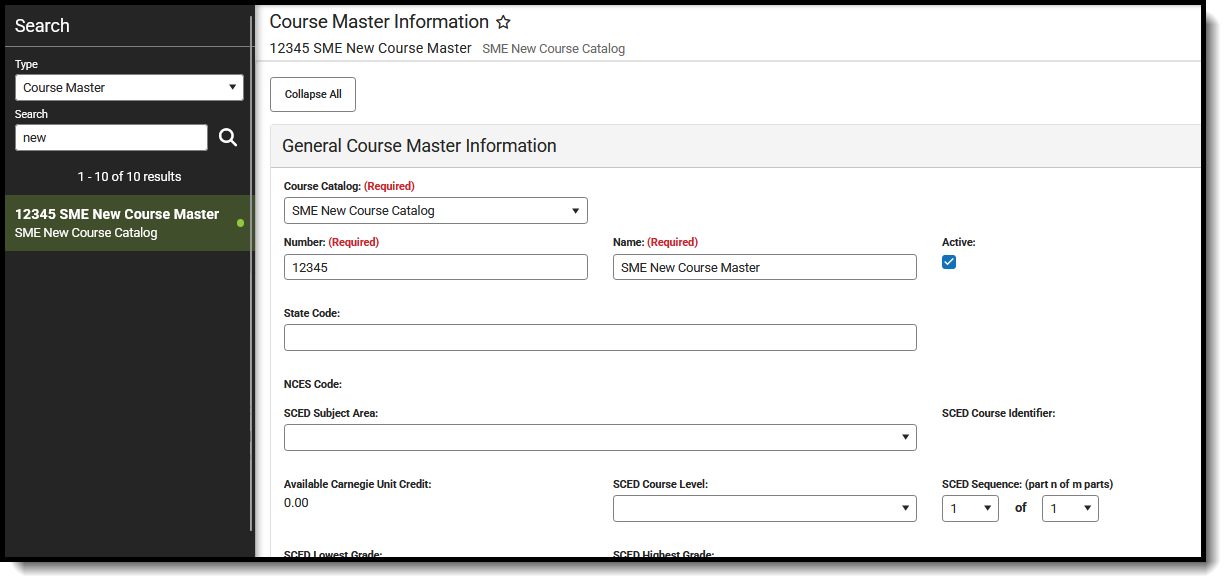 Search for Newly Added Course Master
Reset the Add Course Master Cards
Click the Reset button to remove any values entered in any of the fields on the Add Course Master tool. This clears out all fields in case of a misentry or an error. Re-enter the new course master information as needed.
