Documents can be uploaded from multiple Campus tools depending on where the administrator has enabled the document upload feature.
To view documents, click the Documents button on the action bar. Users with the appropriate tool rights have the ability to upload documents, delete documents, replace documents, edit documents and download documents.
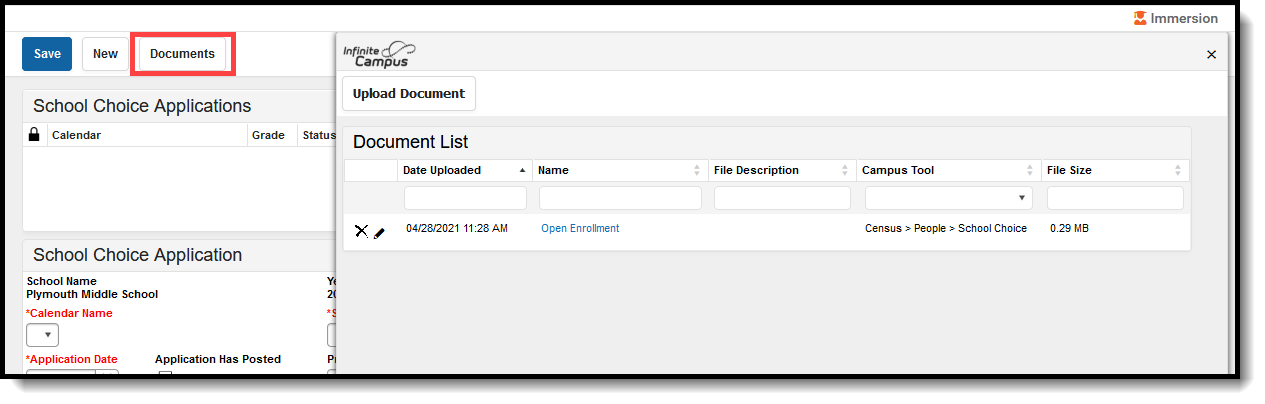 Documents Editor on Census Tool
See the Manage Documents Uploaded on Custom Tabs for additional information.
Upload a Document
A document cannot be uploaded when the file name contains one or more of the following illegal characters:
|
|
- Click the Upload Document button.
- Click the Add Files button.
- Locate the file(s) you want to attach and click Open. Campus adds the file(s) to the list of documents. Repeat this step until you have selected all of the files you want to attach.
- Click the Upload button. The documents appear in the Document List.
Delete a Document
- Click the Delete button next to the attachment you want to remove. A confirmation message displays.
- Click OK. The attachment is permanently removed.
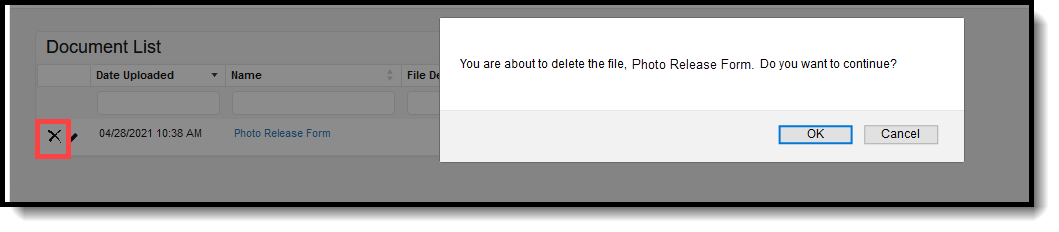 Delete Uploaded Document
Replace a Document
- Click the Edit button next to the document you want to replace. The Edit Document screen displays.
- Click the Replace File button. The File Upload screen displays.
- Locate the file(s) you want to attach and click Open.
- Verify the checkbox for the Terms and Conditions is marked.
- Click the Save button. The new file is uploaded and Campus updates the date and time in the Date Uploaded column.
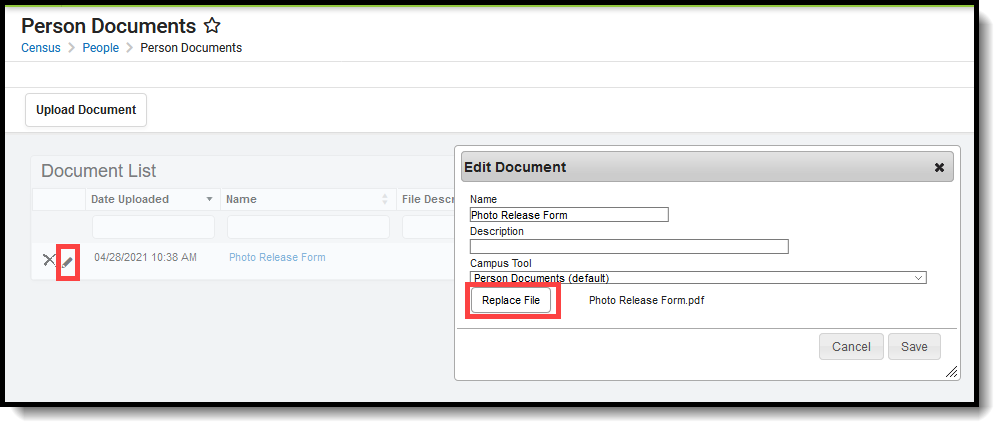 Replace Uploaded Document
Edit File Information
- Click the Edit button next to the document you want to change. The Edit Document window displays.
- Change the Name and/or Description.
- Click the Save button.
 Edit Uploaded Document
Move File to a new Campus Tool
Selecting a Campus Tool in the dropdown list makes this document visible on the Documents window for the selected tool.
- Click the Edit button next to the document you want to change. The Edit Document window displays.
- Select a different tool in the Campus Tool dropdown list.
- Click the Save button.
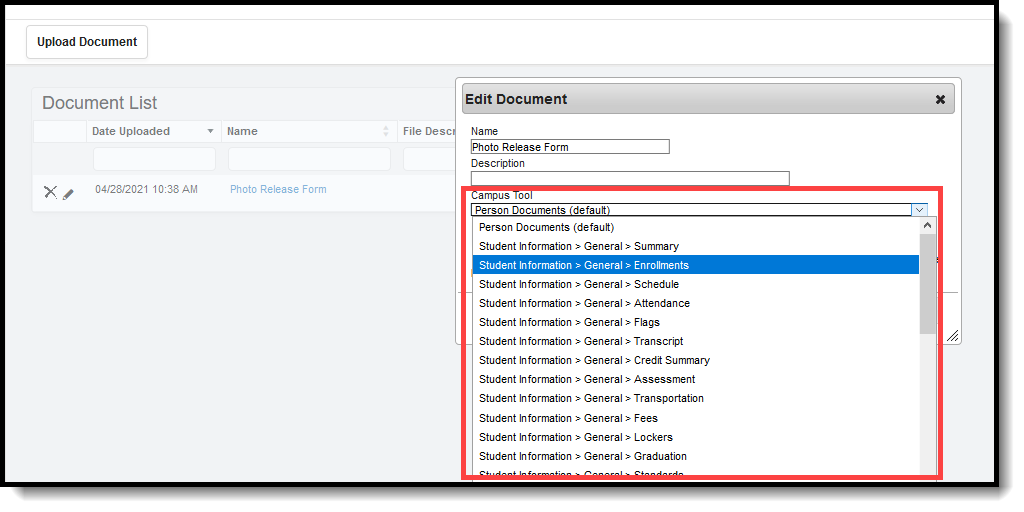 Move Document to Another Campus Tool
Download a Document
- Click the document name in the Name column. A window displays that allows you to save the file.
- Click the Save button.
Note: The following file extensions are blocked from being uploaded into Infinite Campus using any tool:
_exe, a6p, ac, acr, action, air, apk, app, applescript, application, awk, bas, bat, bat, bin, cgi, chm, class, cmd, com, cpl, crt, csh, dek, dld, dll, dmg, docm, dotm, drv, ds, ebm, elf, emf, esh, exe, ezs, fky, frs, fxp, gadget, gpe, gpu, hlp, hms, hta, hta, icd, iim, inf, ins, inx, ipa, ipf, isp, isu, jar, java, js, jse, jsp, jsx, kix, ksh, lib, lnk, mam, mcr, mel, mem, mpkg, mpx, mrc, ms, msc, msi, msp, mst, mxe, obs, ocx, pas, pcd, pex, pif, pkg, pl, plsc, pm, potm, ppam, ppsm, pptm, prc, prg, pvd, pwc, pyc, pyo, qpx, rbx, reg, rgs, rox, rpj, scar, scf, scpt, scr, script, sct, seed, sh, shb, shs, sldm, spr, sys, thm, tlb, tms, u3p, udf, url, vb, vbe, vbs, vbscript, vdo, vxd, wcm, widget, wmf, workflow, wpk, ws, wsc, wsf, wsh, xap, xlam, xlm, xlsm, xltm, xqt, xsl, zlq
