Tool Search: Report Card
The Report Card Batch Report prints student report cards based on the options selected in the editor for multiple students en masse. A saved report card can be printed or the user may select from a list of Display Option Preferences.
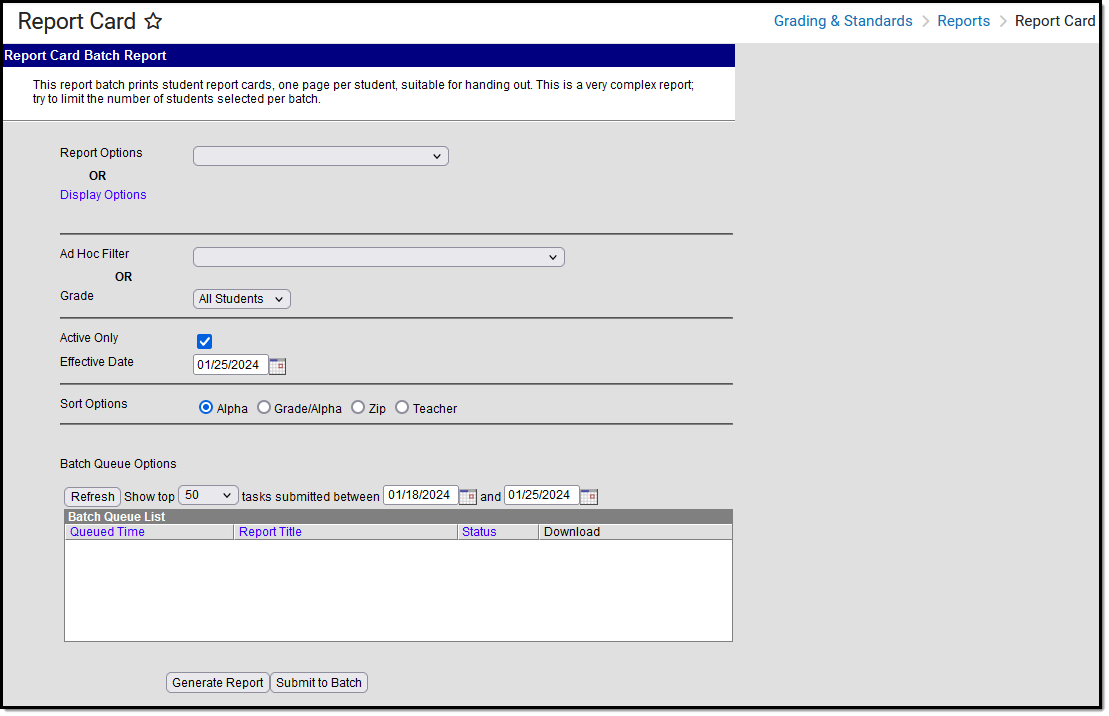 Report Card Batch Editor
For students with multiple enrollments:
When the student has multiple enrollments in the same school year, Report Cards print for each school in which the student was enrolled.
Information in the letter sub-reports uses data stored in the AttendanceDayAggregation table. This means that attendance data for the current date is accurate as of the previous night's attendance calculation, or the last time the Attendance Aggregation Refresh was run. If needed, the Attendance Aggregation Refresh tool can be run to force an attendance recalculation to pull in the current day's data.
Report Card Batch Options
Field | Description |
|---|---|
Report Options | Select a report that has already been created in Report Preferences. If the Schedule Structure dropdown in the Campus tool bar is set to All, all reports cards for all schedule structures are listed for select. If a specific schedule structure is selected, only report cards for that structure are listed. The selected report card prints grades and attendance related to the selected schedule structure. |
Display Options | If there is no report card available in the Report Options dropdown list, or existing report cards do not meet the needs, choose the items to display from the Display Options list. In order to see the Display Options and make selections, users must have tool rights to Report Setup. |
Ad hoc Filter or Grade | Select the students to include in the report from an existing ad hoc filter. Only those students included in the filter will have a report card generated for them (if they meet the requirements of the report card). Or, select students by a grade level. All students in the school can be selected at one time, but it is recommended to limit the number of students included in each batch. |
Active Only | Marking this checkbox includes only those students who are actively enrolled as of the entered Effective Date. |
Effective Date | The entered date reflects the date by which students are actively enrolled. If all students regardless of active enrollment should be included in the report, remove the mark from the Active Only checkbox; this disables the Effective Date field. This field displays the current date but can be modified by typing in mmddyy format or using the calendar icon to select a date. |
Sort Options | The Report Cards can be sorted in the following ways:
|
Teacher Sort Options | When the Teacher Sort option is selected, options for selecting the Calendar of enrollment, the Effective Date and the Period of the day appear. If a student does not have a teacher for the selected period in the calendar for the effective date chosen, the student's report card prints first and the teacher's name is blank. |
Batch Queue Options | Generating report cards can sometimes be a long process. Submitting reports to Batch Queue allows the batch report to generate in the background while the user is free to use other parts of the product. Users can use the batch queue option to schedule reports to be processed at a later time and keep a record of reports that have been processed. To submit a Report Card Batch Report to the batch queue, select Submit to Batch after entering the appropriate fields in the report editor. A Batch Queue Reporting Options detail window displays. |
Generate Saved Reports Using the Report Card Batch Report
- In the Report Options dropdown list, select the report card to generate.
- Select the Grade Level or an Ad Hoc Filter.
- Mark the Active Only checkbox to only include active students.
- Enter an Enrollment Effective Date. This date is defaulted to the current date. If this date is outside of the calendar range, no records will be returned. This entry only prints report cards for students who were actively enrolled on that date.
- Select the Sort Options.
- Click the Generate Report button. The report displays in PDF format.
 Report Card Print
Generate Report Cards using Display Options
- Click the Display Options link. A list of items to include on the report displays. See the Report Card Preferences for descriptions of these options.
- Select the Grade Level of the students to include on the report. Or, select students using an Ad Hoc Filter.
- Mark the Active Only checkbox to only include active students.
- Enter an Enrollment Effective Date.
- Select the Sort Options.
- Click the Generate Report button. The report displays in PDF format.
Generate Reports Cards using Batch Queue Options
- In the Report Options dropdown list, select the report card to generate.
- Select the Grade Level of the students to include on the report. Or, select students using an Ad Hoc Filter.
- Mark the Active Only checkbox to only include active students.
- Enter an Enrollment Effective Date.
- Select the Sort Options.
- Click the Submit to Batch button. The report card generates at the designated time.
Default Margin Sizes
The following table describes the default margin size for portrait and landscape report cards:
Report Type | Portrait | Landscape |
|---|---|---|
Conventional | Paper Size: Letter (8.5in X 11in) | Paper Size: A4 (210mm X 297mm) |
Standards Based | Page Size: Letter (8.5in X 11in) | Page Size: Letter (8.5in X 11in) |
