This documentation applies to the Online Registration Prime version.
Online Registration can be set up to post data from an application to the Campus Federal Programs areas for a student. This document describes the process for setting up Federal Program fields in an Online Registration application that will automatically post to the Campus field.
It is recommended to start by identifying which fields are on the program, choose the posting subset, then follow the provided workflow.
Validation: All required fields in the Programs area must be mapped with a value in OLR. Anything posting to a dropdown must have a value in order to post.
Create Federal Program OLR List Bank
The first step is to create a list in the OLR Lists Bank that will map to the corresponding Federal Program List in Campus. This is only necessary when creating dropdown lists.
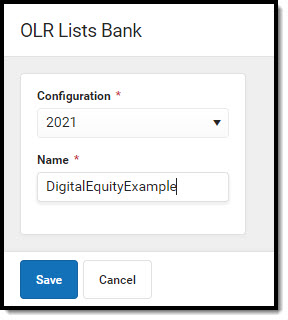 OLR Lists Bank
- Click New List.
- Enter a Name for the List.
- Click Save.
Copy Federal Program Fields to Custom List Bank
Next, copy the Federal Program fields into the OLR List Bank Replacer.
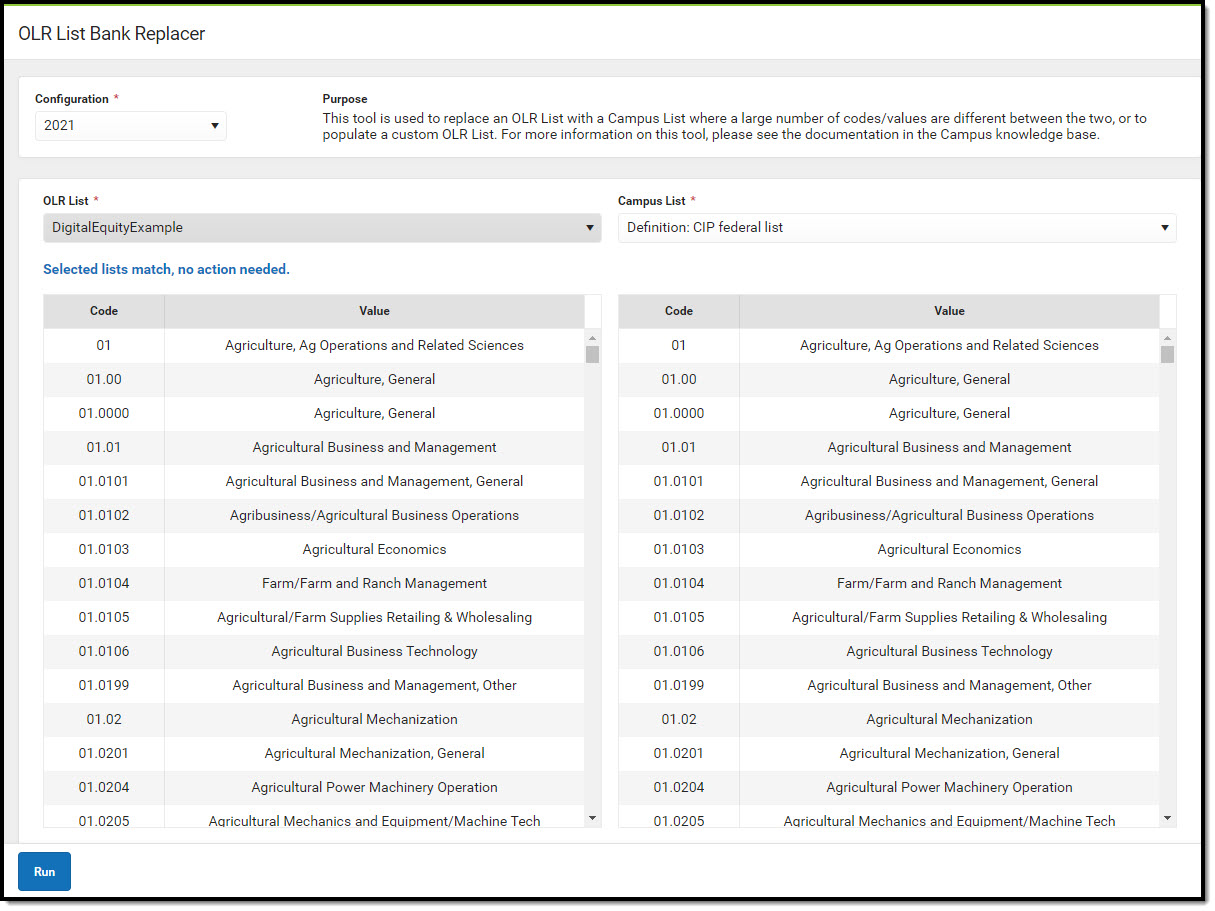 OLR List Bank Replacer
- Select the custom list created in the OLR Lists Bank in the Select OLR List Bank Category dropdown.
- Select the Federal Program list in the Select Campus List Bank Category dropdown.
- Click Run. A warning displays indicating that this action will override the data in the OLR List. Click OK. This copies the Federal Program list into the OLR List.
Create Fields in OLR Builder
Then, create the Federal Reporting fields using the OLR Builder.
Note: ALL required fields on the Federal Program tool must be created in the OLR Builder in order for the application to post properly.
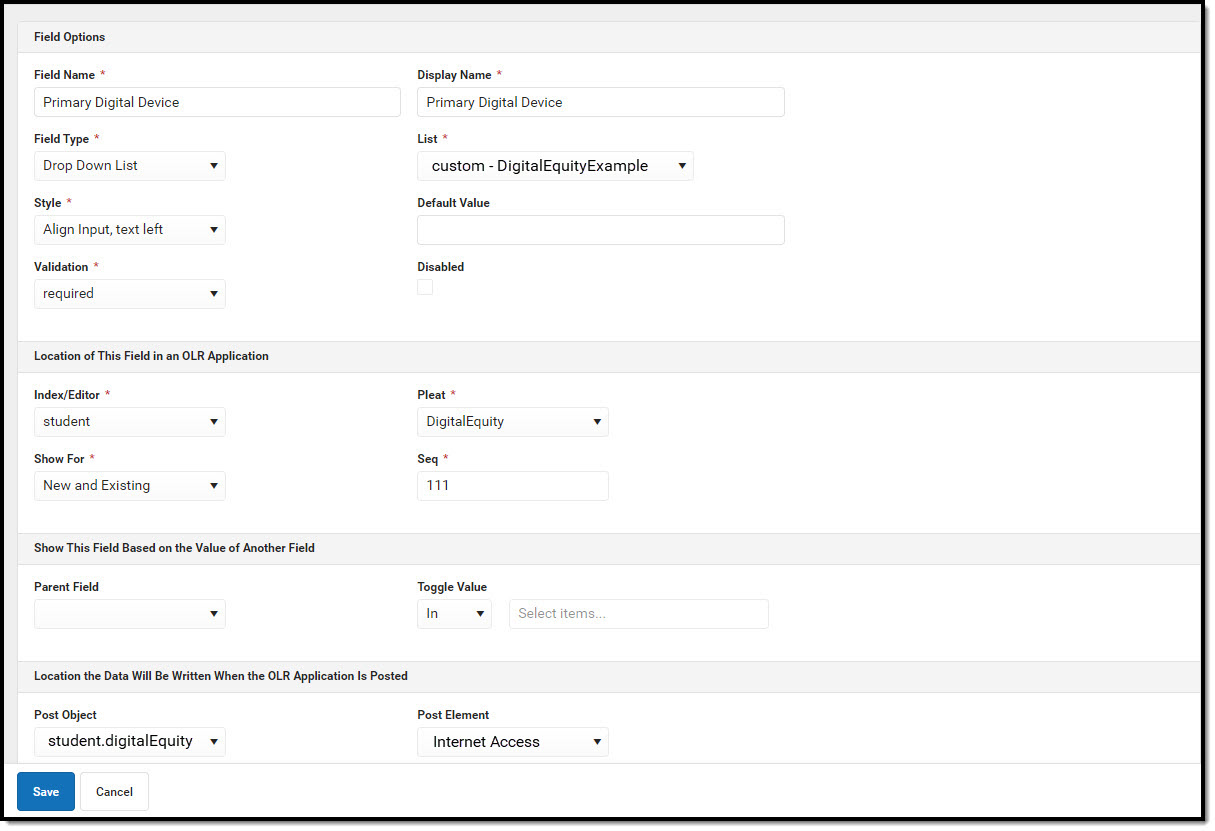 OLR Builder
- Click New.
- Enter the following information:
- Name (No spaces or special characters)
- Internal Name (No spaces or special characters)
- Field Type: Drop Down List
- List: Select your Federal List
- Validation: Required
- Index: Student
- Pleat: Which pleat should this field live in?
- Shown For: Which students/applications should this be shown for?
- Sequence: Where should the field be listed within the pleat? (You may need to look at the sequence for your other fields to ensure it is inserted where you want it)
- Post Object: Which Federal/State Program is this mapping to?
- Post Element: Which Federal/State List within that program is it mapped to?
- Fill out any other fields as desired.
- Click Save.
Modify Wording for Clarity and Translations
Change the wording of the field names in the OLR Literals Bank to ensure parents/guardians understand what they are entering for their student.
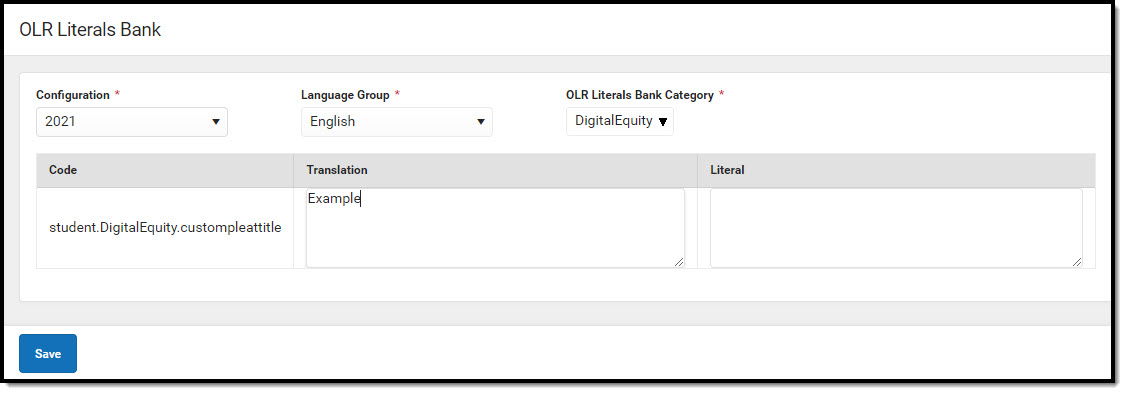 OLR Literals Bank
- Open the English Folder and locate the desired field within the Index/Pleat where it was saved.
- Remove the verbiage "YourFederalList starting literal" from the Translation text box.
- Enter the desired text the parent/guardian will read and answer in the application.
- Click Save.
- Open the Receipt Folder and locate the field within the Index/Pleat.
- Remove the verbiage "YourFederalList starting literal" from the Translation text box.
- Enter the desired text the parent/guardian will read in the Application Summary after they submit the application.
- Click Save.
- Repeat steps 1-8 for each field and other languages translation, if applicable.
