Removing Students from Activity
When removing students, comments explaining why they have been removed must be added. After a student has been removed, they can be viewed within the Removed Students List.
Removing someone from the Activity who already has an approved upload will not delete that document from the post location.
If needed, download or print a copy of the student's forms by clicking Print prior to removing them from the activity roster. After the student is removed, all forms will be deleted.
- Click the Roster button on the activity.
- Mark the checkbox in the Select column for the student(s) you want to remove.
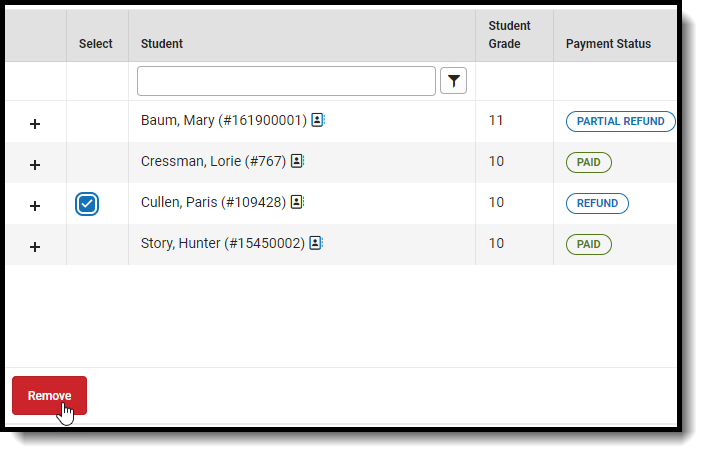
- Click the Remove button. The Remove confirmation box will appear.
- Enter a required removal comment.
- Click Remove. You will return to the Activity Roster.
- Click Save to save your changes.

Registration fees may be refunded as needed. See Refund Activity Payments.
Transfer Student Activities and Activity Purchase Options
Document Uploads cannot be transferred.
The Transfer option allows activities staff to move students to other activities or change to a different registration purchase option if needed. If the registration was paid for online using a credit/debit card or eCheck transaction, any refund must be made in the Payments Reporter. If a student transfers to a higher-cost purchase option, the difference can be paid in cash or by check. Transferred Students will appear under the View Removed button of the original activity with the Transferred label, in the Roster Payments Export, and within Ad Hoc.
Funds from the originating activity are recorded as CASH withdrawals and then deposited in the destination activity as CASH (regardless of the original payment method).
Only Students with a Payment Status of “PAID” are eligible to be transferred. When someone who has an online payment is transferred, the original online payment becomes nonrefundable in the Payments Reporter tool.

Only one student can be transferred at a time.
- Click the Select checkbox next to the student that will be transferred.
- Click Transfer.
- Select the Destination Activity. If you are only changing the purchase option, select the original activity.
- Choose a Purchase Option.
- Optionally, click the Transfer Form(s) checkbox to transfer the forms to the destination activity in a read-only state.
- Select a Transfer Action.
- Click Next. The payment or refund amount fills in with the difference from the prior screen.
- Choose a Payment Method and optionally enter any Payment or Transfer Comments.
- Click Pay & Transfer.
Viewing Removed Students List
Students who have been removed from an Activity Roster can be viewed in the Removed Students List by clicking the View Removed button. This button will only appear within an Activity Roster if at least one student has been removed. If the activity is still open for registrations and the student is eligible, they can be added back to the Activity and will no longer appear in the Removed Students List.
This list can be exported in a .xlsx file. The file contains the student's name, when they were deleted, who they were deleted by, and the required comments added when they were deleted.

- Click View Removed.
- Click Export to download the .xlsx file.
Re-add students who have been removed from the Roster
If a student has been removed from a roster, they can be added back from the Removed Student List. Once that student has been added back, if they had paid for the activity prior to being removed, they will be given a Payment Status of PAID. If they received a refund after they were initially removed, they will receive a Payment Status of REFUND.

- Click View Removed.
- Select the checkbox next to each student who will be added back to the roster.
- Click Add to Roster. An alert will appear to confirm their addition.
- Click Save to finalize the addition.
