The Basics: Assignments
Last Modified on 03/09/2026 8:33 am CDT
Create an Assignment
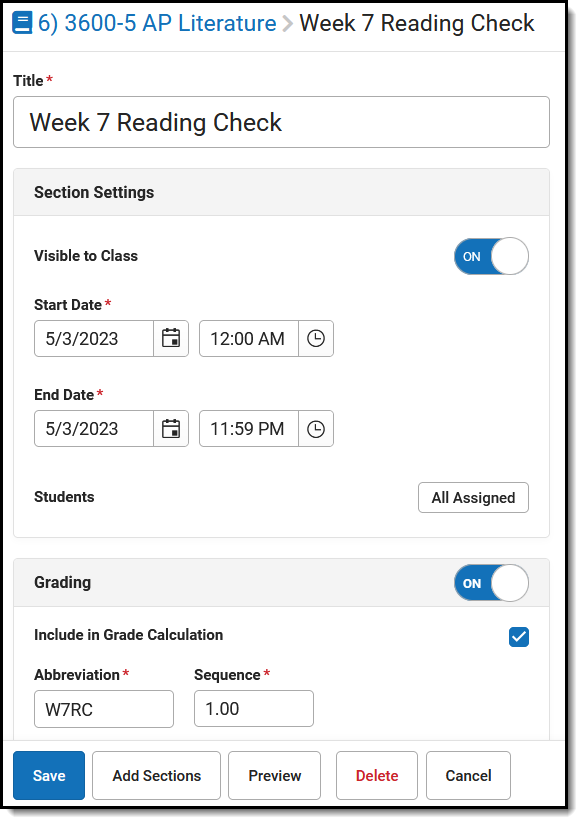
Regardless of what tool you're in, the assignment editor looks the same. A Title, Dates, and Grading information are required to save the assignment.
An assignment includes the following sections:
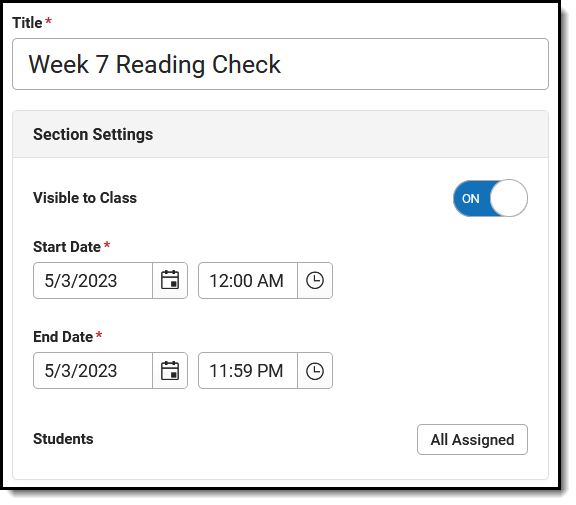
Title and Section Settings Click Add to open a new assignment. Enter a Title for the assignment. Indicate if the assignment should be Visible to Class through Campus Student and Campus Parent. Click Preview at any point to see how the assignment displays for others. Enter a Start and End Date by clicking the default date of today to open the calendar, clicking the Start Date and then the End Date without having to close the calendar. For the most part, dates are informational, but the End Date of an assignment determines which Grade Book term it displays in. The Grade Book and Curriculum List can be sorted by date. By default, the assignment is assigned to all students in the section. To change this, click the All Assigned button next to Students. From here, select an existing student group or use the Assigned checkboxes to indicate which students should be assigned. All other students are marked Exempt.
|  |
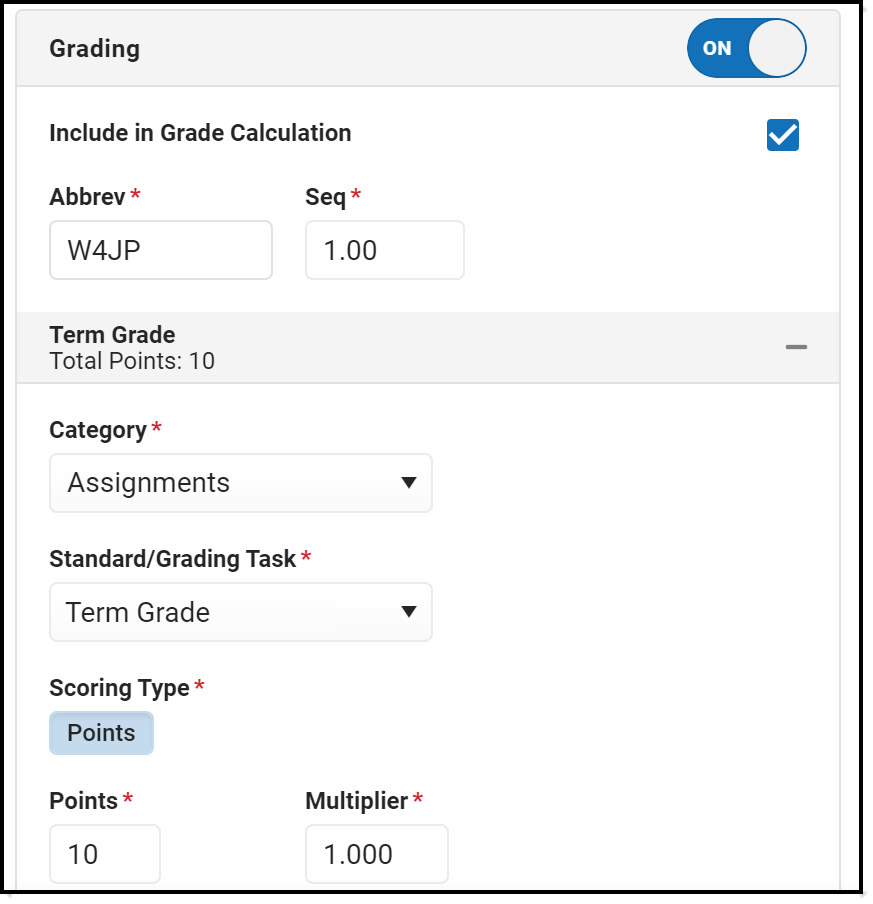
GradingToggle Grading off to make this an ungraded assignment. Leave Include in Grade Calculation if the scores entered for this assignment should contribute to student grades. The Abbreviation populates as you enter the title. Modify if desired. The Sequence autopopulates to 1; modify up to 7 digits: XXXXX.XX. Select a Category for the assignment. Categories are groupings of related assignments, such as Homework or Formative. Standards and Grading Tasks are item to which grades are posted. The Standard/Task of your current context, such what's selected in the Grade Book, is selected by default. Select a Scoring Type to indicate how the assignment will be scored. Options are: Points: Enter the Points possible for the assignment. Defaults to a value of 100. Marks: Select a set of Assignment Marks created by your or your district. With Marks, the Point value entered determines the student's score based on the % entered for each mark. Rubrics: (Standards only) Select Rubric to use the rubric aligned to standard to score the assignment.
If desired, change the Multiplier if using points or marks, which determines how the assignment affects students' grades. For example, a 50 point assignment with a Multiplier of 2 counts as a 100 point assignment.
|  |
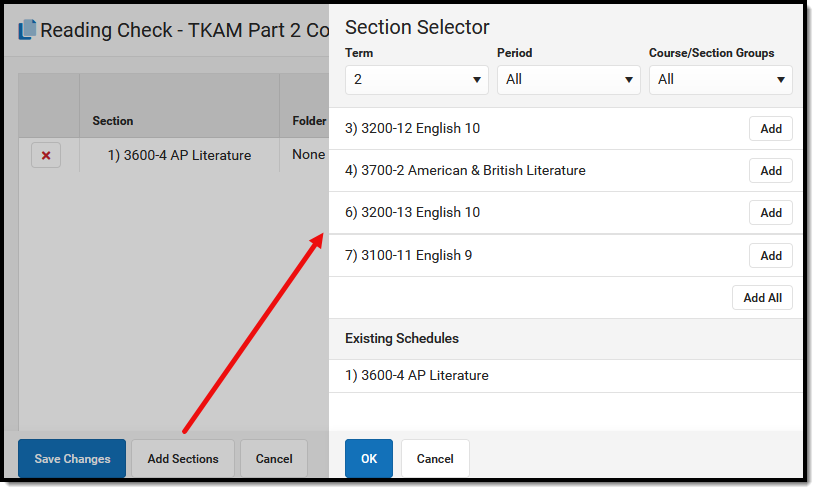
Other Sections/Schedules Save the assignment to add it to other sections. Click Add/Edit and then Add Sections. Click Add next to any section to add it to the assignment and click OK. Once added to the list, made any needed updates to each instance of the assignment, whether it's Visible on Campus Student & Parent, the Start/End Dates, and the Grading. By default, these fields match the original assignment. Click Save Changes when finished. The Other Sections/Schedules area now lists other sections that include this assignment.
|  |
Save the assignment when finished.