Tool Search: PreID (Current)
For the Science and Social Studies Tests and the Alternate Assessment for Students with Significant Cognitive Disabilities (AASCD), districts must use this layout to prepare and submit their student Pre-ID information. This layout includes fields that designate the test(s) for which students are eligible and whether students taking Science and Social Studies Tests will test online or need Pre-ID labels to apply to paper booklets.
Note: When SPED third-party integration is set up, SPED data is pulled through API, not Infinite Campus. If incorrect data is extracted, the district must work in its third-party system to correct the data for extraction.
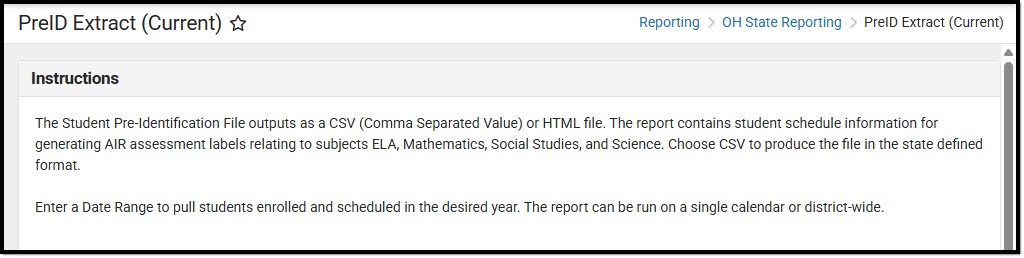 PreID Extract (Current) Instructions
See the PreID Extract (Current) (May 2026) PDF for information on reporting population, logic, and the report layout.
Extract Editor
| Field | Description | Image Click to enlarge |
|---|---|---|
| Setup | ||
| Calendar Selection | Enter characters into the Search Calendars text box to narrow the list of calendars available for selection. The Show Active Year Only toggle can be used to filter calendars to only active or all calendars. Click the Expand All or Collapse All buttons to change the calendar view further. |  PreID Extract Setup PreID Extract Setup |
| Report Options | ||
| Start Date | The first day on which the report returns data. |  PreID Extract Options PreID Extract Options |
| End Date | The last day on which the report returns data. | |
| Pull from SPED product integration | When marked, reports data from an integrated, third-party Special Education product. This defaults to unmarked. When no API is enabled, a warning displays. Inactive students do not report when this checkbox is marked. See the SameGoal Integration article for more information. | |
| SameGoal Only | When marked, data in its raw form, as received from the ‘Pull data from SPED product integration’ API call, generates. All Campus post-processing is removed. This functionality is provided for user visibility and debugging purposes ONLY. This is not automatically marked by default. When marked, the Pull data from SPED product integration checkbox is automatically marked as checked. | |
| Include Protected Identity Info | When marked, reports the student's first and last name from their Protected Identities area. | |
| Exclude Dropped Students | When marked, students in sections that have a roster End Date are not included on the extract. | |
| Include All Enrolled Students | When marked, a record for each student with an Enrollment in the calendar(s) selected that has an Enrollment Start Date less than or equal to the Date Range End Date and a null End Date or an Enrollment End Date that is greater than or equal to the Date Range End Date reports. | |
| Exclude Cross-Site Data | When marked, the extract excludes cross-site enrolled student data. | |
| Ad hoc Filter | When selected, filters extract results based on a prior-created Ad hoc filter. | |
| Output Options | ||
| Report Processing | Select Generate Now to generate the extract immediately. Select Submit to Batch Queue to send the extract to the batch queue for processing. |  PreID Extract Output Options PreID Extract Output Options |
| Format Type | Select which format to generate the report:
| |
| Batch Queue Results | ||
| Start Date, End Date | The Batch Queue Results section displays a batch queue snippet for users to monitor the report generation status from the extract editor view. Enter a Start Date or End Date to filter the Batch Queue Results to a specific date range. |  PreID Extract Batch Queue Results PreID Extract Batch Queue Results |
Generate the Extract
- Select which Calendar(s) to include in the extract.
- Enter a Start Date and/or End Date.
- Mark the appropriate checkboxes below when applicable:
- Pull from SPED product integration
- Include Protected Identity Info
- Exclude Dropped Students
- Include All Enrolled Students
- Exclude Cross-Site Data
- Select an Ad hoc Filter when applicable.
- Select when the report generates:
- Generate Now
- Submit to Batch Queue.
- Select the format in which to generate the extract:
- Fixed Width (State Format)
- CSV
- HTML
- Click Generate.
