This tool is available as part of the Campus Learning premium offering.
Tool Search: Planner
This article describes the Settings that control the appearance of the Planner and the To Do List, with separate articles describing the Schedule view and Curriculum view.
The School Calendar or the To Do List or both can be minimized to increase the space of the schedule.
 Use the available options to determine what displays in your Planner.
See the Instruction Tool Rights article for information on available tool rights.
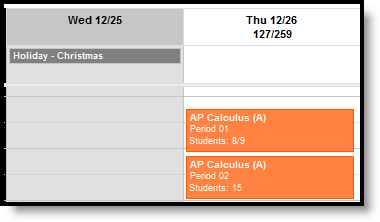
Any Day Events entered for the school appear in your calendar, such as holidays.
Day Events in the Planner
Calendar Options
The calendar options in the header appear above both views of the planner.
Calendar Header in the Planner
When in week view, the week of the school year displays at the top of the calendar. The day of the school year also displays for each day.
In the top right of the calendar, you can change the view to Month, Week, or a single Day. Use the arrows at the left to advance or go back from your current view.
Click the calendar icon to select a specific day to view. Click Today to return to the current day from wherever you are.
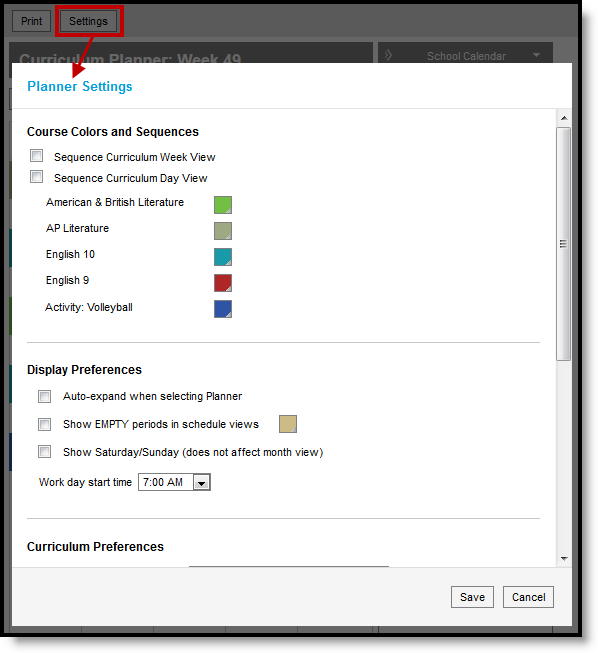
Planner Settings
The planner Settings allow you to choose the color and sequence of each course in your schedule, as well as display preferences for how the schedule appears and curriculum preferences.
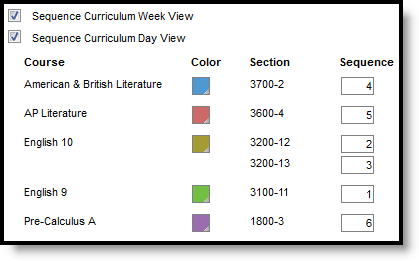
Sequence selections apply to Week View and/or Day View. Sequence fields for each section display when a setting is marked.
Enter sequence numbers for each section.
Color choices apply to each course, so multiple sections of the same course are the same color.
The Display Preference logic is as follows:
Option |
Logic |
|---|---|
| Show EMPTY periods in schedule view | Marking this preferences displays all periods you don't have a section to the default color. Change color as desired. |
| Show Saturday/Sunday | Marking this preference adds Saturday and Sunday to the week view. |
| Work day start time | Select the default earliest time that should appear in the schedule. |
The Curriculum Preferences logic is as follows:
| Option | Description |
|---|---|
| Allow the selected sections to be visible to other users | Marking a section makes it available for other teachers to add to their Other Curriculum view. |
School Calendar Selection
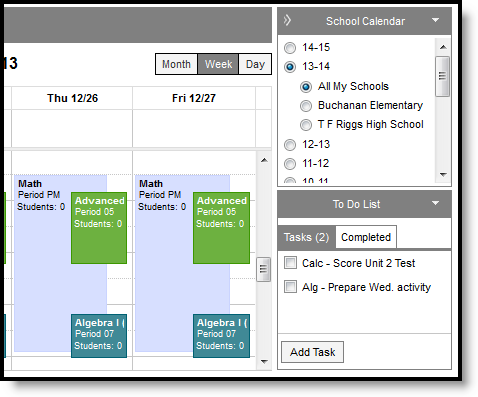
Each year and calendar that you have rights to display in the School Calendar list. Select which schedule you'd like to view. Select All My Schools to view all of your sections across schools. If you have sections in multiple schools, you may want to choose a different color scheme in Settings for each school (such as light and dark, warm and cold, etc).
Multiple Schools in the Schedule
To Do List
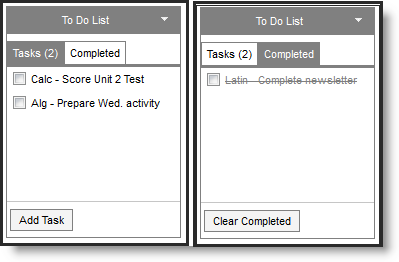
The To Do List allows you to list tasks you'd like to remember and mark them off as you complete them.
To Do Lists, Current and Completed
To add items, click Add Task, enter the reminder and hit Enter.
Once you've completed a task, mark the checkbox to move the task to the Completed list. To move a task back to the active list, mark the checkbox for the task in the Completed tab. Click Clear Completed to remove all completed items from that list.
