Tool Search: Documents
Custom Forms are editable PDF documents used to supplement documents linked to a person's record. They can be linked to a specific person and prepopulated with data on the person's Documents tool or accessed outside of the context of a person from the Blank Forms area on the Forms tool. Examples of custom forms include notices, consent forms, and service-specific eligibility forms. Lists of custom forms are available for many states in the State Specific Information area.
Blank Forms and Custom Forms with eSignatures cannot be created from this tool. Custom Forms with eSignatures can only be created on the Forms tool.
Custom Forms Document Detail
When a Custom Form is created and saved for a person, the Document Detail that appears below the Document list includes a School Year field. This date defaults to the date the form was created and determines into which calendar the form will be organized. If the form needs to be organized into a different calendar, the School Year field can be used to move it to a different calendar.
Forms located in the forms folder are organized by the Year and then the Modified Date.
Select Prepopulation Data
When setting up a Custom Form, form administrators have the option of mapping Ad hoc fields to editable fields in the form. These mapped fields populate based on the person's data to which the form is attached.
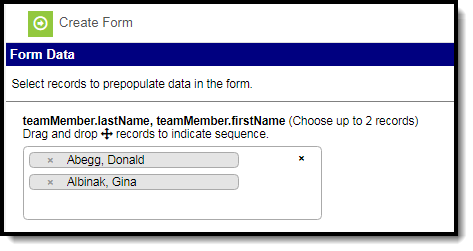
Forms may include multiple fields mapped to the same Ad hoc field, such as reporting a list of team members or behavior events. When the form in created in System Administration, Sequence values are selected for fields in a list. The user creating the form then indicates the order that records should populate in the form. This process is best illustrated with an example.
Team Members Example
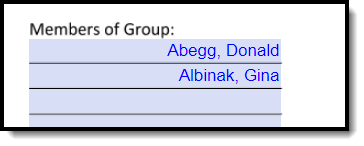
An example form includes a list of a person's team members. When mapping Ad hoc fields to the form, the form administrator aligned TeamMember.lastName and TeamMember.firstName to two fields in a list, with Sequences of 1 and 2. When a user selects the form to add to a person, the first step is to select which records populate in these fields and in what order. Select records from the dropdown list and reorder them as desired by clicking and dragging records.
Click the Create Form button after all selections have been made. In the form, selected records display in the indicated order.
Complete Form
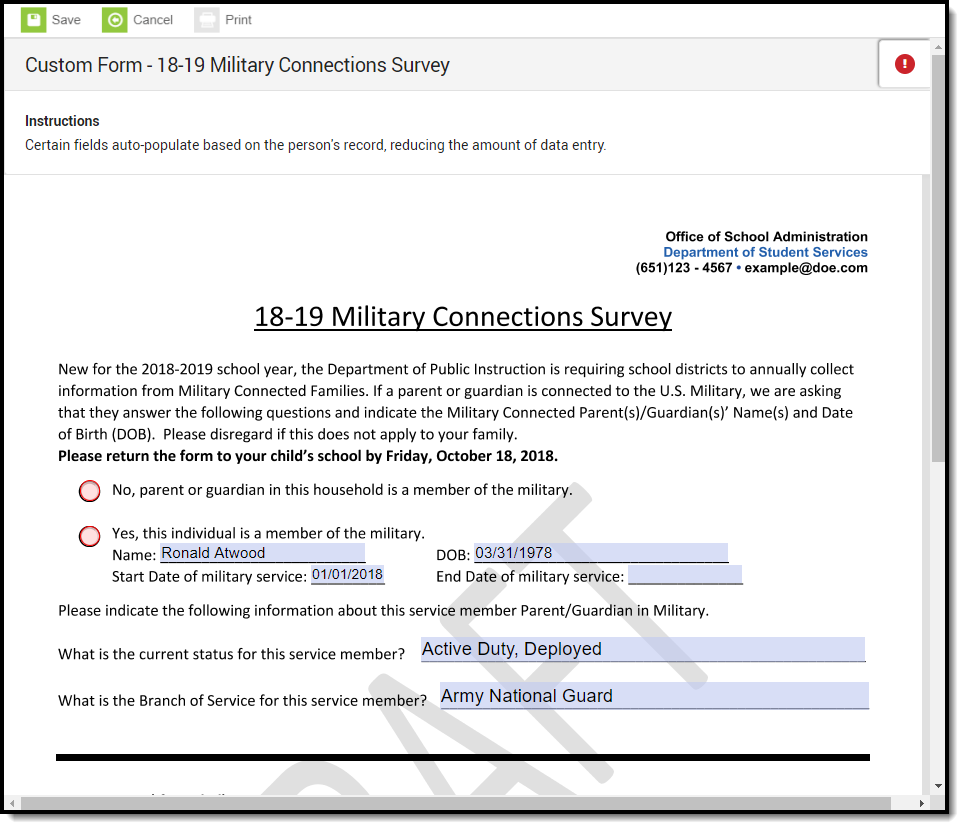
The Name and the Instructions display at the top of the form. A warning icon displays in the upper right corner of the screen if there are any errors, such as missing required fields or overfilled fields. Click this button to navigate through the errors on the form. A checkmark icon displays after all errors have been fixed.
A draft of the form can be saved with rule errors. However, a draft of the document will not save if there are overfilled fields.
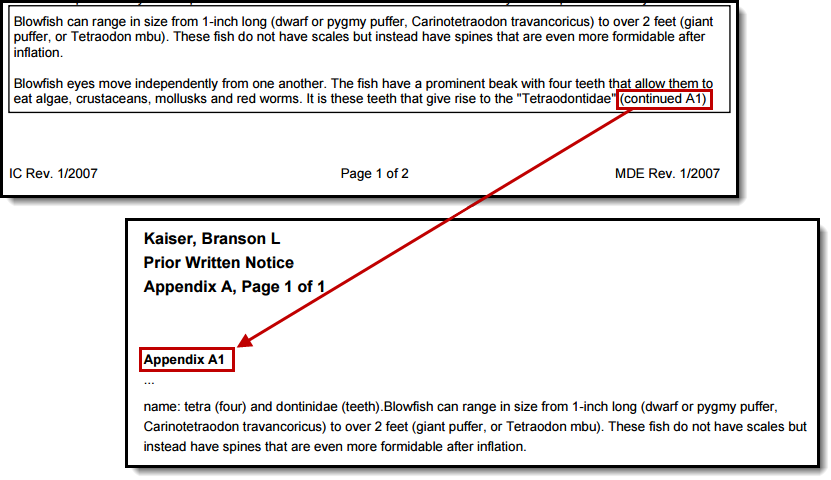
When text entered in a multiline text field on a custom form goes beyond the capacity of space on the page, the overflow text displays on subsequent pages when the form is printed. The text on one page ends with the word Continued and a Letter-Number combination in parenthesis which indicates where the text is continued on another page. See the Custom Forms article for additional information concerning the overflow functionality.
For example, if a text field ends with "Continued A1," the text is continued on an overflow page labeled Appendix A1 (see image 5 below). The ellipsis (...) under the Appendix label indicates the text is continued from a previous page.
The maximum capacity for each overflow text field is 1 MB, with a maximum of 4 MB per form.
Overflow Setup
When creating the form in Adobe Acrobat Professional, the multiline option must be selected under Text Field Properties. The Overflow checkbox must also be marked in System Administration. See the Custom Forms documentation to learn about Custom Form setup.
Print Draft Custom Forms
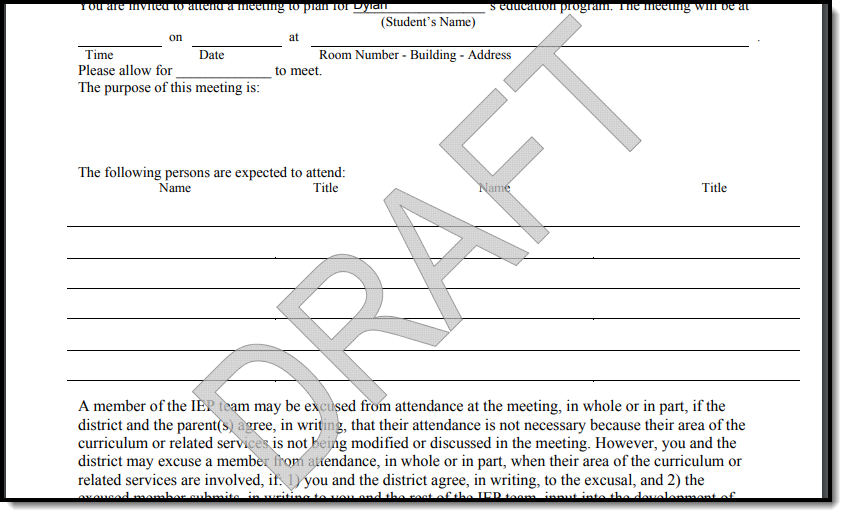
A Draft watermark displays when printing Custom Forms in a draft status.

