Tool Search: RTI Documents
RTI plan types are predetermined RTI plan formats which designate the Content Area, Intervention Tier, and editors available within the RTI plan you are creating.
See the Response to Intervention (RTI) Tool Rights article for information about rights needed to use this and related RTI tools.
Create an RTI Plan
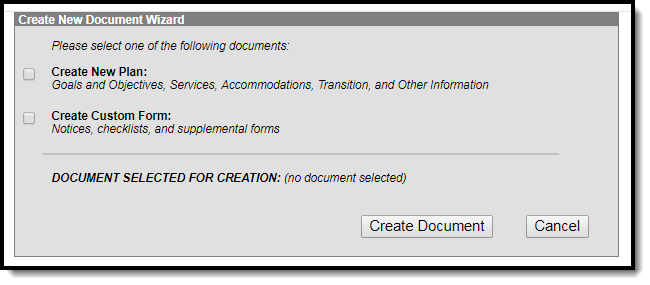
- To create a new RTI Plan for a student, click the New Plan button. The Create New Document Wizard displays.
- Click the Create Document button after selecting the Plan document type. See the RTI Plan or Custom Forms section for information on how to complete each document type.
 Complete a New RTI Plan
RTI Plan
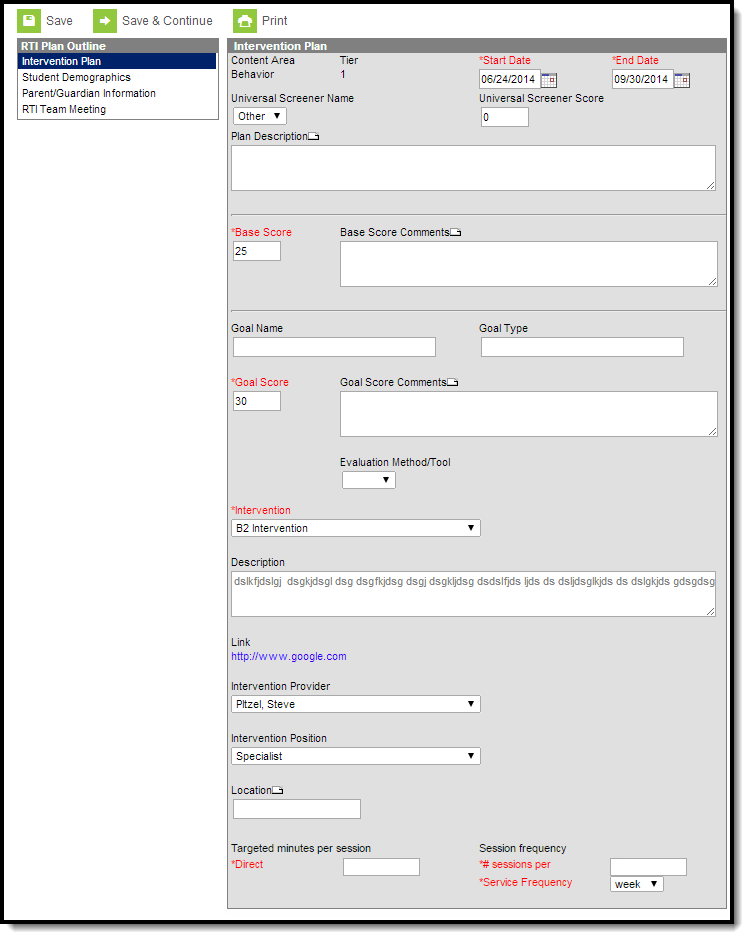
The sequence of editors is determined by the plan type selected. In this example below, the Intervention Plan editor is the first editor to appear.
 Enter RTI Details
Enter Intervention Plan Information:
- Enter the Start Date of the intervention plan.
- Enter the End Date of the intervention plan. Note: End Dates are exclusive when a plan is considered active. As of midnight (00:00:00AM) on the End Date, the plan is considered inactive, and no data can be entered on the End Date itself.
- Enter the Base Score of the intervention plan.
- Enter the Goal Score of the intervention plan.
- Enter the Intervention being used for the plan.
- Enter the Targeted minutes per session. This a targeted number of minutes the student will receive intervention instruction per intervention delivery event.
- Enter a Session Frequency - # sessions per value. This is the number of intervention delivery sessions the student will receive during his/her intervention plan.
- Select the Service Frequency. This is the frequency in which the student will receive intervention delivery from a Intervention Delivery staff member.
- Enter all other relevant RTI plan data using the table below for guidance.
- Select the Save & Continue button to save all information entered in this editor and move on to the next editor.
| Field | Description |
|---|---|
| Content Area | This is the content area of focus for the intervention (Behavior, Math, Reading). This value is predefined based on the plan type selected. |
| Tier | This is the tier of the intervention. This value is predefined based on the plan type selected. |
| Start Date | This is the first day of the intervention plan. |
| End Date | This is the last day of the intervention plan.
Note: End Dates are exclusive when a plan is considered active. As of midnight (00:00:00AM) on the End Date, the plan is considered inactive, and no data can be entered on the End Date itself.
|
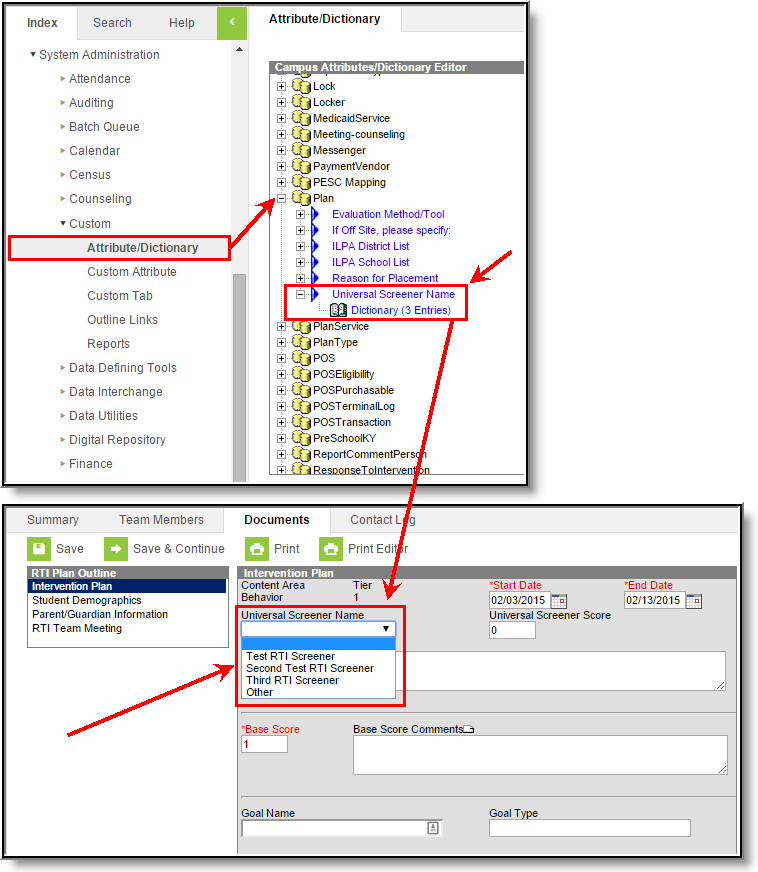
| Universal Screener Name |
The intervention assessment given to students in the school. This is oftentimes the state assessment test (i.e., Wisconsin Knowledge and Concepts Examinations (WKCE), etc.). Additional Universal Screener Name values can be added within the Attribute Dictionary.
|
| Universal Screener Score |
The score the student received on the Universal Screener. |
| Plan Description |
A description of the plan. You can enter this description manually or select a template bank by clicking the template bank icon. Canned plan descriptions are created in the Template Banks tool. |
| Base Score | The base score of the RTI plan. |
| Base Score Comments |
Any comments about the base score for the RTI plan. You can enter this comment manually or select a template bank by clicking the template bank icon.
Canned base score comments are created in the Template Banks tool. |
| Goal Name | Name of the intervention goal. |
| Goal Type | The type of goal for the intervention. This is often used to organize goals for a school. |
| Goal Score | The score in which the student should receive in order to show successful completion of the intervention. |
| Goal Score Comments |
Any comments about the goal score for the plan. You can enter this comment manually or select a template bank by clicking the template bank icon. Canned goal score comments are created in the Template Banks tool. |
| Evaluation Method/Tool |
The method or tool the intervention provider will use to measure the student's intervention progress. The options available in this field are in an open Attribute Dictionary at Plan > Evaluation Method/Tool. |
| Intervention |
The intervention used for the intervention plan. This ties the plan to a specific Content Area and Intervention Tier. Intervention values are created in the Interventions tool. |
| Description |
A description of the intervention selected. This value is a read-only description pre-populated by the Intervention value selected. This value is entered and managed in the Interventions tool. |
| Link |
A link to any external or internal resource tied to the Intervention selected. This link is entered and managed in the Interventions tool. |
| Intervention Provider |
The Intervention Provider for the RTI plan. This list is managed in the Intervention Provider tool. |
| Intervention Position |
The position of the intervention provider. This list is managed in the Intervention Positions tool. |
| Location |
The location in which the intervention will be delivered. You can enter the location manually or select a template bank by clicking the template bank icon. Canned location values are created and managed in the Template Banks tool. |
| Targeted minutes per session | A targeted number of minutes the student will receive intervention instruction per intervention delivery event. |
|
Session frequency - # sessions per |
The number of intervention delivery sessions the student will receive during his/her intervention plan. |
| Service Frequency | The frequency in which the student will receive intervention delivery from a Intervention Delivery staff member. |
Once the Save & Continue button is selected, you will be directed to the next editor in the RTI plan.
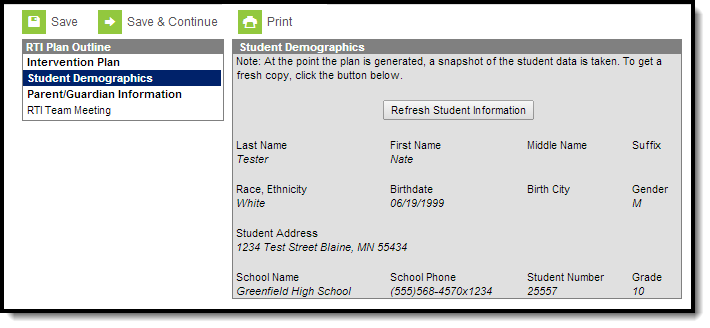
For this example, we proceed to the Student Demographics editor. This editor is a read-only view of the student's demographic information. If the student's information has been recently modified or if information is not appearing in this editor, click the Refresh Student Information button.
If the information appears incorrect, select the Save button and update the student's data via the Demographics tool. If the information is correct, select the Save & Continue button and proceed to the next editor in the RTI plan.
 View the Student's Demographic Information
Once Save & Continue is selected, you will be sent to the next editor in the RTI plan.
For this example, Parent/Guardian Information is the next editor in the RTI plan. This editor is a read-only view of the student's parent/guardian information. If this information has been recently modified or if information is not appearing in this editor, click the Refresh Student Information button.
If the information appears incorrect, select the Save button and update the student's parent/guardian information via the Relationships and Households tools. If the information is correct, select the Save & Continue button and proceed to the next editor in the RTI plan.
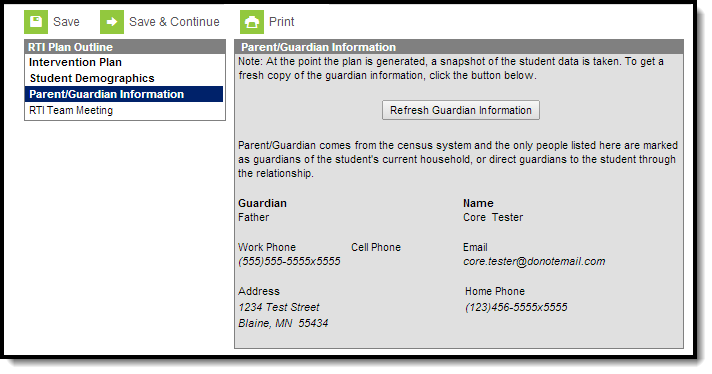 Viewing a Student's Parent/Guardian Information
The last potential editor you may have in your RTI plan is RTI Team Meeting. This editor allows you to enter detailed information about any meeting(s) occurring between the student's RTI Team Members in relation to his/her RTI plan.
 Enter RTI Team Meeting Information
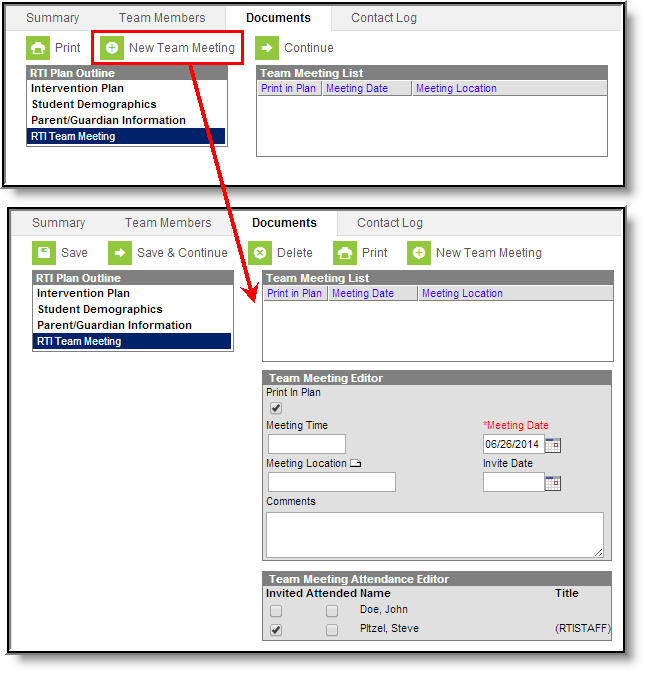
Enter a New RTI Team Meeting:
- Click the New Team Meeting button. The Team Meeting List, Team Meeting Editor and Team Meeting Attendance Editor will appear on the right.
- Enter the Meeting Date. This is the date in which the RTI team meeting will occur.
- If the Team Meeting's details should appear in the printed version of the student's RTI plan, marked the Print In Plan checkbox. Team Members must be marked as Invited or Attended to display on print.
- Enter the Meeting Time. This is the time of the Meeting Date in which the meeting occurred.
- Enter the Meeting Location by typing in a location value or by selecting the template bank icon next to Meeting Location and selecting the location from a predefined list of RTI meeting locations.
- Enter the Invite Date. This is the date in which an invitation was sent to Team Members asking them to participate in this meeting.
- Enter any Comments about the Team Meeting.
- Mark which of the student's RTI Team Members were Invited and if the meeting has already occurred, which members Attended the meeting.
- Select the Save & Continue button.
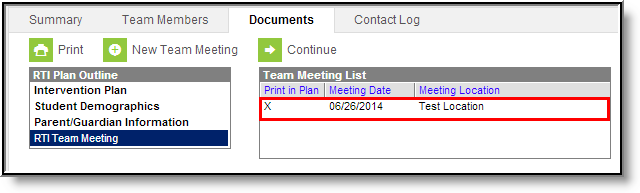 Example of an RTI Team Meeting
Now that all plan information has been entered and saved, click the Save button to ensure the entire RTI plan has been saved.
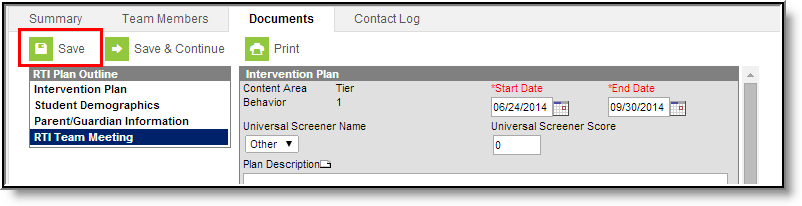 Saving a Completed RTI Plan
Once the plan has been saved, it should now be locked. Locking a plan ensures plan information cannot be modified and makes the plan available for reporting within Campus.
An intervention plan must be locked in order for intervention providers to enter intervention delivery data.
To lock the plan, select the plan from the Documents List and click the Lock/Unlock button. A pop-up message will appear, warning you that locking the plan will prevent it from being modified. Click OK to lock the plan.
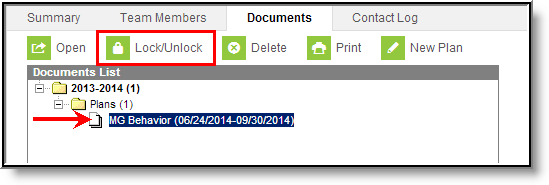 Example of Completed Plan
Once the plan is locked it will appear with a lock icon next to it in the Documents List.
 Example of a Locked Plan
