Location: Grade Book > expand Settings menu > Categories; Planner > My Planner > click Section name > Categories; Progress Monitor > Settings > Categories
Categories are groupings of related assignments, used for sorting and grade calculation. Categories must exist before you can create assignments.
Examples of categories include Homework, Quizzes, and Tests, or Formative and Summative.
View and edit categories in the following locations:
Grade Book > Settings
|
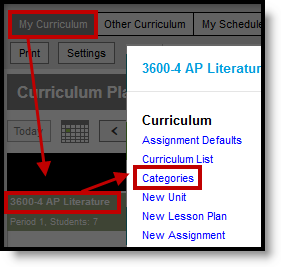
Planner > Section Name
|
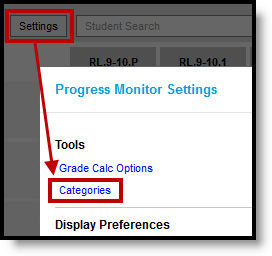
Progress Monitor > Settings
|

The Categories list may include categories created at the district level. These categories may not be editable.
If a category is created at the district level that has the same name as one you've created, your version of the category will be appended with "(1)".
Teachers with tool rights Categories can create their own. Categories that display with a lock icon cannot be edited by teachers. |
|

The Edit Categories tool right in Additional Access Rights > Instruction Tools is required to access this tool. See the Instruction Tool Rights article for more information.
Where do Categories Display?
District-created and teacher-created categories are not differentiated outside of the Categories tool.
 Selecting Categories in the Assignments editor |
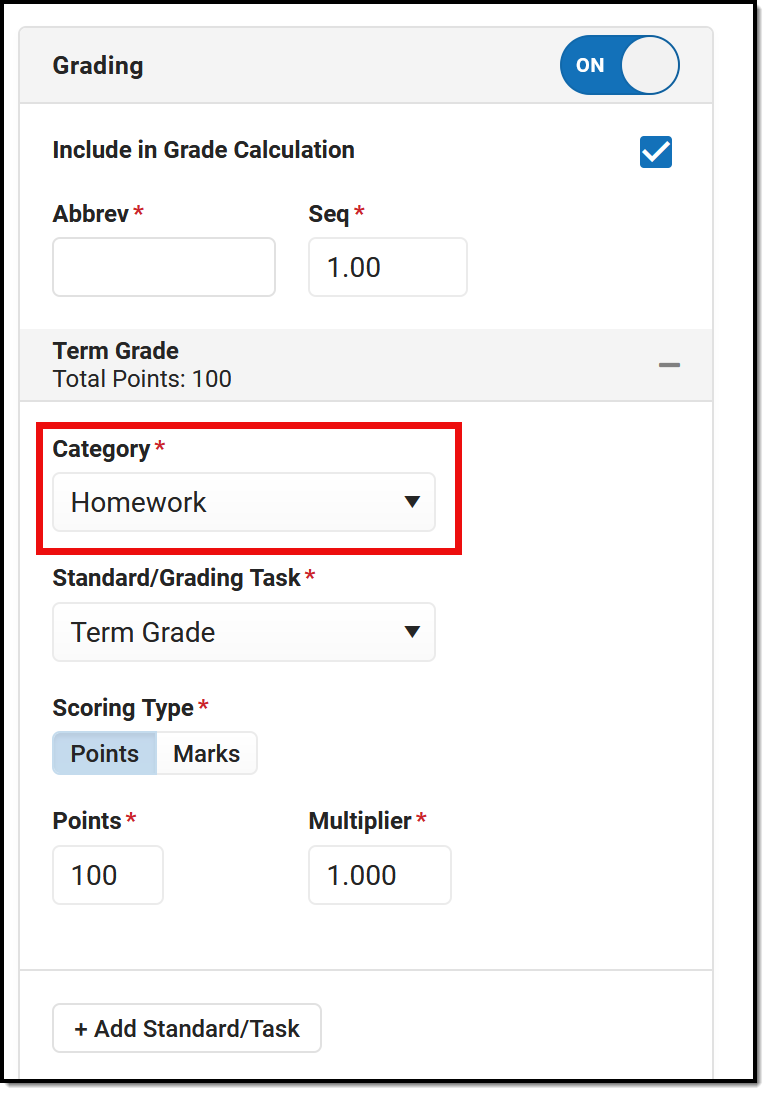
In Assignments:Select a Category in the Grading area of an assignment. Categories must be selected for each grading alignment. |
In the Grade Book:Assignments can be sorted by Category in the Grade Book.
In the Grade Book, categories display in the Grade Totals. Categories do not display until they have assignments aligned to them. |
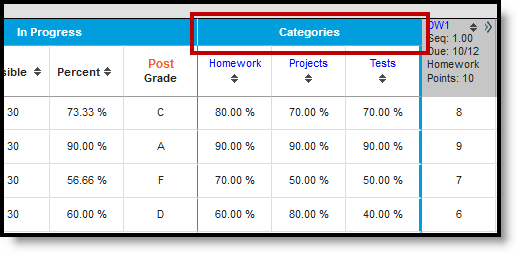 Categories are shown in the Grade Totals area of the Grade Book |
View the Category List
| The Category List that displays upon opening the Categories tool lists all categories in any of your sections, regardless of the context of the tool you started in.
Filter the list by selecting a Section at the top. Sort the list using the Sort By dropdown list. When you select a section, only categories in that section are displayed in the list, with the settings specific to that section shown, such as Weight and Sequence. Clicking on a category in the context of a section opens the category for all sections, not just the selected section. |
 Select a Section to view section-specific settings. Select a Section to view section-specific settings. |
Create a Category
Categories must be created before assignments can be added to the Grade Book.

Select which sections should include a category in the category editor
- Access Categories from the tool of your choosing, by opening the Grade Book Settings menu, clicking a section name in the Planner, or opening Settings in the Progress Monitor.
- Click Add at the bottom of the Category List.
- Enter a Name for the Category, which displays on assignments and in the Grade Book. Names must be unique and can be up to 50 characters long.
- Select the Sections that should include this category. For each selected section, enter or mark the following. Use the fields and arrow buttons in the header row to fill settings for all selected sections.
Setting Description Enter a Weight. The weight of a category determines the effect of each category on the final grade, in relation to other categories. Weights can be entered as percentages (without the % sign) or calculated as a ratio based on the other weights entered Weights only influence calculation if the Weight Categories option is selected in the Grade Calculation Options. - Percentages Example: In the opening image of this article, Homework is worth 50% of students' grades, with Quizzes worth 20% and Tests the remaining 30%.
- Ratios Example: A course where tests make up half of students' grades could be expressed as follows using ratios: Tests: 2, Homework: 1, Quizzes: 1.
- To leave categories unweighted, enter the same weight for all categories (such as 0) and then leave the Weight Categories option in Grade Calculation Options. unmarked.
Enter a Sequence. The sequence of the category determines the order in which categories are listed in the Grade Book and other tools. Mark the checkbox to Exclude from Calculation. Excluded categories are not included in grade calculation and display with an asterisk. Assignments in excluded categories still display in the Portal/Campus Student unless individually marked to be excluded. Mark the checkbox to Drop Lowest Score. This setting automatically removes the lowest score in the category (by percentage) from calculating into the student's grade. See the drop lowest score logic article for more information. Select the Default scoring options, if desired. When a category is selected for an assignment, the default scoring options are populated by default. See the Assignments & Resources article for more information about Options include: - Default Scoring Type: Indicate how an assignment will be scored. Options are points, marks, and rubrics (standards only). If using Marks, also select a default Assignment Mark.
- Default Points: The total number of points the assignment is worth. Displays if a scoring type of Points or Marks is selected.
- Default Multiplier: Determines how the score affects students' grades. For example, a 50 point assignment with a Multiplier of 2 counts as a 100 point assignment. Displays if a scoring type of Points or Marks is selected.
- Click Save to add the category to the list.
Delete a Category
- Open Categories from the tool of your choice.
- Click on the category Name to open it.
- Click Delete in the bottom right corner.
- Verify that you would like to delete the category in the warning message that appears.
A category cannot be deleted if it already has an assignment.
Drop Lowest Score Logic
Logic for Drop Lowest Score can be found in the Drop Lowest Score Logic article.
Previous Version
Categories (Instruction) [.2403 - .2535]
