Before using the Photo and Badge Printing tool, users MUST setup the following thresholds: Tardy Threshold, Attendance Threshold, and Auto Submit Threshold. Please see Classroom Attendance in the Scanner Settings article for more information.
Tool Search: Photo and Badge Printing
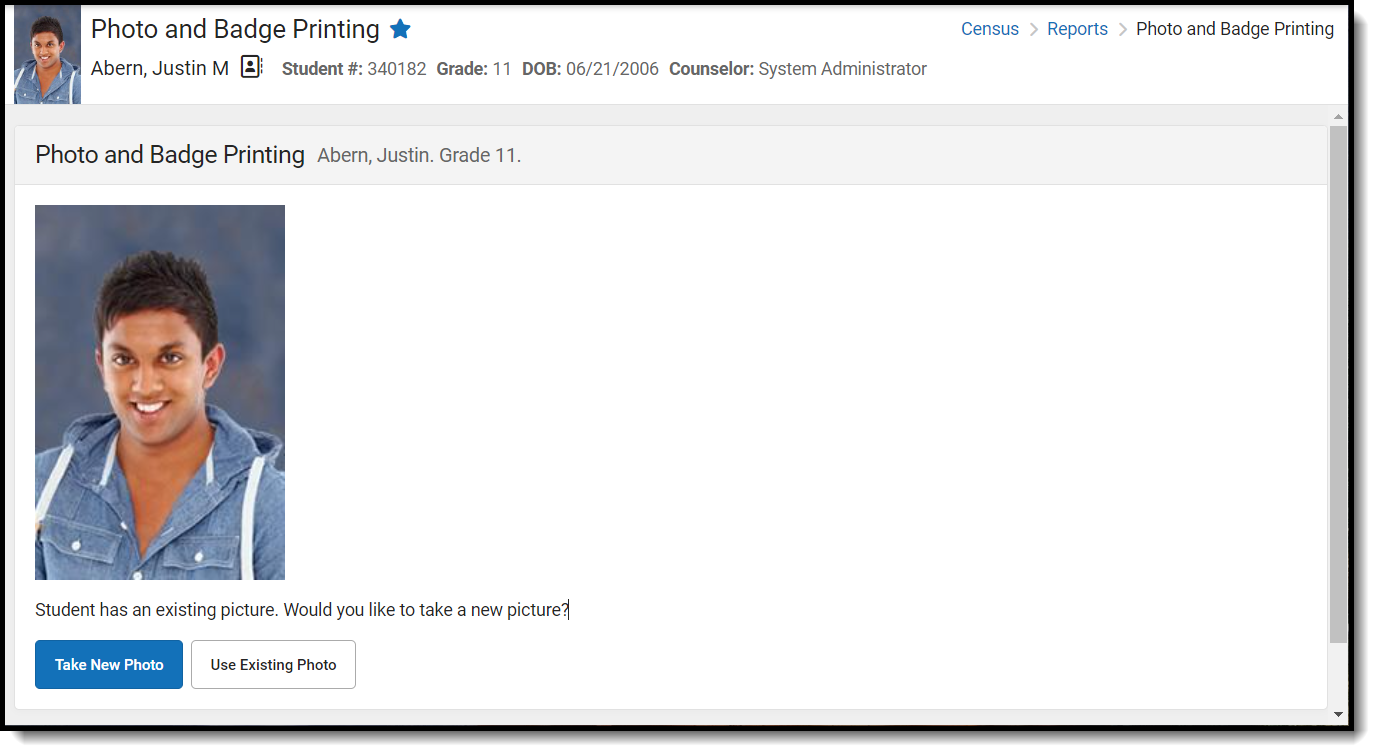
Photo and Badge Printing streamlines the process of taking a photo and creating a badge for a newly enrolled student or existing students who have lost theirs. The student's picture will also be uploaded as their photo for their Infinite Campus SIS User Account. The camera installed or within the computer or device is used to take the badge photo. Once a photo has been taken, it can be centered or cropped. After templates for the front and back have been added, a window with the badge will appear and it can be printed. If your district uses ID cards with embedded RFID tags, the alternate identifier for this student can be added by scanning the card.
See the Census Reports Tool Rights article for information about rights needed to use this tool.
Using the Photo and Badge Printing Tool
- If you already have a photo on file, click Use Existing Photo and skip to step 6.
- If you are taking a new photo, click Take New Photo. If this is the first time using the Photo and Badge printer, your browser will ask for Infinite Campus to have access to your camera. Select Allow.
- When the student is positioned in front of the camera and ready, click Take Picture.
- Resize and position the blue box over the student's picture. If the picture is not satisfactory, click Retake to start over.
- Click Confirm Picture.
- Select the front and, if supported, back badge templates.
- Click Generate. A Badge Designer Report window will open with a PDF available to print.
- Print the badge.
- If your district uses RFID tags and scanners, scan the printed badge to register the badge as the student's Alternate ID. If your district does not, click Skip.
- Click Enter.
