Each district that uses Campus is provided with Campus Student and Campus Parent Portals. Schools should allow the use of these portal only after data in Campus is accurate. Campus settings should have been verified, addresses should be correct, grades entered, etc.
Accessing the Portal
The Portal can be accessed by parents of enrolled students. Parents will see all children in their household, or students that are related through the Guardian checkbox of the Relationships tool. Students can also be given access to the Portal, but they will only be able to access their own information.
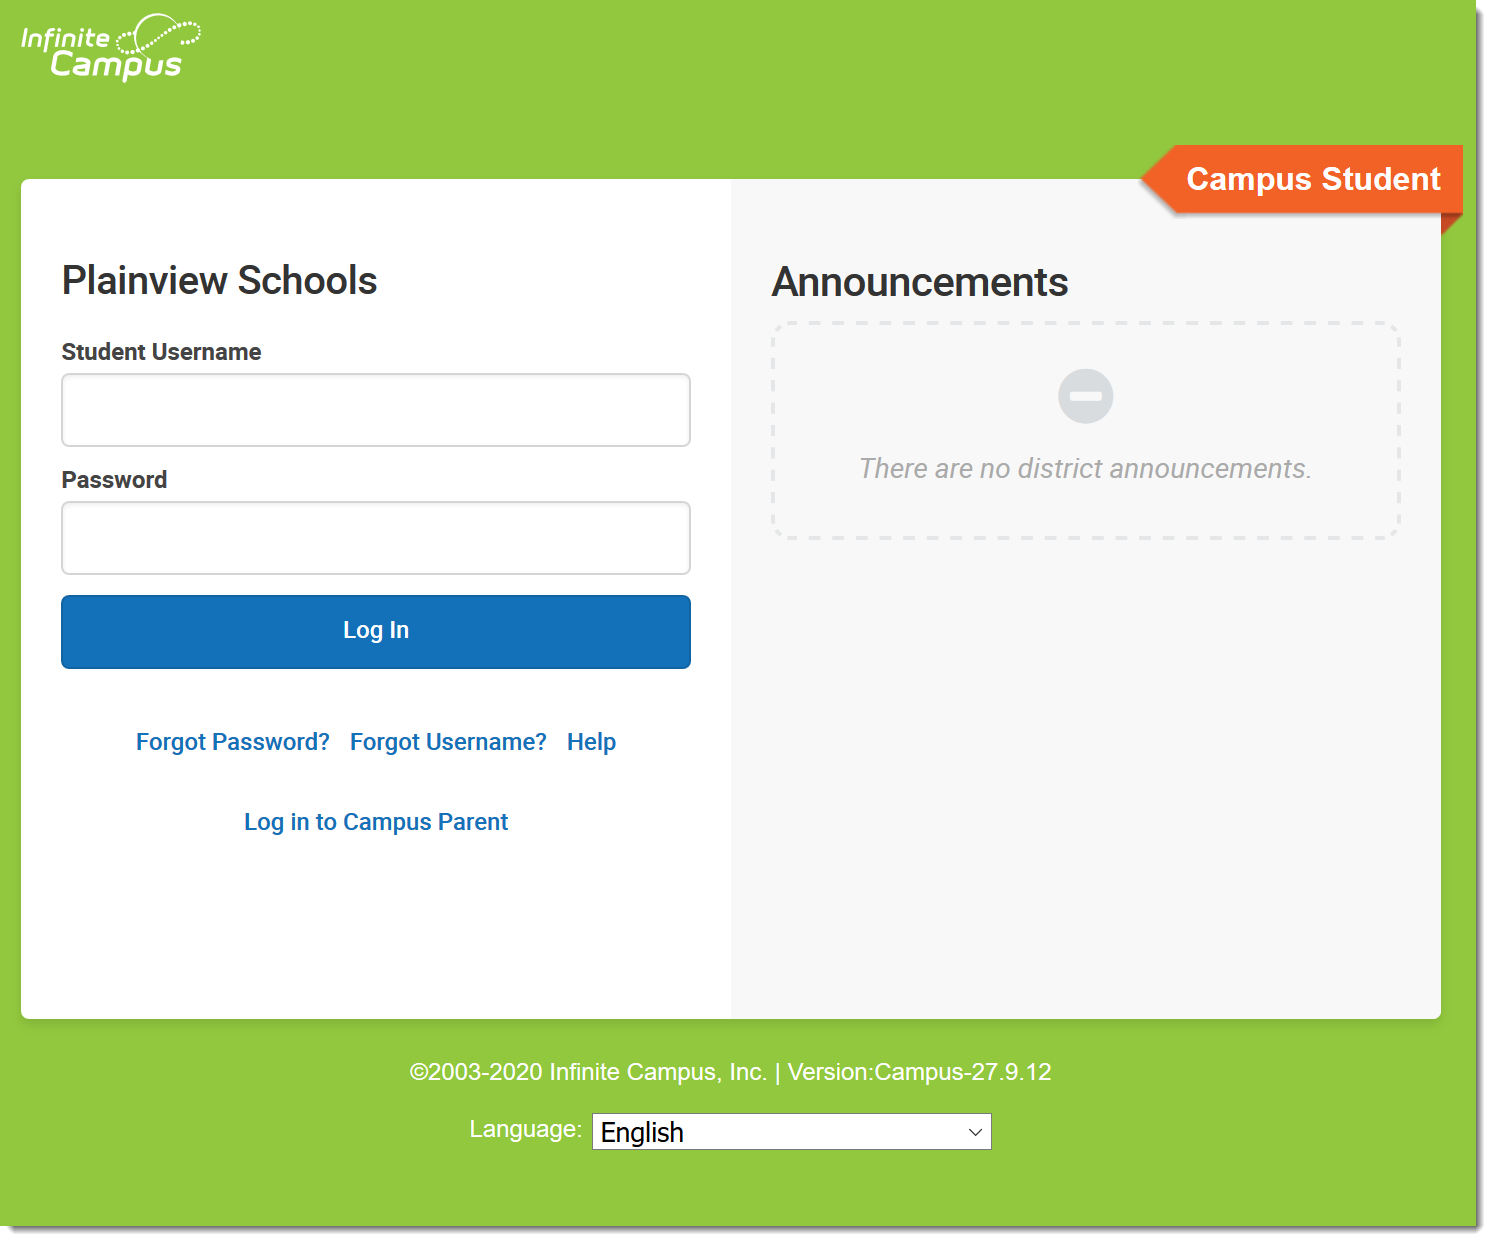 Logging in to Campus Student
Infinite Campus recommends that districts require all Portal users to sign an "Acceptable Use" policy before allowing Portal access. A district may also wish to require that Portal users sign a Web Access Agreement. See the Suggestions for Portal Policies Section at the end of this article for further guidance.
The Portal web address is https://<campus district access>/databasename/portal/<district name>.jsp. Thus, a district with a web application name of ICCampus and a district name of ICCSS would have a portal address of: <https://campus.iccampus.k12.state.us/campus/portal/ICCSS.jsp>.
Assigning Usernames and Passwords Manually
To create a username/password, search for the user and complete the following steps.
Step 1: Search for the User
- Open the Search menu by clicking the magnifying glass icon in the Campus Toolbar.
- Select a search Type of User and enter the Last Name, First Name of the user for whom a username and password will be created. Use Advanced search options below the results list to enter more search criteria if needed.
- Select the desired user from the Search Results by clicking on the person's name. The User Account tool displays.
Step 2: Create a New User Account
- Click New.
- Indicate the Homepage of the account, such as Campus Parent Portal or Campus Student Portal.
- Enter a Username.
- Enter a Password or click Generate Password. If entering the password manually, enter it again in Verify Password.
- Verify that the entered Password is correct by entering it again.
- If the user should be required to set a new password the first time they log in, mark Force Password Change.
- Click Save.
Share the account information with the user to allow them to log in to Campus Parent or Campus Student.
Allow Users to Create Their Own Accounts
Location: Demographics > scroll to Person Identifiers > Person GUID
Allow Campus Parent and Campus Student users to create their own accounts by giving them their Activation Key. This key is the person's GUID (Global Unique Identifier) which is the ID used to identify them in the Campus database.
This GUID is visible on the Demographics and Summary tools.
To facilitate the distribution of GUIDs, follow the instructions below to create a report in the Ad hoc Filter Designer to pull users' first and last names and their GUIDs. This information can be distributed to users after they have returned the district's Acceptable Use policy.
Step 1: Create an Ad hoc Filter Report for Contact (guardian) GUIDs
Tool Search: Filter Designer
- Select the Filter Type of Query Wizard and the Data Type of Student.
- Click the Create button.
- Enter a name for this report in the Query Name field.
- Select the following fields (more options can be chosen, but only these are necessary):
- Student.firstName (Student > Demographics > firstName)
- Student.lastName (Student > Demographics > lastName)
- Student.grade (optional) (Student > Learner > Active Enrollment > Core Elements > Grade
- Student.stateID (optional) (Student > Demographics > Identity History > State ID History > stateID
- Contacts.lastName (Student > Census > Household Contact Summary > lastName)
- Contacts.firstName (Student > Census > Household Contact Summary > firstName)
- Contacts.contactGUID (Student > Census > Household Contact Summary > contactGUID)
- Contacts.guardian Student > Census > Household Contact Summary > guardian)
- contact.addressLine1 (Sort set to 1) (Student > Census > Household Contact Summary > addressLine1)
- contact.addressLine2 (Sort set to 2) (Student > Census > Household Contact Summary > addressLine2)
- contact.mailing (Student > Census > Household Contact Summary > Mailing)
- Click the Next button. A Filter the Data filter screen displays. Set the following parameters:
- Contacts.guardian = Operator is '= TRUE
- Contact.mailing = Operator is = 1
- Click the Next button. A Format output screen displays. Set the following parameters:
- contact.addressLine1
- Sort is 1
- Direction is Ascend
- contact.addressLine2
- Sort is 2
- Direction is Ascend
- contact.addressLine1
- Click the Next button.
- Click the Save & Test button. This will generate an HTML view of the filter.
- If the information shown is correct, click the Save icon. This will save the report for later selection.
As this query is written, data will be returned for every person in the district. Users may want to filter down to the parent/guardian level to only list parents.
Step 2: Generate an Ad hoc Filter Report for GUIDs
Tool Search: Data Export
- Select the Filter designed in the previous step from the Saved Filters list.
- Select the Pick an Export Format option.
- Click Export. This report can now be used to distribute GUIDs to potential portal users.
Using the GUID/Activation Key to Create Usernames and Passwords
The Activation Key is only needed the first time the user accesses the Portal. Upon logging in, the user will be required to establish a username and password for subsequent logins.
First Time Account Creation
- On the Login page, click New User?
- Enter an Activation Key and click Submit to activate the account. The Activation Key will be verified, and when approved, a screen will prompt the user to create a username and password.
Username and Password Creation
- Enter a Username. Use an alphanumeric (both letters and numbers) username.
-
Enter a Password. Use an alphanumeric password. Passwords should be at least 6 characters and considered a strong password.
Complex, tricky passwords are not always strong passwords and can be difficult to remember. For example, TheBr0wnC@t is a stronger password than !@#$%&() because TheBr0wnC@t uses a combination of character types and is long, whereas !@#$%&() uses only symbols and is short. A computer program can crack !@#$%^&() easier than it can crack TheBr0wnC@t.
When creating a password, consider the following:
- Content - Use a short two or three word sentence as your password.
- Length - Make your passwords long (8-10 characters is usually sufficient).
- Combination - Include letters, punctuation, symbols and numbers.
- Uniqueness - Do not use your username or words found in the dictionary.
- Re-enter the password in the Verify Password field.
- Click the Create Account button.
This action will create the username and password. The username and password will be verified, and upon approval, the portal account will be created. Use Click Here link on the account creation page to enter the username and password to access the Portal information. The new account is given a home page of Campus Parent, unless the user has a current or future enrollment, in which case the home page is Campus Student.
Importing User Accounts and Sending Portal Account Messages/Letters
For detailed information on importing user accounts and sending user account messages and letters, see the Batch and Import Wizards article.
Portal Considerations
Before completing the necessary steps to give parents access to records contained in Infinite Campus, there are some key discussions that need to occur with faculty and staff to outline the internal school policies and procedures.
Attendance
Parents can see absences and tardies the moment the teacher or attendance clerk saves an attendance entry. Therefore, an attendance timeframe should be set, such as the first ten minutes of class. Teachers should feel comfortable taking attendance in that time. This attendance timeframe and other related attendance policies should be communicated to parents in the initial Portal letter or by some other means.
Because parents can see attendance information immediately, teachers and attendance staff should develop a level of proficiency in taking and managing attendance information before allowing attendance to appear in the Portal.
Grading
As with attendance information, parents can see available Grade Book information, such as scores and comments, as soon as they are saved. Parents can see assignments as they are created, including blank scores for assignments that have not yet been graded. This can cause concern about missing work and pressure on the teachers to enter scores quickly. School should establish a grading deadline (turnaround time) for assignments to be graded and entered in Campus. Some schools give a two week deadline to teachers to grade and record scores. This policy should also be communicated to parents.
Teachers have the option to hide assignments and scores from the Portal, but hidden assignments are still included as part of grade calculations. Teachers should be reminded of the impact of hiding assignments and how to use this option properly, such as hiding assignments that have been created in Campus but not yet assigned or collected.
Report
Parents can pull unofficial transcripts from Campus. Some instruction should be provided to them so they can correctly interpret these documents.
A school will need to take certain data security and integrity measures to differentiate an official transcript from an unofficial one.
User Support
Schools will need to decide what qualifications need to be met for individuals to receive registration keys and access to student information, such as guardian status and identity. Another issue is the availability of staff members to provide registration keys and direction. Many schools implementing the Portal choose to operate tables of booths at school events as a medium for distributing information to parents. Events such as back to school nights, open houses and parent/teacher conferences present convenient opportunities to interact with many parents.
Schools also need to establish policies and procedures for handling user support and data-related questions. Staff may need to address forgotten passwords and locked accounts and serve as a liaison between parents and the system administrator.
The Campus Student Portal and Campus Parent Portal articles provide additional information about the tools available.
Suggestions for Portal Policies
Districts may wish to specify the following in parent/student Portal policies:
- Qualifications for parental rights concerning who is allowed access to students' information, which usually includes guardians.
- That districts agree to provide free and accurate (to the best of their ability) information meeting the agreed-upon standards based on parents' compliance with security requirements.
- Information accuracy as a shared responsibility among schools, parents/guardians and students.
- That districts maintain the right to add, modify or delete information and *Portal functions at any time, as well as the right to deny parents access with suitable cause.
- Timeframes concerning when attendance and grade information will be made available.
- Qualifications that must be met by usernames and passwords, such as character length and password strength. It is often a good idea to specifically prohibit users from setting their computer to automatically sign in. Some districts choose to set a lower number of unsuccessful logins necessary to disable the user account. Districts usually require that parents have their own individual accounts rather than household accounts.
- System requirements as well as a way for users to receive technical support, including how to unlock accounts.
- That use of the Portal is subject to electronic monitoring by the district, as well as other specific rights the district maintains.
