Tool Search: Attendance Letters
The Attendance Letter Wizard walks the user through the creation of an attendance query and a letter format. Letters generate by selecting students who met entered criteria, and users can choose which eligible students actually receive a letter. Letter templates can be created using attendance codes, or attendance status and excuse values. For districts using PLP tools, a Contact Log entry can be automatically posted for a student indicating a letter was printed and sent.
The following articles are available:
- Letter Criteria Selection
- Create a letter using the Period Marks Letter Type
- Create a letter using the Course Marks Letter Type
- Create a letter using the Whole/Half Day Absences Letter Type
- Create a letter using the Exact Day Absences Letter Type
- Create a letter using the Single Day Count Letter Type
- Create a letter using the Absenteeism Level Letter Type
- Letter Format
- Generate and Print Attendance Letters
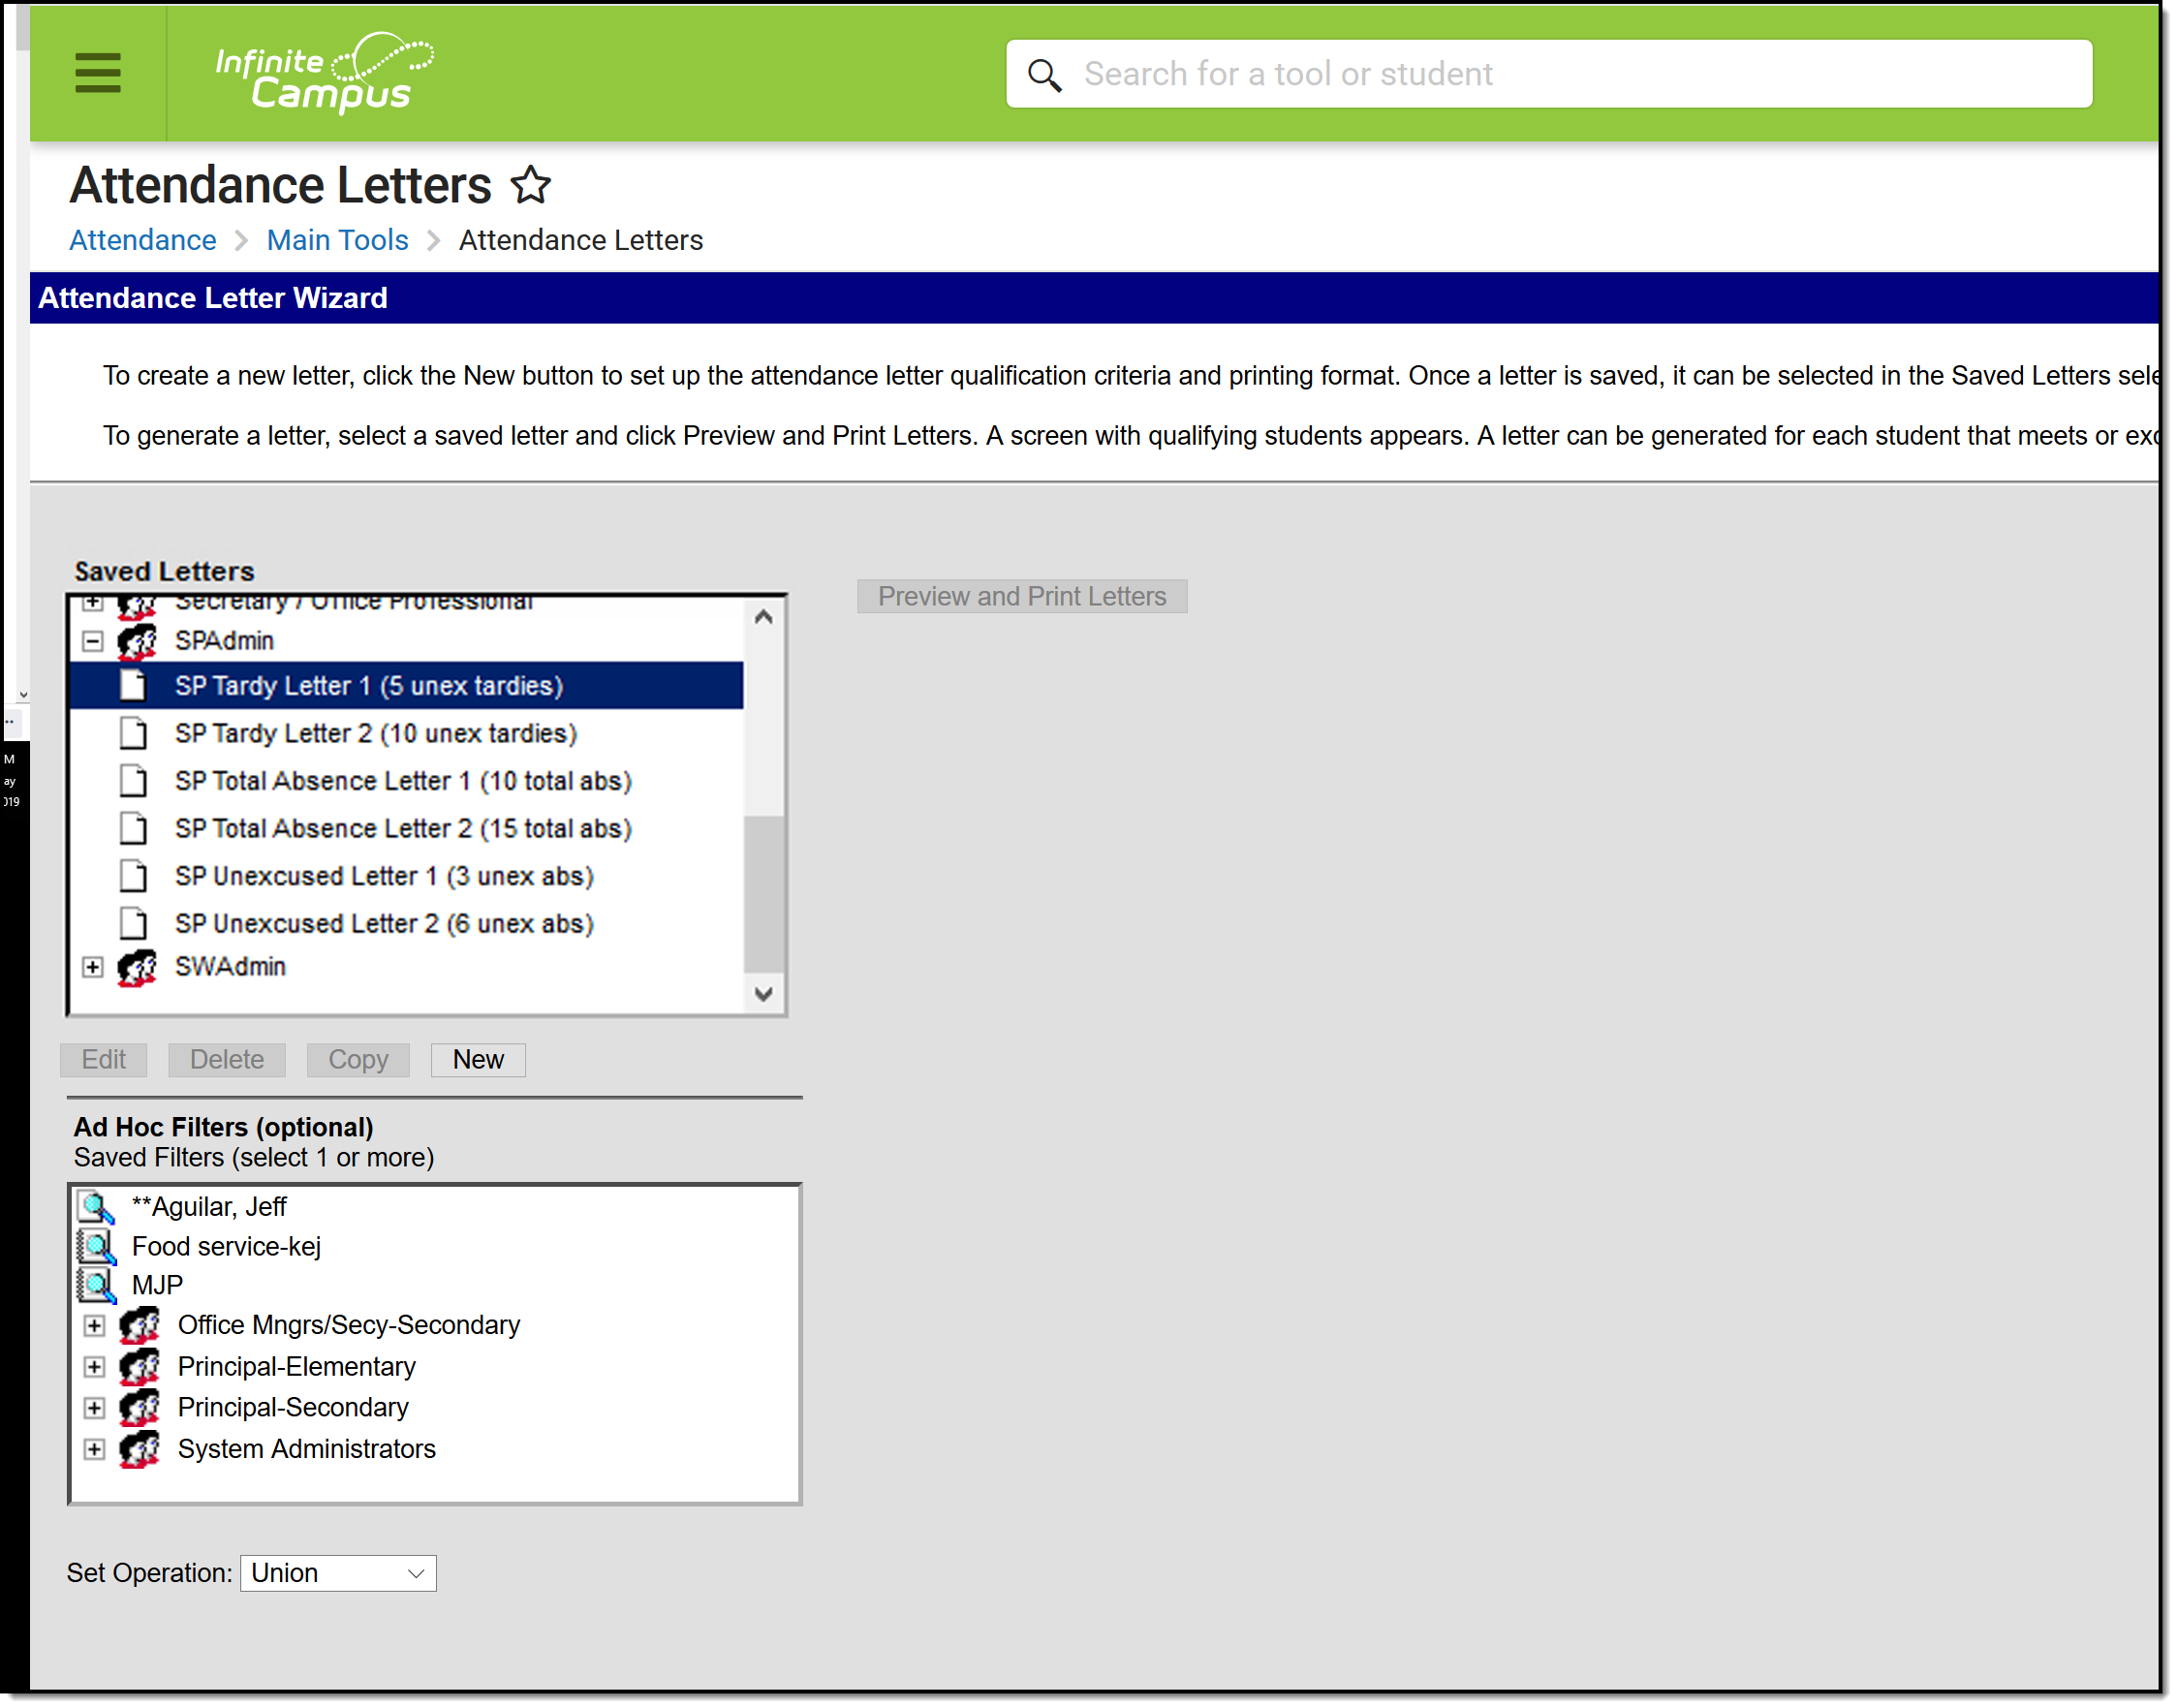 Attendance Letter Wizard
Depending on assigned tool rights, these letters can be modified by clicking the Edit button, completely removed from the database by clicking the Delete button, or duplicated by clicking the Copy button. Letters that have been saved by a user and not assigned to a user group can only be accessed by that user; letters saved by a user and available for a user group can only be accessed by users in that group.
See the Attendance Letters Tool Rights article for information about rights needed to use this tool.
Attendance Letter Logic
A letter generates for each student who is actively enrolled in a course section and meets the triggering criteria using attendance data on the effective date. When a user selects both teachers and course sections, the result is the intersection of students who are taught by the selected teacher(s) and enrolled in the selected section(s).
When courses are skinnied (two different course sections meet in one period), the attendance letter only counts period totals/attendance codes once.
Letters generate for a student when a student's attendance events match the criteria entered for a letter. Then, logic searches for Enrollment Service Types of P: Primary. If that is not found for the student, Enrollment Service Types of S: Partial and N: Special Education are searched. Only when a student does not have a primary enrollment in the calendar are the other enrollment types used.
- When previewing letters for the current calendar year, and a student has ended enrollment prior to the current date, that student's name populates the preview with the word Withdrawn in parentheses, displaying in red text.
- When previewing letters for a previous calendar, student names populate the preview with their name and the word End Dates in parentheses, displaying in red text.
Attendance data from all course sections is used to determine if the student meets the triggering criteria.
Attendance data in sections that are scheduled into a non-instructional periods are ignored.
Attendance data in an excluded section is ignored for Period Marks letter Type.
Best Practices for Attendance Letters
- Distinct letters (separate terms, separate criteria) should be created. A school that creates letters for term 1 only should also create letters for term 2. Reusing a letter for a different term may affect any printed dates that display on the letter.
- Name attendance letters in an obvious way, so users that need to run them know exactly which letter to select.
Attendance Letter Workflow
Reference the following workflow for a high-level checklist for creating an attendance letter.
| Step |
|
|---|---|
| 1. | Create an Attendance Letter. |
| Letter Criteria Screen | |
| 2. | Name the attendance letter. |
| 3. |
Select the letter type, and determine if student can requalify for the letter. Learn about the different letter types. Learn about Letter Requalification. |
| 4. | Select the type of attendance (status/excuse or attendance codes). |
| 5. | Enter the status/excuse values or the attendance codes that trigger a letter. |
| 6. |
Enter a Weight value for each of the entered values or codes. Learn about Weight values. |
| 7. |
Enter the number of events the student must have to receive a letter. Learn about qualification criteria. |
| 8. |
Select the appropriate interval for the letter. Learn about intervals. |
| 9. |
Select which Teachers and Sections to include in the letter. |
| 11. | If available, select which Sections to exclude from the letter (non-attendance taking courses, etc.). |
| Letter Format Screen | |
| 12. | Write the letter in the designated Default Language. |
| 13. |
Write the same letter in additional languages that can be sent to parent/guardians who prefer to receive communications in that language. Learn how to add preferred languages and create letters in another language. |
| Generate and Print Letters | |
| 14. | Select the letter to generate from the Saved Letters list. |
| 15. |
If desired, select a previously-saved Ad hoc Filter that includes the students who should be receiving the letter. Determine which operation to use when generating letters with an ad hoc filter. |
| 16. | Preview and Print letters. |
| 17. | Review the list of students that met the criteria of the letter, and remove their selection as needed. |
| 18. | Preview the letters prior to sending. |
| 19. | Print the letters. |
State-Specific Information
Fields may vary by state:
