Tool Search: Payments Setup
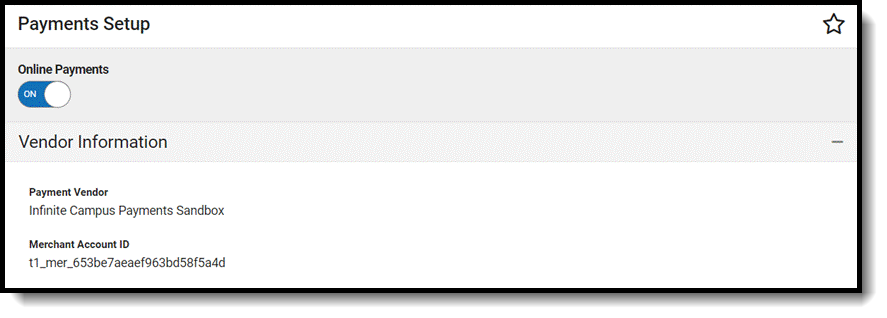
The Vendor Information editor is used to identify your district's credentials and determine which payment methods your district accepts.
| What can I do? | What do I need to know? |
|---|---|
Important Information about this Tool
- Before you can add Vendor Information, you must have your Merchant ID from your payment platform vendor.
- Vendor Information is established at the district level. That means you must select All Schools and All calendars in the Campus toolbar to use the Vendor Information tool.
Add District Credentials
- Select All Schools in the School dropdown list.
- Select your payment platform in the Payment Vendor dropdown list.
- Enter the Merchant Account ID for your district.
This ID is provided by the payment vendor.
- Click the Save button.
Result
Vendor Information is saved and visible on the Online Payments Setup screen.


