Tool Search: Messenger 2.0
The procedures on this page describe how to create message templates and send messages using a template. For detailed descriptions of each field in the message builder, see the Messenger Field Descriptions article.
| What can I do? | What Do I need to know? |
|---|---|


Create a Template for Sending Messages
- Click General, Priority, or Emergency to start a new message.
Result: Step 1 Recipientsdisplays.Tip: If you already have a saved template that you would like to copy, you can start with an existing template by clicking the Select Template button and selecting the template you want to copy and change. After you select the template you want to use, continue with the following steps. - Make all necessary selections.
Tip: After you have completed all of the required fields in the message builder, you can save a message as a template on any screen while you are creating your template.
- Click the Template button.
Result: The Save New Template panel displays.Note: If you are copying an existing template, the Template Detail screen displays first. Click the Save New button at the bottom of the panel to reach the Save New Template panel.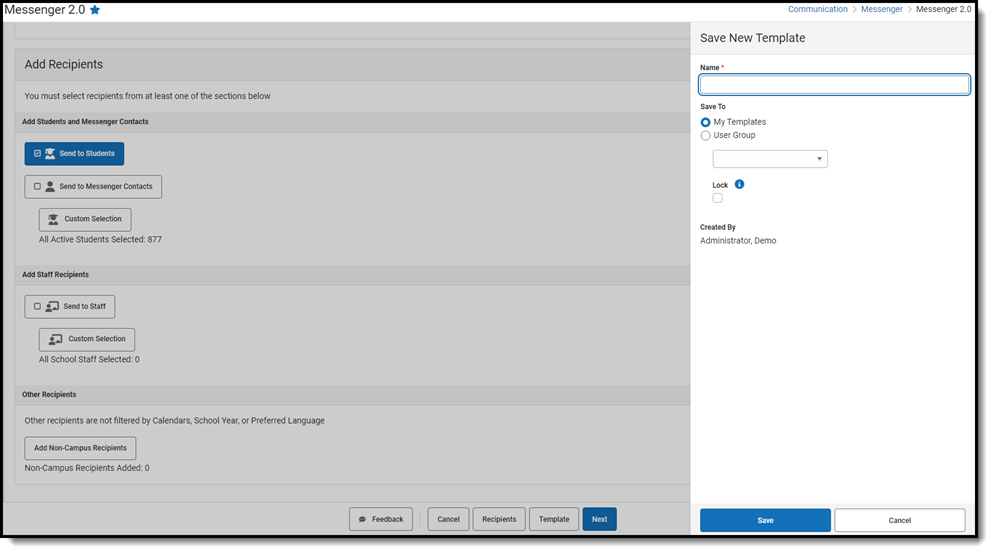
- Enter a Name, up to 50 characters, for the template in the Name field.
- Select one of the following options for saving the template.
Save To... Description My Templates When you select this option, you are the only person who may make changes to the template and use the template to send messages. User Group This option restricts the template to a specific User Group so that only users in the User Group you choose can use the template to send a message. Mark the Lock checkbox to prevent other users from making changes to this template. Only the template's creator can lock/unlock the template. Locked templates can be modified at any time by the user who created them and can still be used by other users to send messages.
- Click the Save button.
Result: Campus saves the template and it can be used to send a message or to create another template.

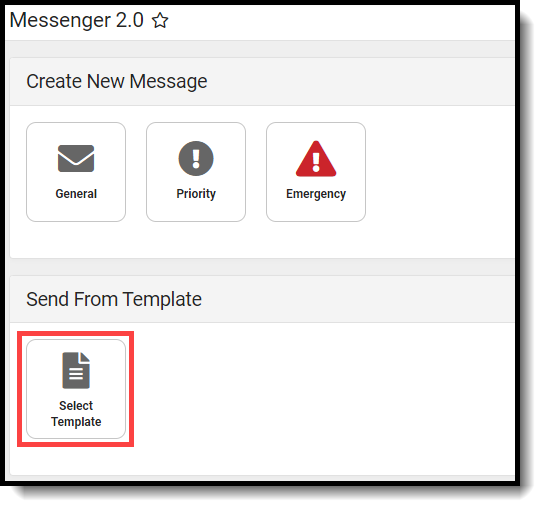
Use a Template to Send a Message
When you Send a General Message , you can select an existing template for the message. The template includes the Recipients, the Delivery Modes and the Message Content. The date and time for delivery are not saved with the template and must be reviewed each time you use the template.
- Click the Select Template button.
Result: The Select Template panel displays.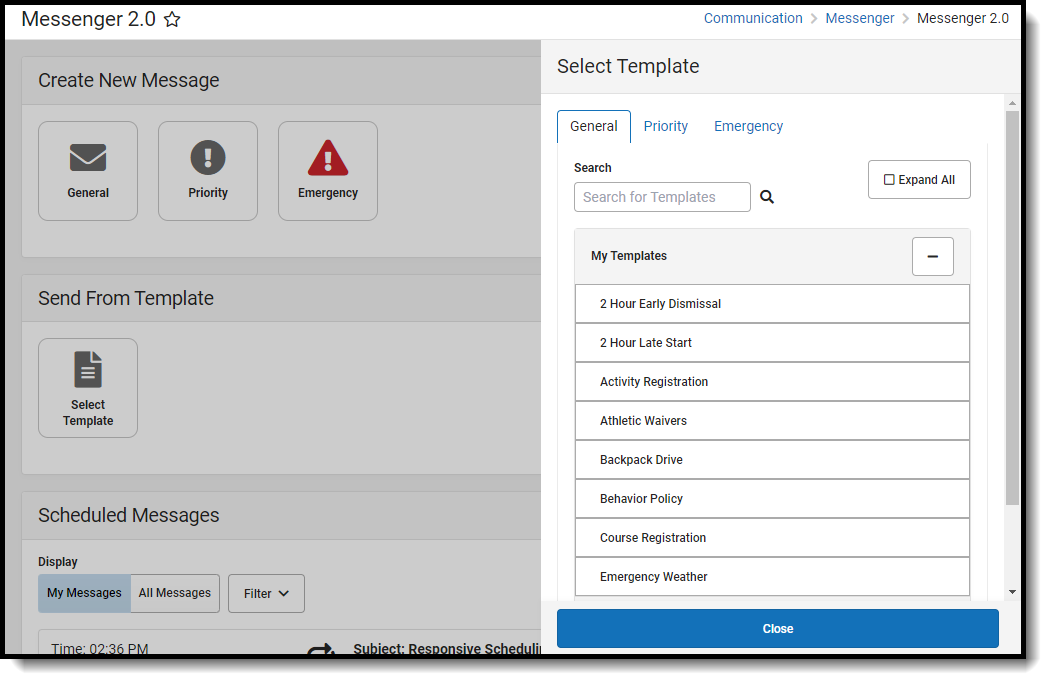
- Select the General tab to send a General message, the Priority tab to send a message a Priority message, or the Emergency tab to send an emergency message.
- Select the template you want to use.
Tip: Use the Search field to reduce the number of templates that display.
Result: Step 1 Recipients of the message builder displays. - Use the steps found in
- the Send a General Message (Messenger 2.0) article to complete and send your standard message, or
- the Send an Emergency Message (Messenger 2.0) article to complete and send an emergency message.

Make Changes to a Template
To edit a template, complete the following steps.
- Click the Select Template button.
Result: The Select Template panel displays. - Select the template you want to change.
Result: Step 1 Recipients of the message builder displays. - Make any necessary changes then click the Template button.
Result: The Template Detail panel displays. - Click the Update button.
Result: A confirmation message displays and the Template Detail panel closes.
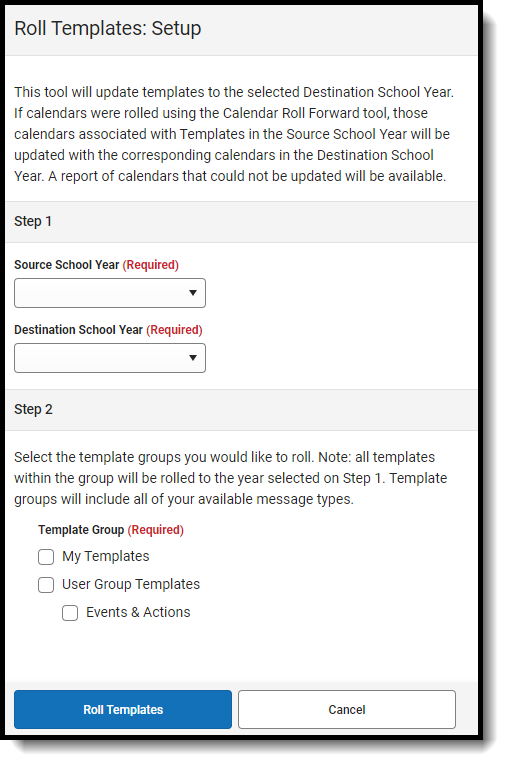
Roll Templates
To roll messenger templates from one year to another, the calendars in the destination school year must have been rolled forward into that year using the Calendar Wizard. This is typically how calendars are created for each school year. Exceptions to this would be if a school changes its terms or scheduling model, such as from regular periods to a block schedule. In that case, templates will need to be created manually.

- Click Select Templates.
- Click Roll Templates.
- Select a Source School Year.
- Select a Destination School Year.
- Select Template Groups.
- Click Roll Templates.
- Click Generate CSV to review details of each template.