In the Campus.2523 release, the Academic Programs and Graduation Programs tools were combined into a single tool.

Both types of programs can now be created and managed with the new tool, found at Student Information > Program Administration > Academic and Graduation Programs.
Consult the articles in the Academic and Graduation Programs category for more information.
Tool Search: Academic Program Setup
Academic Programs can be created for a particular school or all schools, for a particular set of students (based on their cohort year), and can be set to display on the portal. Any number of programs can be created.
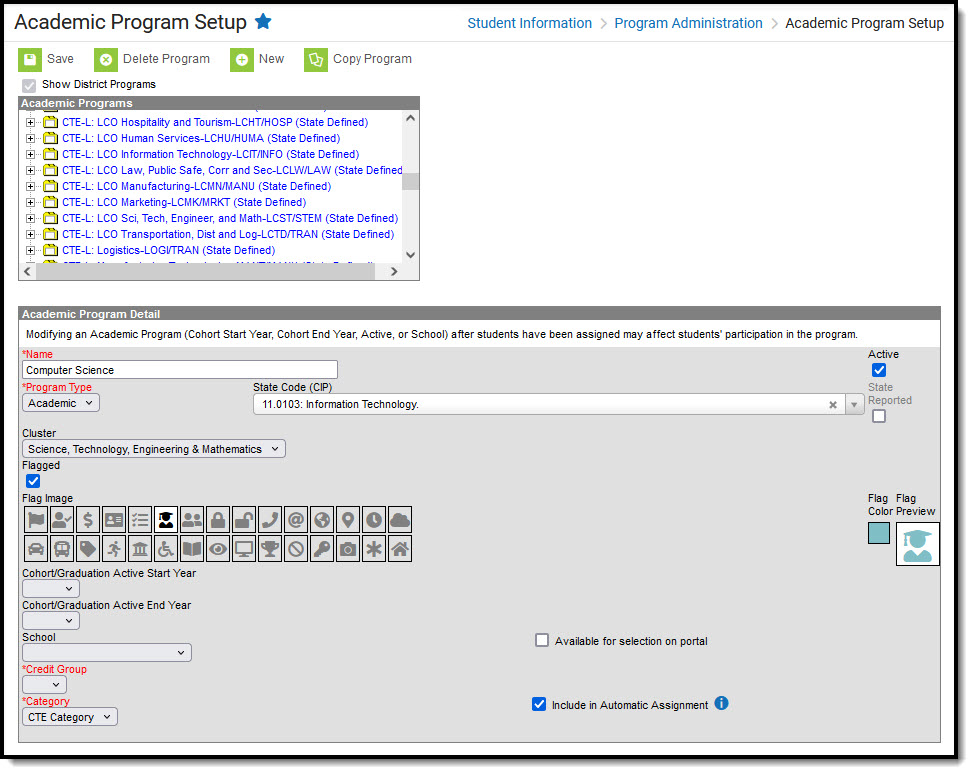 Academic Program Detail Editor
Program Detail Fields
Fields available may vary by state. Refer to localized product content for state-specific information.
| Field | Description |
|---|---|
Name Required | The Name field is a descriptive name, up to 50 characters, for the program. |
| Active | Use the Active checkbox to determine if the program can be assigned to or chosen by students. A program that is not marked as Active cannot be chosen or assigned to students. This option is marked by default. |
Program Type Required | This drop-list is used to classify the Program Type as: CTE, Academic, or Seal. These classifications are used for internal and external reporting purposes. To post Seals NOTE: To post Seals for students who successfully complete an academic program, the Program Type MUST be set to Seal. in order to use the Course Plan Admin tool to post seals for students who successfully complete an academic program. Refer to your state reporting guidelines for which Program Type to use. |
| State Code (CIP) | This field is used to identify the program using a State Code or a Classification of Instructional Programs (CIP) code. This field may also be the Program name, the Pathway Name, the State Standard, or Instructional Area Code. For some states, this is a text field to enter the CIP code. In other states, this is a searchable field that includes the Ed-Fi codes for the Program. |
| Cluster | Use the Cluster drop-list to indicate the focus of the program. These options are determined by the Association of Career and Technical Education and must be added to the Attribute Dictionary (Programs > Cluster) before assigning to an Academic Program. Available options for this field may vary by state. |
| Flagged | When marked, the program displays with an icon next to the student's name. The default selection for an Academic Program is the Graduate image in orange, but this can be changed to any of the other 30 available images and 12 available colors. Images and colors only display when this checkbox is marked.
|
| Flag Image/Flag Color/Flag Preview | When the Flagged checkbox is marked, a set of 30 images, an option to select a color, and a preview of those selections display. |
| State Reported | The State Reported checkbox indicates the program is reported in state extracts to track student progress. Users must be assigned additional tool rights to view, add, or modify state-reported-related flags for students. The Flagged checkbox must also be selected for this flag to display next to the student's name. |
| Cohort/Graduation Active Start Year | The selected year narrows down the eligible students for the program based on the NCLB Cohort End Year fields on their graduation tab. Students who have an NCLB Cohort End Year greater than or equal to the Cohort/Graduation Active End Year may select this program. If left blank, all students may select the program. When assigning programs to students using the Batch Assignment Tool, students with a Graduation NCLB Cohort Start Year field the same year or later than the year entered in this field may be assigned to the program. |
| Cohort/Graduation Active End Year | The selected year narrows down the eligible students for the program based on the NCLB Cohort End Year fields on their graduation tab. Students who have an NCLB Cohort End Year less than or equal to the Cohort/Graduation Active End Year may select this program. If left blank, all students may select the program. When assigning programs to students using the Batch Assignment Tool, students with a Graduation NCLB Cohort End Year field the same as or before the year entered in this field may be assigned to the program. |
| School | If populated, this program is only available to students enrolled at the selected school. If not populated, this program is available to students across the district. |
| Available for selection on portal | When marked, the program can be selected on the Portal graduation Planning tool. |
Credit Group Required | This selection controls the display of the Credit Types available when viewing Course Requirements and viewing the information on the Course Plan and Portal Graduation Planning tools (the drop-down list only shows courses with a Credit Type equal to a child of this Credit Group). |
| Category Required | The Category field indicates the program's classification. For Academic Programs, the available options are CTE, Certificate, Award, or Seal. |
| Include in Automatic Assignment | Mark this option to include the academic program in the Automatic Assignment process. The automatic assignment process automatically adds students enrolled in a qualifying course to the academic program as a participant. If this option is left unmarked, the program is excluded from the automatic assignment process. See the Program Participation Automatic Assignment section in the Batch Program Assignment Wizard article for more information on setting up the automatic assignment process. |

Create an Academic Program
- Select the New icon. An Academic Program Detail editor appears.
- Enter the Name of the Academic Program.
- Verify the Active checkbox on the far right is marked. This is automatically marked; if the program should not be available for selection immediately, remove this selection.
- Select a Program Type for the Academic Program.
- Enter a State Code (CIP) for the Academic Program (optional).
- If the program reports to the state (the school receives funding for the program), mark the State Reported checkbox.
- Select a Cluster for the Academic Program (optional).
- If the program should be flagged (an image displays next to the student's name in Student Information > General), mark the Flagged checkbox.
- If the program has been marked as Flagged, select an image for the flag and a color to appear next to a student's name when this program is assigned.
- Select the Cohort/Graduation Active Start Year and Cohort/Graduation Active End Year from the dropdown list (optional).
- Select the School to which this program is available (optional).
- Mark the Available for selection on portal checkbox.
- Select the appropriate Credit Group.
- Select the appropriate Category.
- Click the Save icon when finished.
The new program appears in the Academic Programs tree with additional options to be set up before the Program is assigned to a student. After creating a program, enter Course Requirements, Test Requirements, Compound Requirements, GPA Requirements, and a Course Plan Template.
Copy an Academic Program
Copying an Academic Program creates an exact copy of the chosen program with a different name. All requirements and the Course Plan Template for the selected program are also copied.
- Select the program to copy from the Academic Programs list.
- Click the Copy Program icon in the action bar.
- An alert message displays, indicating the program is about to be copied. Acknowledge this by choosing OK to continue or Cancel to not copy the program.
- Upon accepting the warning message, the Academic Program Detail editor updates with the same information that was entered in the original program, plus an indication that it is a copy of another program in the Name field. This naming convention is the same name that the previous program was called with the words Copy(1) at the end of the field.
- Modify this Name to reflect the desired name of the program.
- Review the entered information and make any adjustments needed for this copied program.
- Click the Save icon when finished. The new program appears in the Academic Programs tree with additional options that also need to be reviewed for accuracy before the Academic Program is assigned to a student.
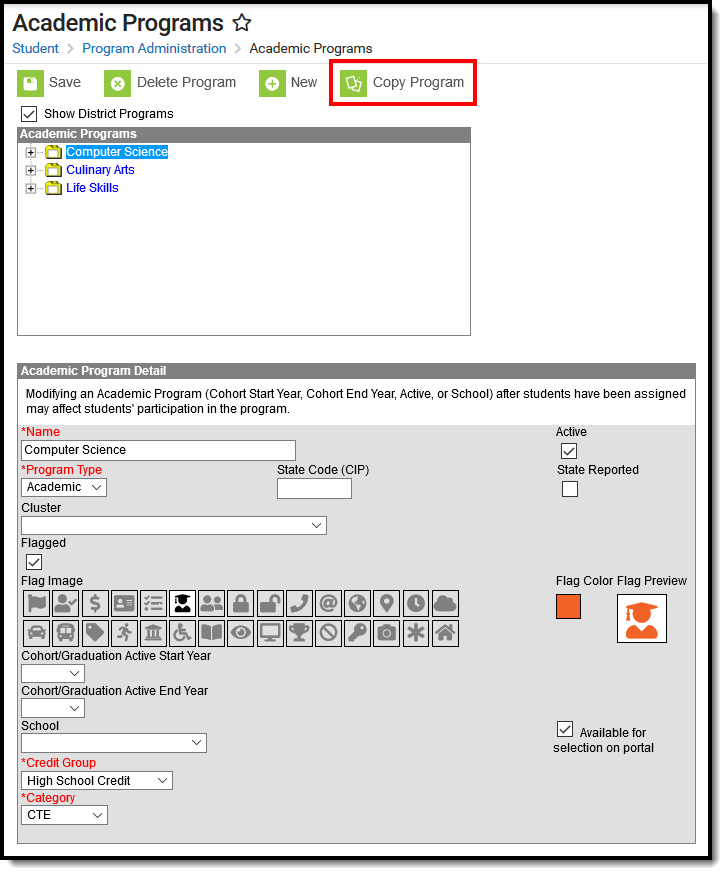 Copying an Academic Program
Deactivate an Academic Program
Academic Programs cannot be deleted when tied to other records (assigned to a student, etc.)
Before deleting a program, consider the need to delete it:
- Was it created in error? A program created in error should be deleted.
- Is it out of date and needs to be deleted? A program that is out of date can be marked inactive rather than deleting the program. This way, a record of that program remains and it's easy to locate any students who were assigned that program.
Programs can be deactivated by removing the check mark from the Active checkbox in the Program Detail. Inactive programs display in red text at the bottom of the Programs tree and are not available for selection.
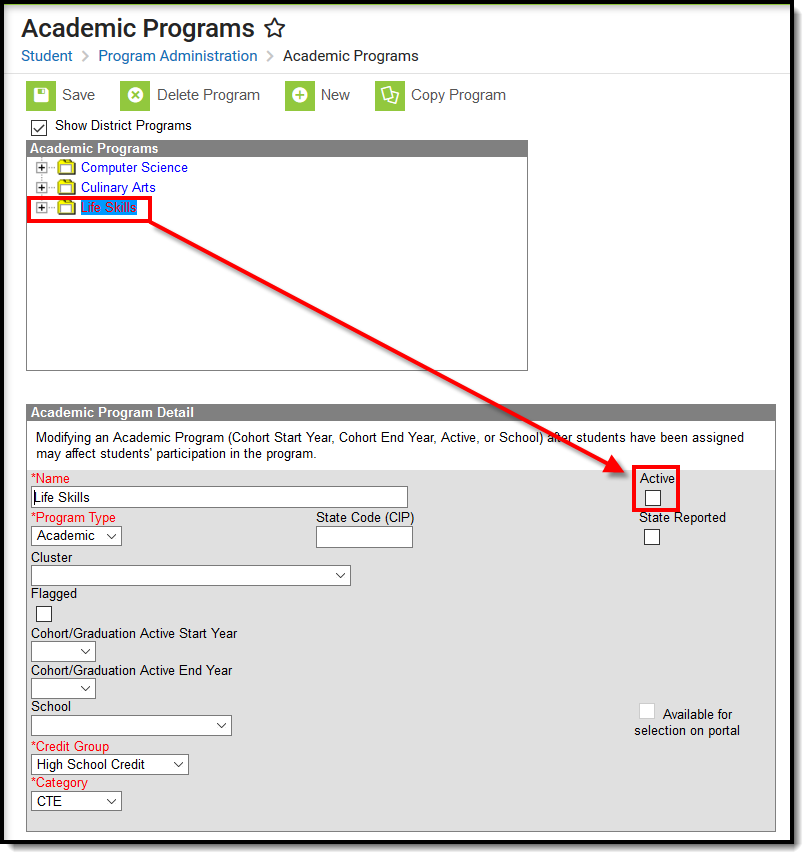 Inactive Academic Program Display
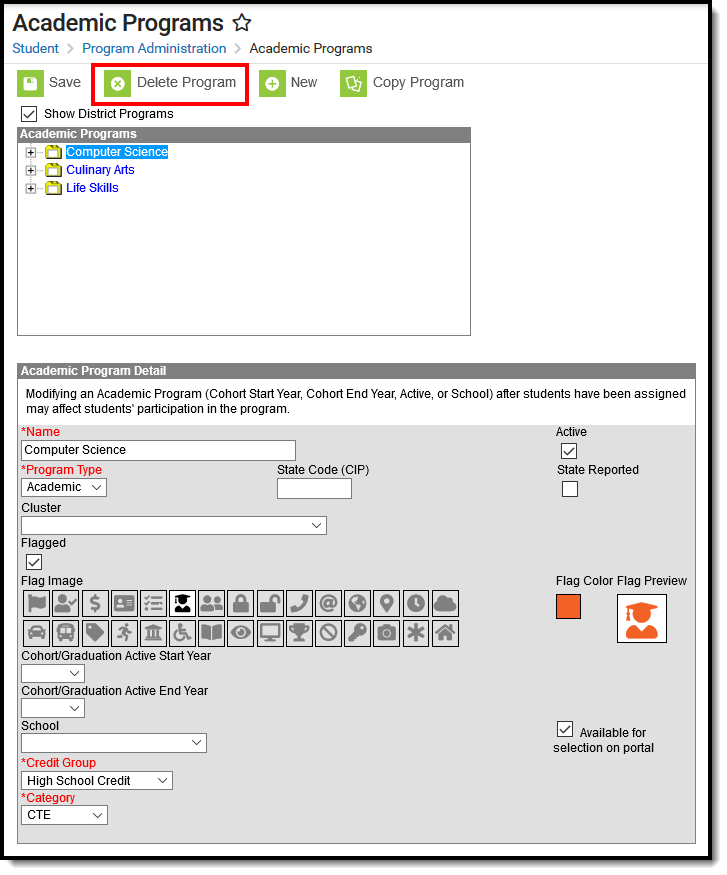
Delete a Program
If a program needs to be deleted, select the program and click the Delete icon. An alert message displays asking if the program should really be deleted. Continue with this process by choosing OK or cancel the deletion process by clicking Cancel. If OK is chosen, the program is deleted.