PATH: Staff Evaluations > My Evaluations
Use the following steps to complete your evaluation if your evaluation only requires your comments and acknowledgement.
If your evaluation requires a self-evaluation that includes entering reflections and ratings, see the Reflection and Acknowledgement article.
The steps required for completing your evaluation depend on the evaluation workflow your district or supervisor is using.
Step | Description |
|---|---|
| 1 | Review Evaluator Ratings, Reflection and Overall Comments |
| 2 | Attach Supporting Documents |
| 3 | Enter Final Comments |
| 4 |
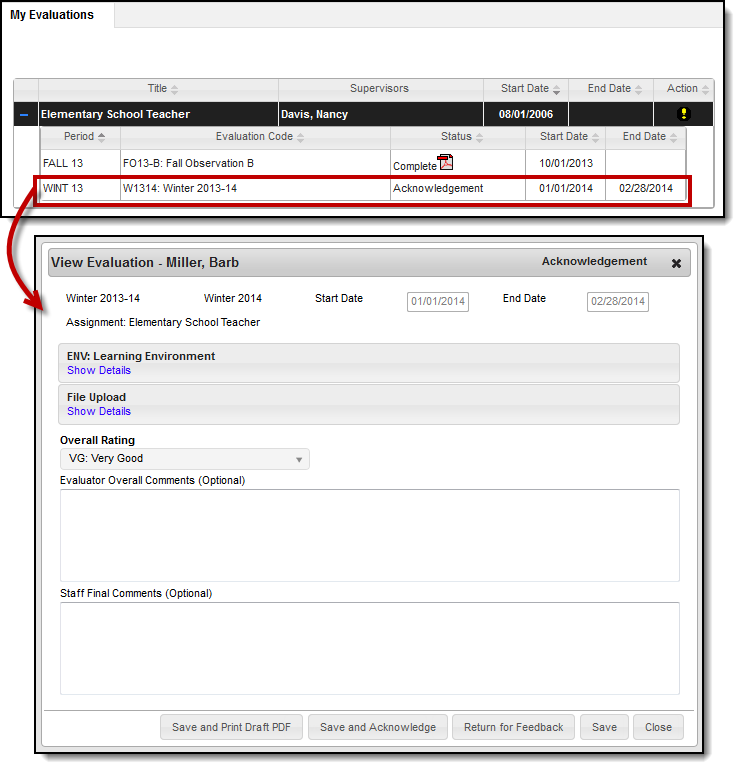
My Evaluations tab and Example Evaluation
Step 1–Review Evaluator Ratings, Reflection and Overall Comments
A message displays in your Process Alerts when your supervisor sends your evaluation to you.

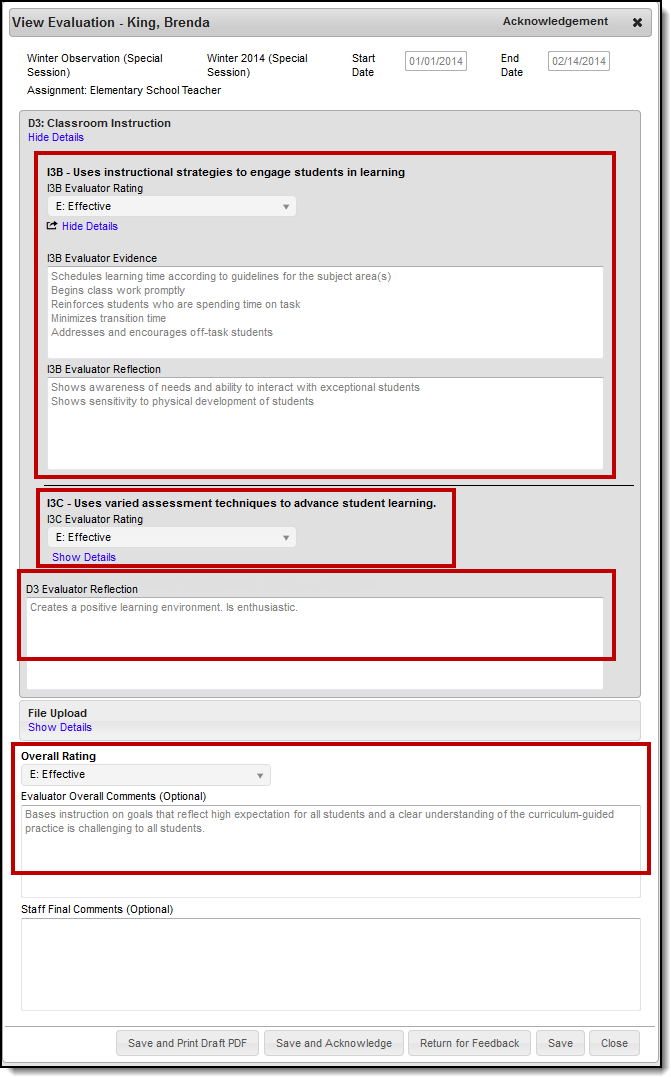
The following example demonstrates where evaluator ratings, reflection, and comments are located.
Step 2–Attach Supporting Documents
You may want to add forms, lesson plans, student assignments, or other documents as supporting documents to your evaluation. To add supporting documents to your evaluation, complete the following steps.
The File Upload option is enabled by the Staff Evaluations administrator and may not be available.
Video files cannot be uploaded.
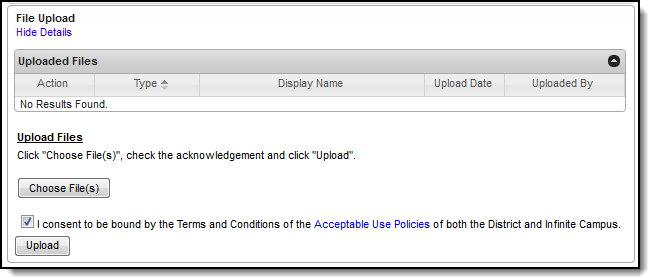
Click the Show Details link in the File Upload section.
Result
The following screen displays.The Terms and Conditions checkbox must be selected or Campus will not allow you to upload.
- Click the Choose File(s) button.
Result
The Choose File to Upload window displays.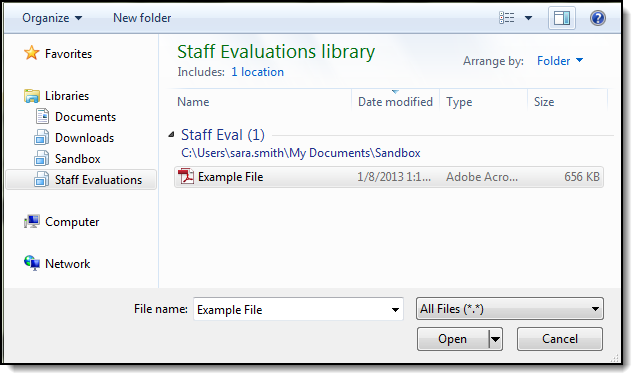
- Navigate to the file you want to upload, select the file, and click Open.
Result
The editor displays.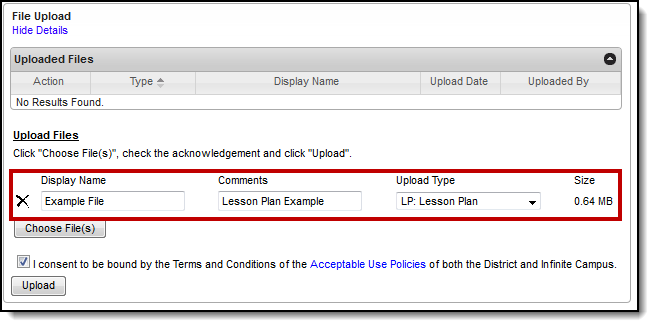
Select an Upload Type to identify the information in the file.
Options are determined by the Staff Evaluations administrator.
- Enter any additional Comments about the file.
- Click the Upload button.
Result
Campus adds the file to the evaluation and a confirmation message displays. - Click OK.
Result
The file displays in the Uploaded Files table.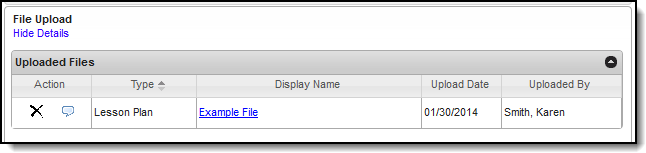


Step 3–Enter Final Comments
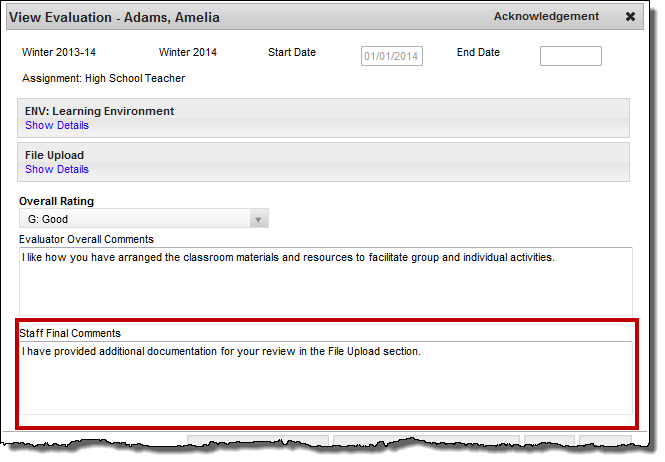
You can enter comments on the evaluation before sending it back to your supervisor. Your supervisor will be able to review your comments before completing the evaluation process.
The following example demonstrates where the Staff Final Comments text box is located.
Step 4–Submit Your Evaluation for Feedback or Acknowledge Final Approval
After you have reviewed your evaluation, you can return your evaluation to your supervisor for further review or complete the evaluation process by acknowledging the evaluation and sending it back to your supervisor.
| To... | Click.. |
|---|---|
| acknowledge final approval of your evaluation and complete the evaluation process | the Save and Acknowledge button. |
| submit your evaluation for further review | the Return for Feedback button. The status of your evaluation will change to Returned. If you choose this option, you will repeat steps 1-4. |

