Folders are available as part of the Campus Learning premium offering and require the Enhanced Curriculum tool right.
Location: Tools throughout Instruction including Grade Book, Planner > My Planner, and Progress Monitor > click the arrow next to the Add button > Folder
Folders are used to structure curriculum. They are simple and flexible, allowing you to organize your curriculum in a way that makes sense for your course and students. This article includes suggestions for ways you could use folders.
 Use folders to organize assignments and resources.
The Enhanced Curriculum tool right in Additional Access Rights > Instruction Tools grants access to this option. See the Instruction Tool Rights article for more information.
See the List article for more information about viewing curriculum.
Additional Options:
|
Add a Folder
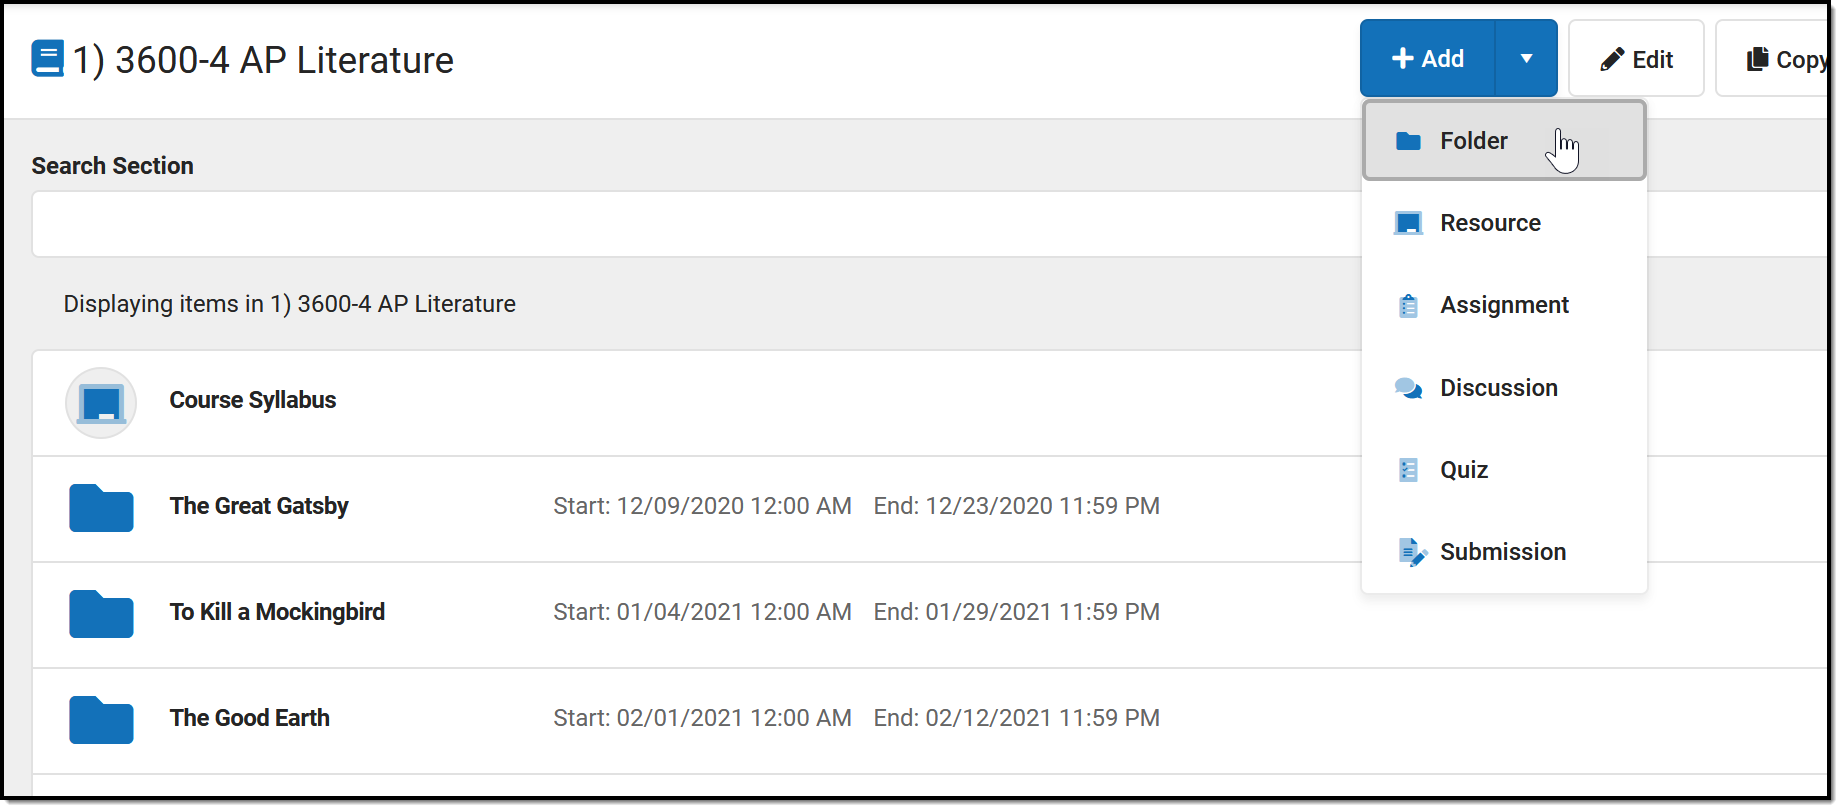
To create a folder, click the arrow next to the +Add button and click Folder. This button displays in the Grade Book, Planner, or Progress Monitor, or while viewing any existing folder, assignment, or resource.
 Add a Folder to organize curriculum.
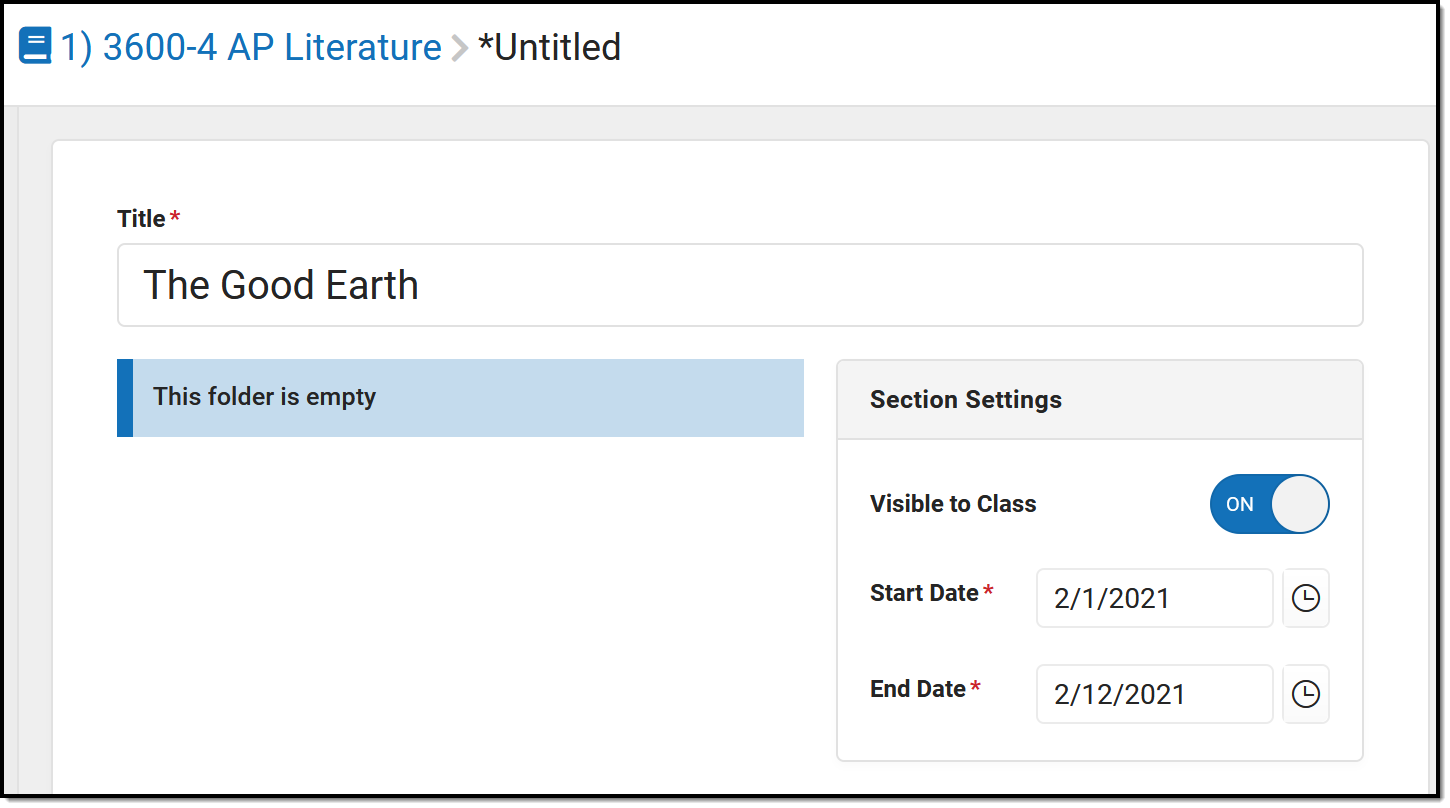
- Enter a Title for the folder. This title must be unique in this section.
- Indicate if the folder should be Visible to Class through Campus Student and Campus Parent.
- Enter Start and End Dates. To set both dates easily, click the date to open the calendar, then click the Start Date you want and then the End Date, without closing the calendar.
Click Save when finished. Use the Preview at the bottom of the editor to view how the folder will look to students or parents, or to other teachers.
Organize Curriculum
Once you've created a folder, add assignments and resources to it. See the Assignments & Resources article for more information about these curriculum items.
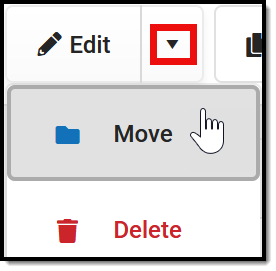 |
You can also Move curriculum into a folder. To do so, open the item you'd like to move, click the arrow next to Edit, and select Move. The choose a folder to add the item to it. |
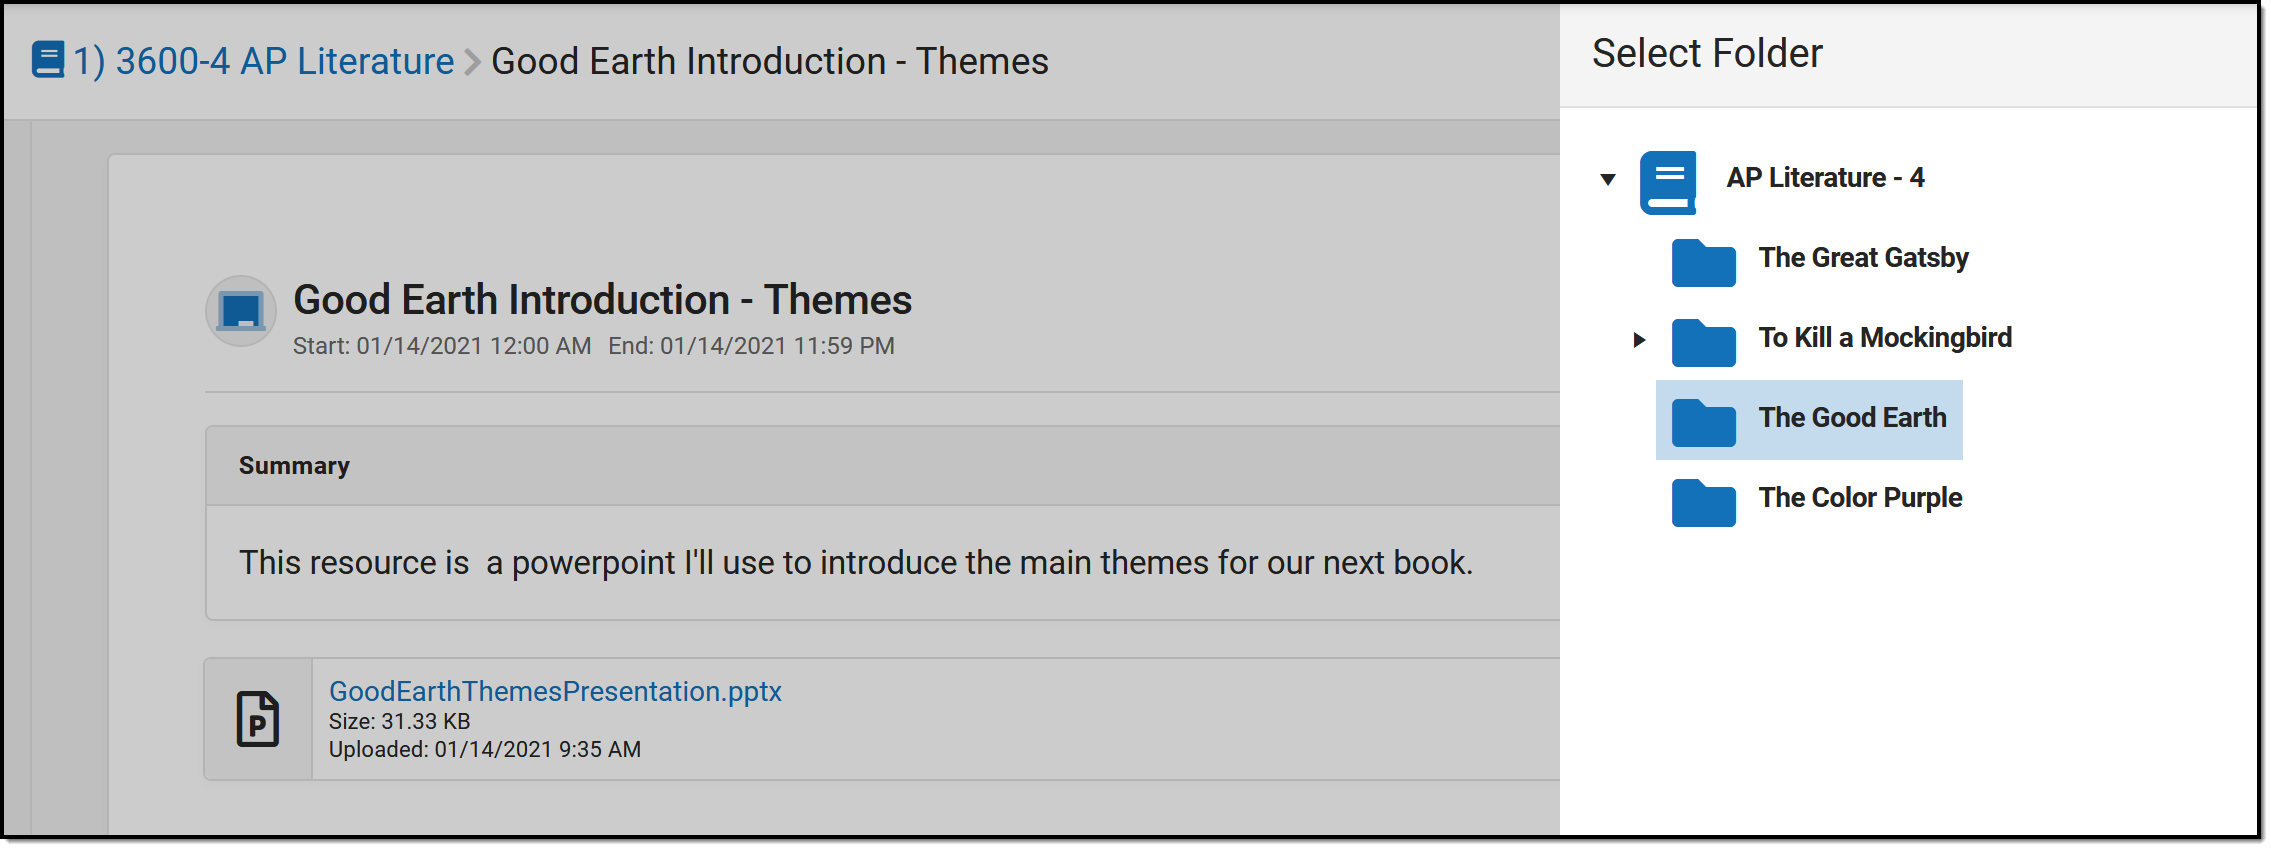
In the example below, I'm moving an existing resource (with a powerpoint presentation attached) into the folder I just created.
 Click 'Move' and then choose a folder.
Suggestions for Folders
Use folders in whatever way makes sense to you and your class. Here are some examples of ways you could structure your curriculum.
Create a folder at the top of your curriculum for "Course Resources" to collect frequently used resources, such as the course syllabus and a PDF of your Scoring Rubric. |
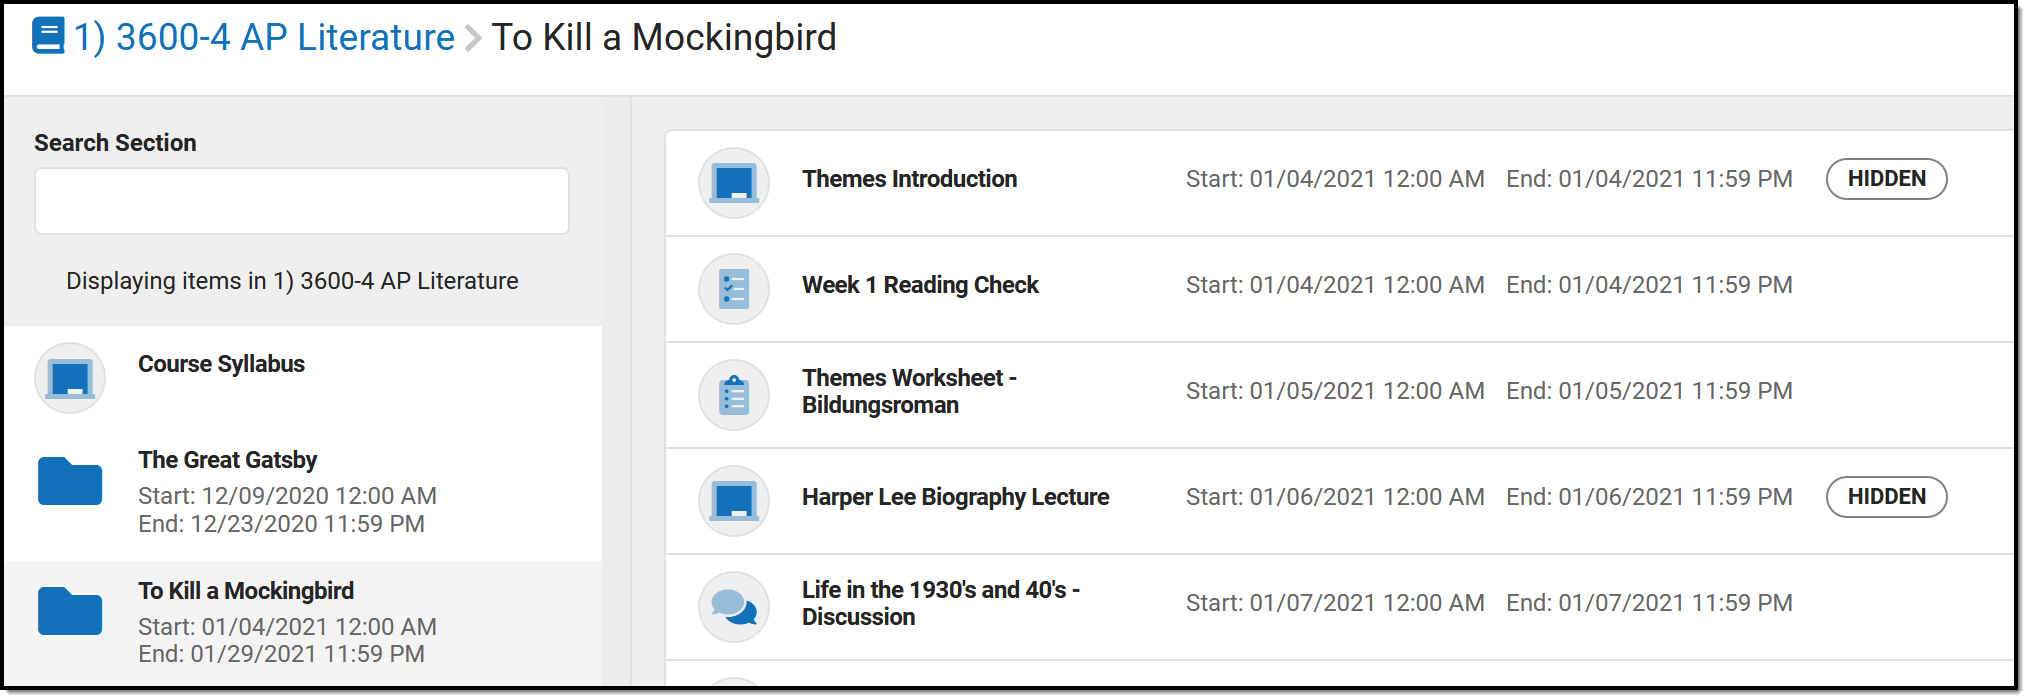
In this example, I created folders for the novels we're reading. I then added hidden resources to store my lecture notes and powerpoints. |
 |
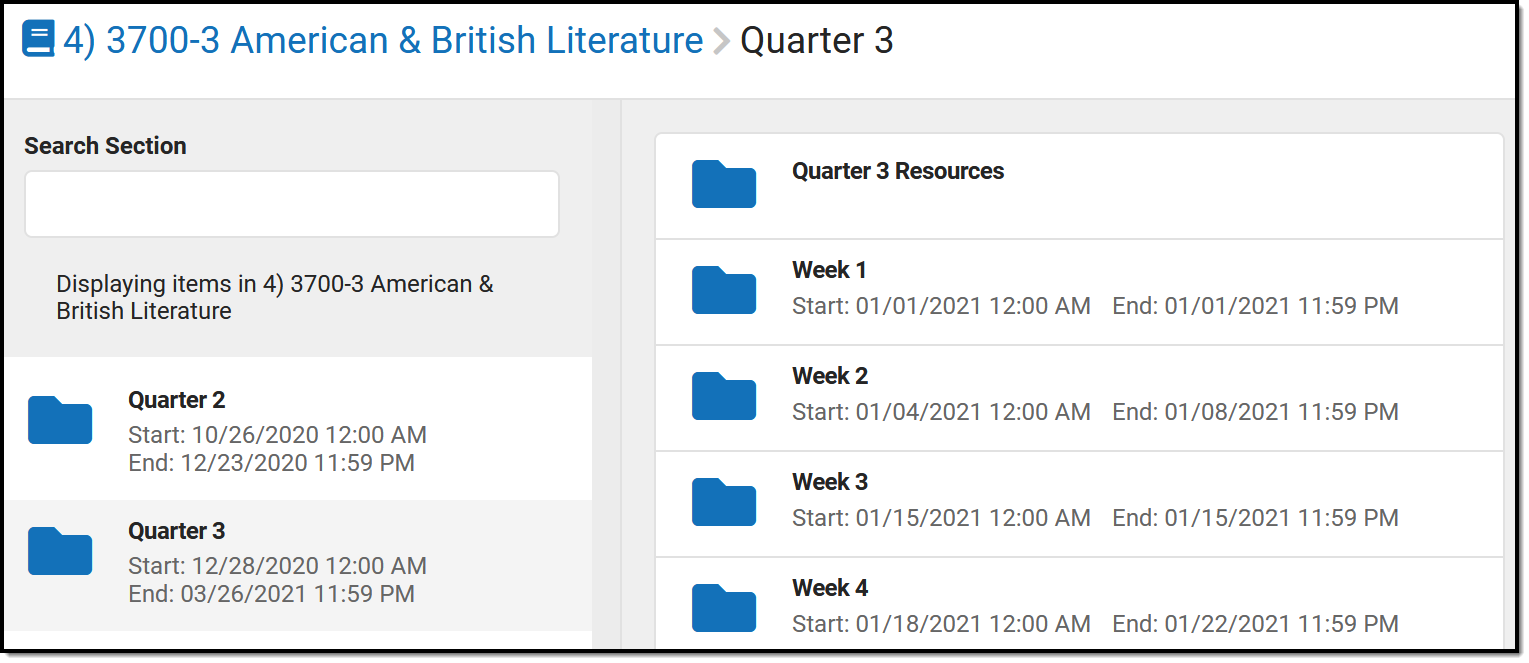 |
Here, the teacher organized curriculum by quarter and then week. |
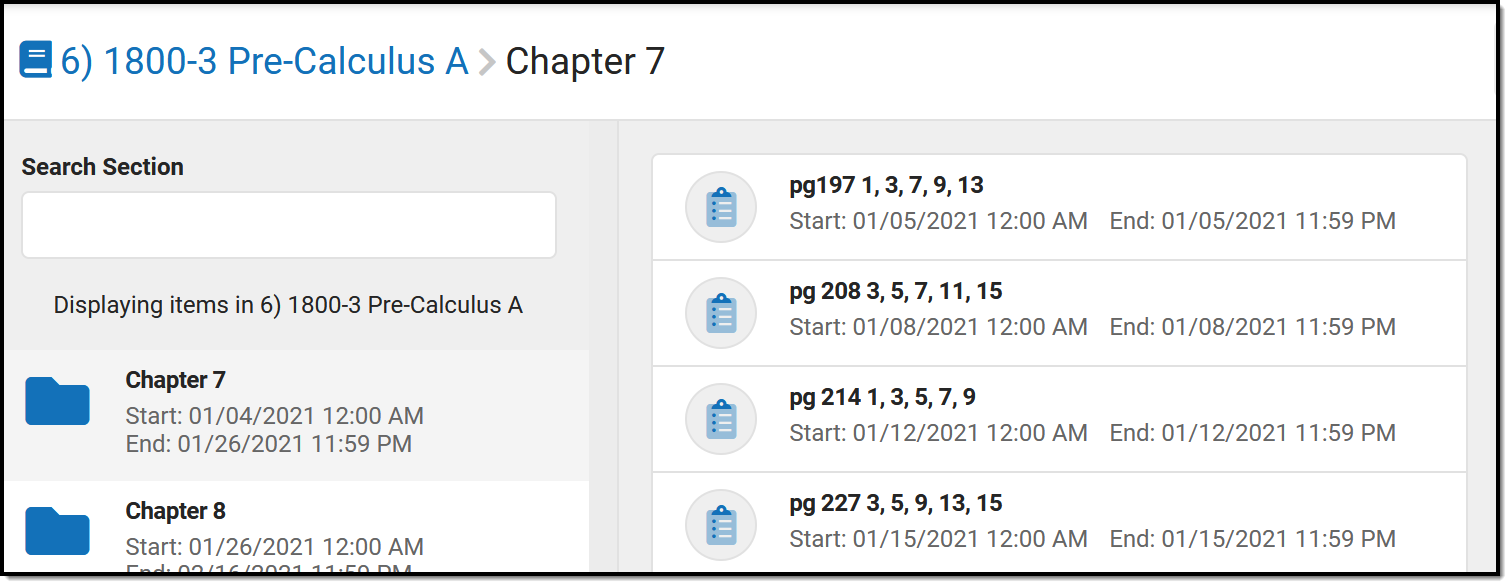
Another option would be creating folders for units or textbook chapters. |
 |
