Tool Search: Person Documents
The Person Documents tool lets you upload documents for a specific student.
The Person Documents tool is enabled by your Campus administrator. See the Enable and Disable Document Upload article for more information.
This tool does not display or include behavior documents tied to the student. Those are managed and maintained in the Behavior Management tool.
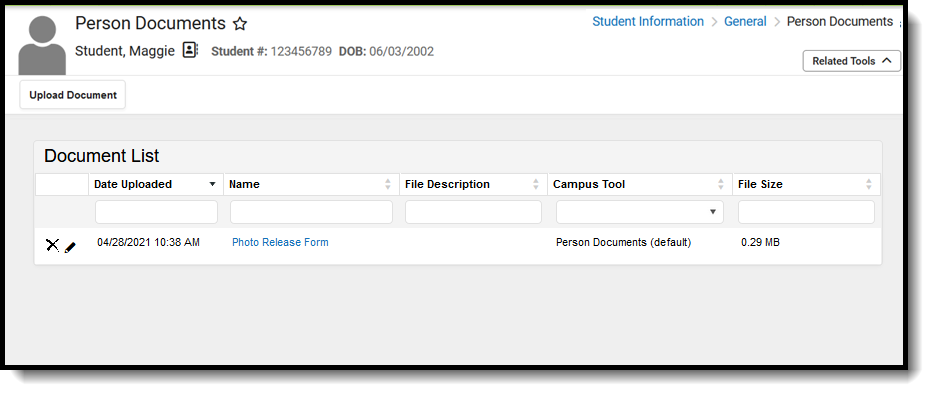 Person Documents
See the Person Documents Tool Rights article for information about rights needed to use this tool.
Upload Documents
- Click the Upload Document button.
- Click the Add Files button.
- Locate the file(s) to attach and click Open. Campus adds the file(s) to the list of documents. Repeat this step until all of the desired files to attach are added.
- Click the Upload button. The documents appear in the Document List.
Delete Documents
- Click the Delete button next to the attachment to remove. A confirmation message displays.
- Click OK. The attachment is permanently removed.
Replace a Document
- Click the Edit button next to the document you want to replace. The Edit Document screen displays.
- Click the Replace File button. The File Upload screen displays.
- Locate the file(s) you want to attach and click Open.
- Verify the checkbox for the Terms and Conditions is marked.
- Click the Save button. The new file is uploaded and Campus updates the date and time in the Date Uploaded column.
Edit File Information
- Click the Edit button next to the document you want to change. The Edit Document window displays.
- Change the Name and/or Description.
- Click the Save button.
Move File to a new Campus Tool
Selecting a Campus Tool in the dropdown list will make the document visible on the Documents window for that tool.
- Click the Edit button next to the document you want to change. The Edit Document window displays.
- Select a different tool in the Campus Tool dropdown list.
- Click the Save button.
Download a Document
- Click the document name in the Name column. A window displays that allows you to save the file.
- Click the Save button.
