Tool Search: Scheduling Group
The Team (Scheduling Group) Setup tool allows schools to create teams for use in scheduling students in appropriate courses. The team is assigned to the student on the Schedule when viewing the Walk-In Scheduler and is assigned to Course Sections. This group also prints on the Schedule Report.
In the Scheduling Board, Scheduling Groups (also called Teams) can be assigned to Course Sections by right-clicking on the placed section and choosing the Scheduling Group. On the Fill Teams Wizard, students will be assigned to courses based on the teams. This is often used in middle schools or elementary schools.
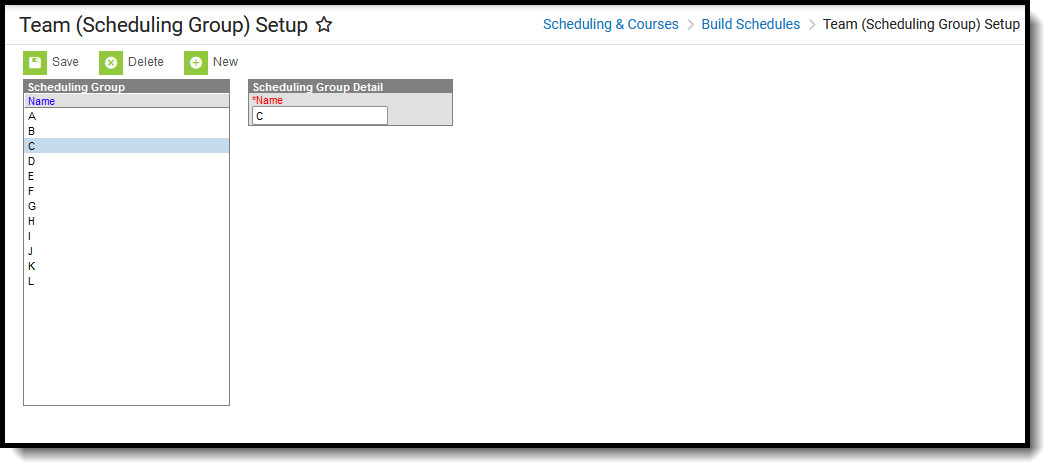 Scheduling Group Setup Editor
See the Team (Scheduling Group) Setup Tool Rights article for information about rights needed to use this tool.
After the Scheduling Group is set up and the Fill Teams Wizard is used, the assigned Scheduling Group displays in the Student Information header.
 Team Assignment in Student Information header
Create Scheduling Groups
- Select the New button from the Action Bar. A Scheduling Group Detail editor displays.
- Enter the Name of the scheduling group.
- Click the Save button when finished.
Delete and Edit Scheduling Groups
Scheduling Groups can be deleted as long as they are not assigned to Course Sections. Once deleted, all information related to that group is also deleted.
Names of Scheduling Groups can be renamed at any time. Renaming a group will update the team assignment on the student's Walk-In Scheduler.
