Tool Search: Activity Monitor, Activity Dashboard
The Post to Course Section feature allows you to associate an activity with a Course and Section and update the roster once the activity is in one of these statuses:
- Registration Open
- Registration Closed
- Active - Registration Open
- Active - Registration Closed
- Ready
- Approved
Posting to a Course Section is done for activities appearing on the Current or Upcoming tabs of the Activity Monitor.
Posting registered students to a Course Section allows you to track attendance using Campus Instruction and puts the activity on the student's schedule.
Only students who have the Registration Confirmed checkbox marked can be added to a Course Section roster.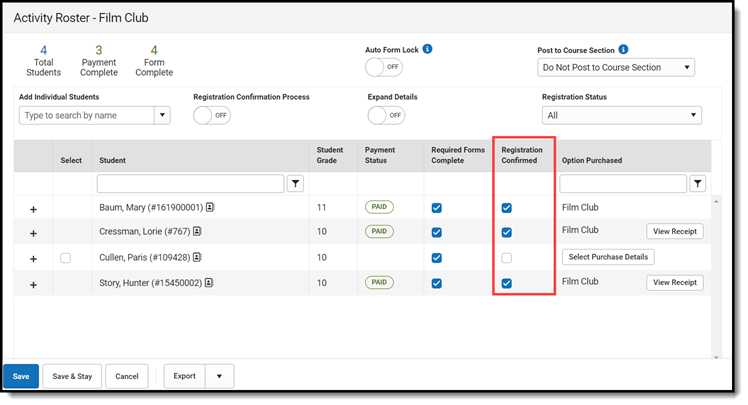
Posting to a Course Section can be done manually or automatically.
Manual Post to Course Section
Students are manually added to a section roster by selecting Manual Post to Course Section from the Post to Course Section dropdown list.
If students are added to the Activity Registration roster after the initial section roster is updated, you can complete the following steps again, and Campus will update the section roster for the newly added students.
- Once the activity has the proper status, choose Manual Post to Course Section from the Post to Course Section dropdown list.
Result
The Post to Course Section area displays.
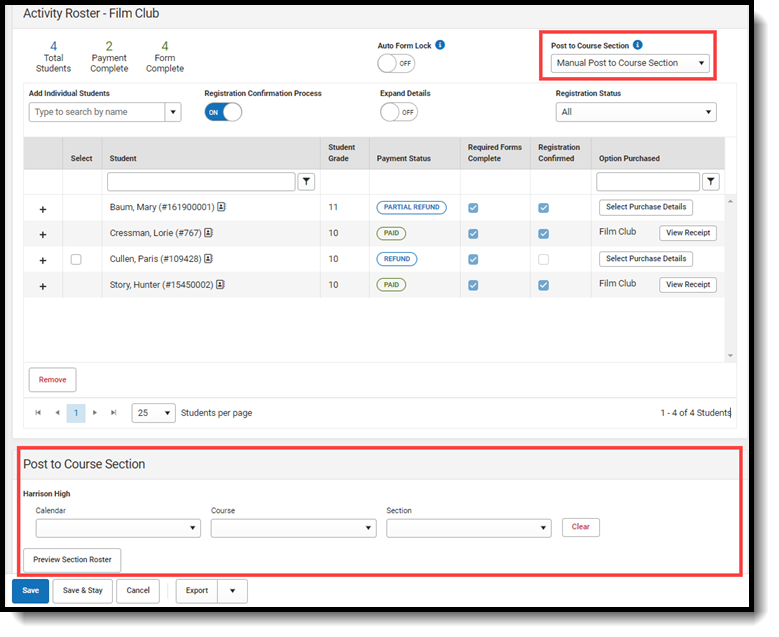
- Select the Calendar, Course and Section.
- Click the Preview Section Roster button.
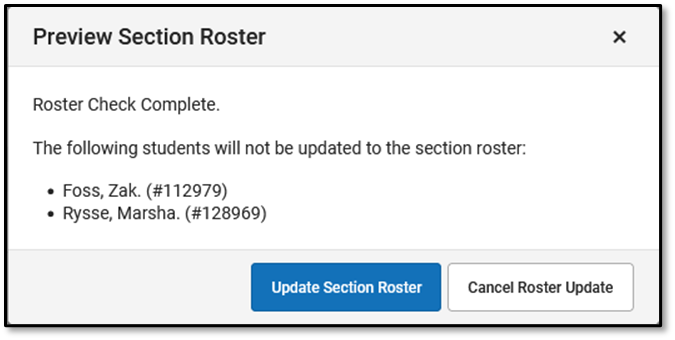
A preview message displays.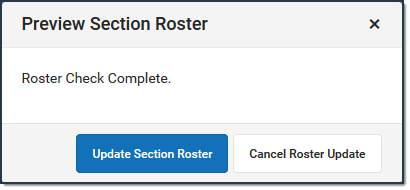 If there are students who cannot be added to the roster, their names display on the preview message. This could include students who do not have a primary enrollment. After reviewing these students and correcting any issues, you can complete these steps again to append these students to the section roster.
- Click the Update Section Roster button.
Result
A confirmation message displays.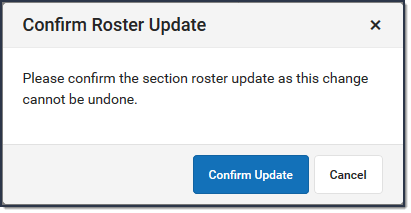
- Click the Confirm Update button.
Result
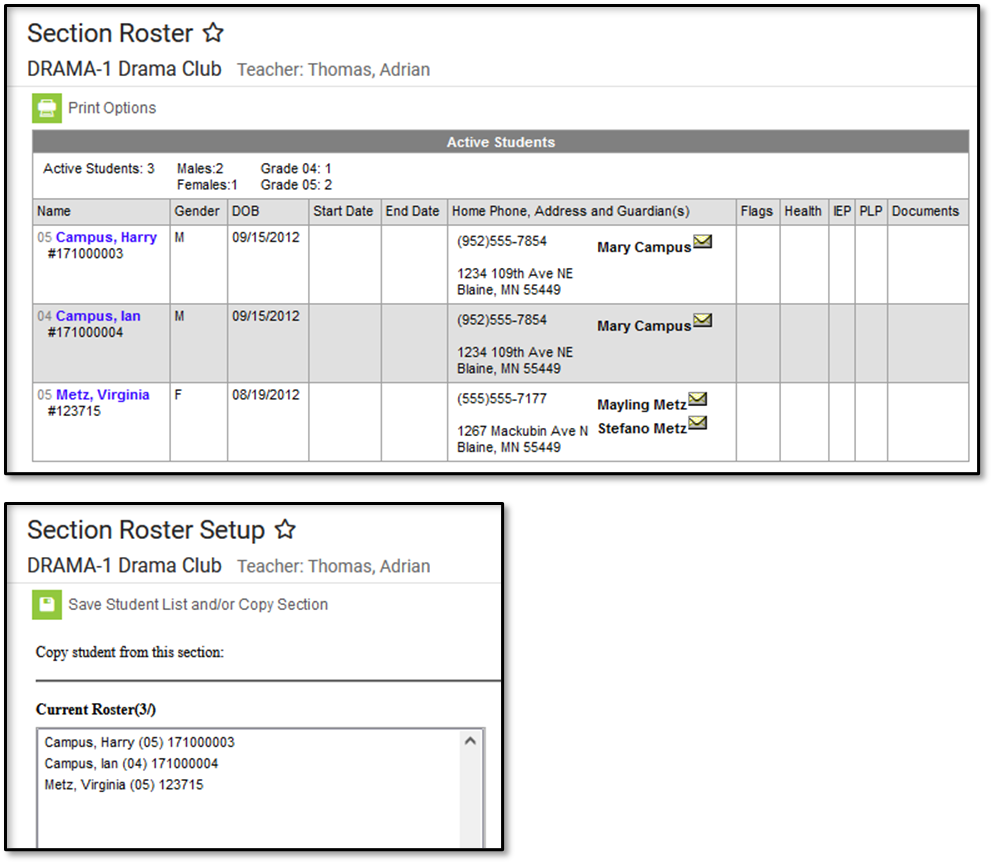
Campus updates the Section Roster.

 If there are students who cannot be added to the roster, their names display on the preview message. This could include students who do not have a primary enrollment. After reviewing these students and correcting any issues, you can complete these steps again to append these students to the section roster.


Auto-Post to Course Section
If the option Auto-Post to Course Section is selected, students are automatically added to the section when the Registration Confirmed checkbox is marked and the activity has been saved.
It may take up to a minute after the Registration Confirmed checkbox is marked AND the roster has been saved before the student appears in the section roster.
When Auto-Post to Course Section is selected, the Registration Confirmation Process toggle is automatically turned on. The Registration Confirmed checkbox will be marked for participants who have made payment and completed all forms (the Payment Status will appear as PAID, and the Required Forms Complete checkbox will be marked).
- Once the activity has the proper status, choose Auto-Post to Course Section from the Post to Course Section dropdown list.
Result
The Registration Confirmation Process toggle is turned ON and the Post to Course Section area displays.
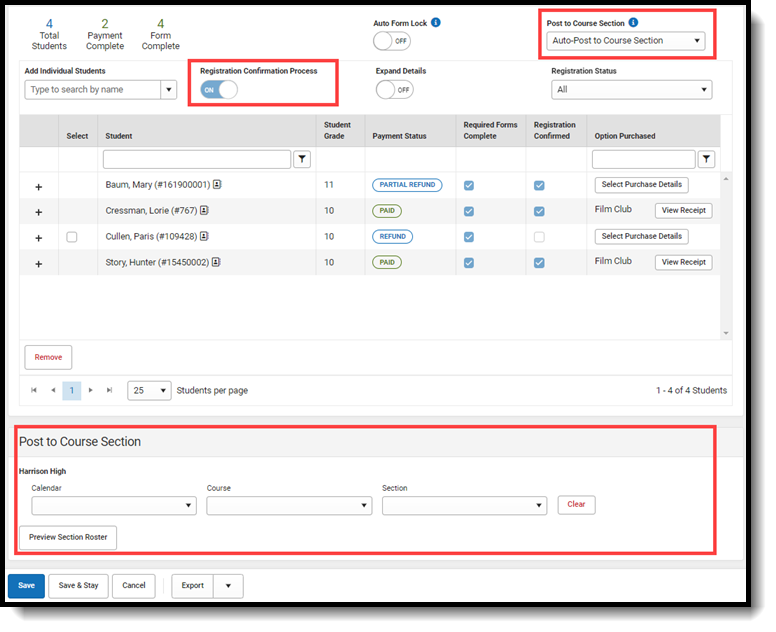
- Select the Calendar, Course and Section.
- Click the Save or Save & Stay button.
Result
Students who already have the Registration Confirmed checkbox marked are automatically placed in the section roster.
As students are added to the activity and their registrations are confirmed, they will be added to the section roster.

Preview Section Roster
If students' names appear on the preview message after clicking the Preview Section Roster button, it means there is an issue with their enrollment, or their registration has not been confirmed.
| Issue | How do I fix it? |
| The registration has not been confirmed. |
|
A student does not have a primary enrollment or has two or more primary enrollments. The Warning symbol appears on the Roster button in Activity Monitor...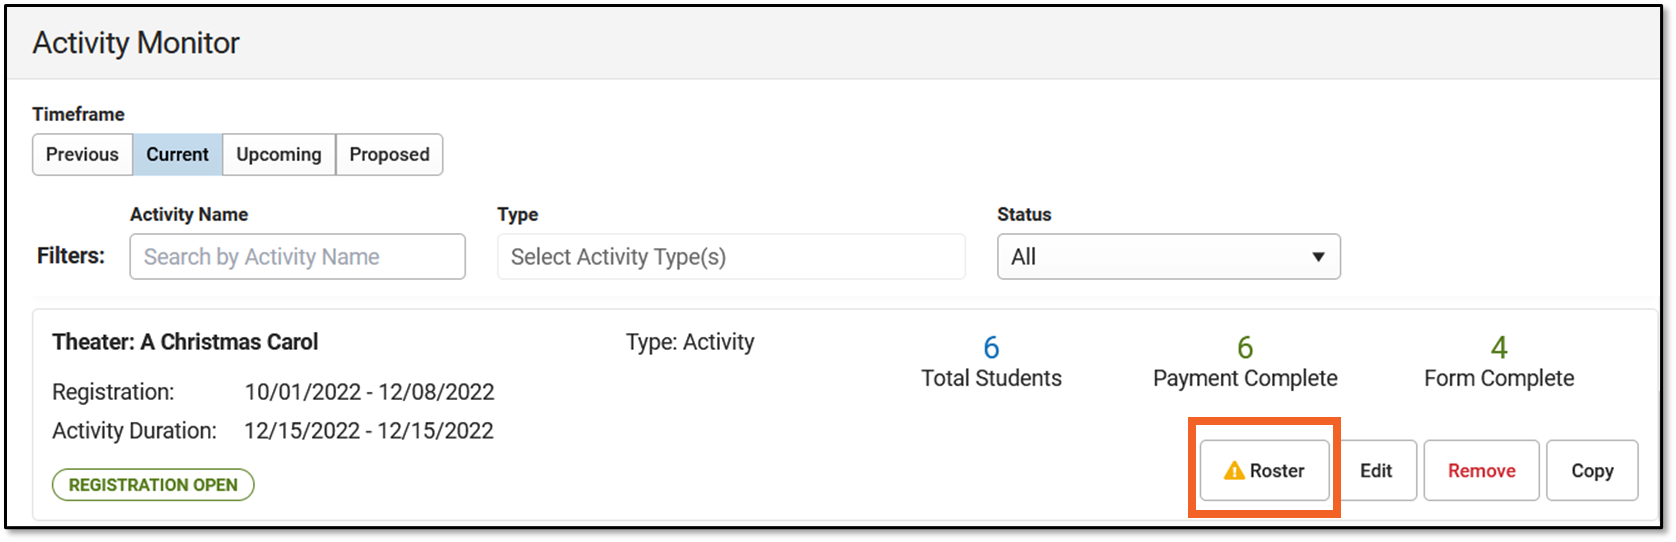
...and a warning message appears after clicking the Roster button. 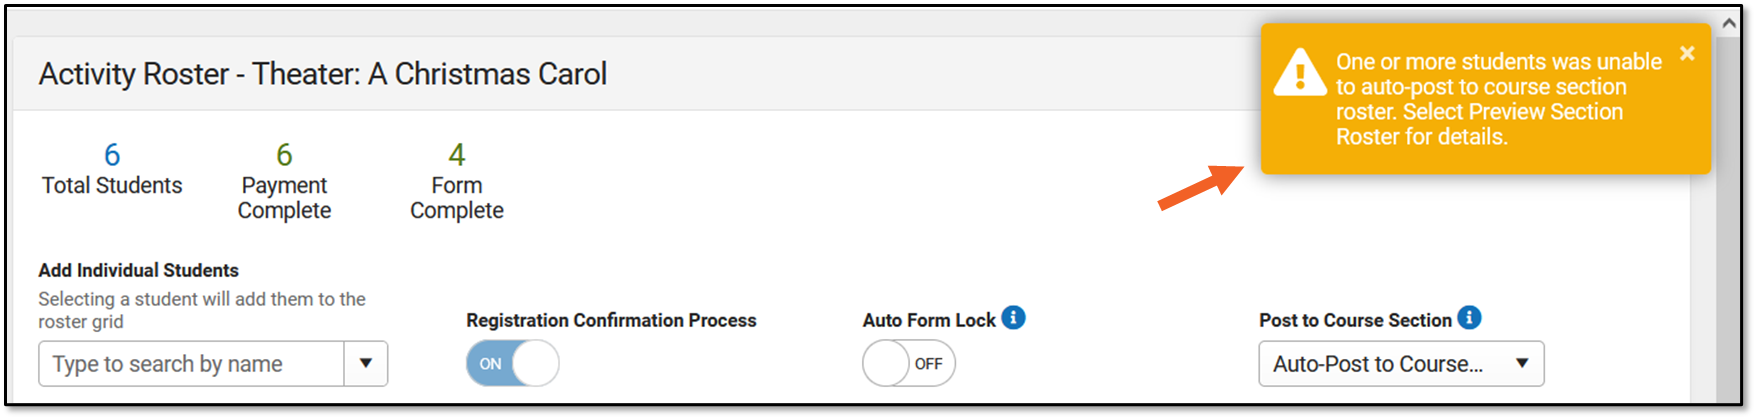 |
After all enrollment issues have been resolved and the students have been posted manually, the warning messages no longer display. |
