The Form Batch Setup tool is used to assign a Custom Form to a group of students. Toggle between the Ad Hoc Batch and Term Section Batch buttons to create new and view existing batches. Select an existing batch to navigate to the step the user left off on.
Form Batches are school and calendar specific.
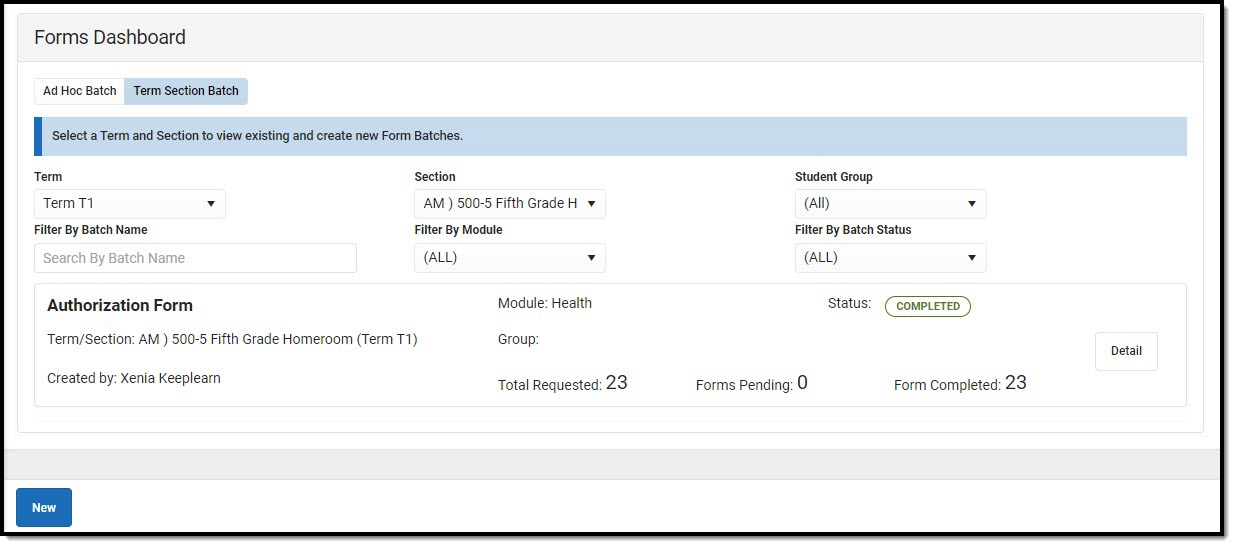 Term Section Form Batch
See the Form Batch Setup Tool Rights article for information about rights needed to use this tool.
The Filter By Batch Name, Filter By Module, Filter By Batch Status fields can be used to quickly narrow the results and find particular batches quickly.
Ad Hoc Batch: only batches created by the user can be viewed.
Term Section Batch: users must be associated with the term section to run the Term Section Batch.
| Field/Column Name | Description |
|---|---|
| Term *Term Section Batch Only |
The type of school structure associated with the selected calendar. |
| Section *Term Section Batch Only |
The individual course offering. |
| Student Group
*Term Section Batch Only |
Any applicable learning groups within the section. See the Student Groups documentation for additional information. |
| Module | The module in which the form is organized. |
| Batch Name | The name of the batch group. |
| Form Type | This indicates whether the form is Portal, Portal Fillable, Portal eSignature, Interactive with Database Table, or Interactive. |
| Status | The state of the batch. Statuses include:
|
| Total Requested | The current number of students selected. |
| Forms Pending | The number of forms that require attention. |
| Forms Complete | The number of completed forms. |
Create New Batch
A Form Batch can be created for students in a Term Section or an Ad hoc filter. Users assigned to a course/section and having rostered students can create Form Batches using the Term Section option. Users can also create Form Batches using any Ad Hoc filters and other filters with the Ad Hoc Batch option.
The process for creating a Form Batch is the same for both options except the Add Students step, noted below.
Select the Form Batch option, Ad hoc or Term Section, then click New to create a new batch. The Select Form screen displays.
Select Form
The Select Form screen displays all active forms available. All forms assigned to a student via the Form Batch tool display on the Forms tool, but not on the module's Documents tool.
This article uses an interactive form that will be sent to the Campus Parent and Campus Student Portal to be filled out and for an eSignature as an example. See the Custom Forms tool for information on how to set up each of the Form types. Other options for forms that can be created using the Form Batch tool include:
| Form Type | Description |
|---|---|
| Interactive |
|
| Interactive, Portal |
|
| Interactive, eSign |
|
| Interactive, p Fillable |
|
| Interactive with DB Table |
|
| Interactive with DB Table, Portal |
|
| Interactive with DB Table, eSign |
|
| Interactive with DB Table, p Fillable |
|
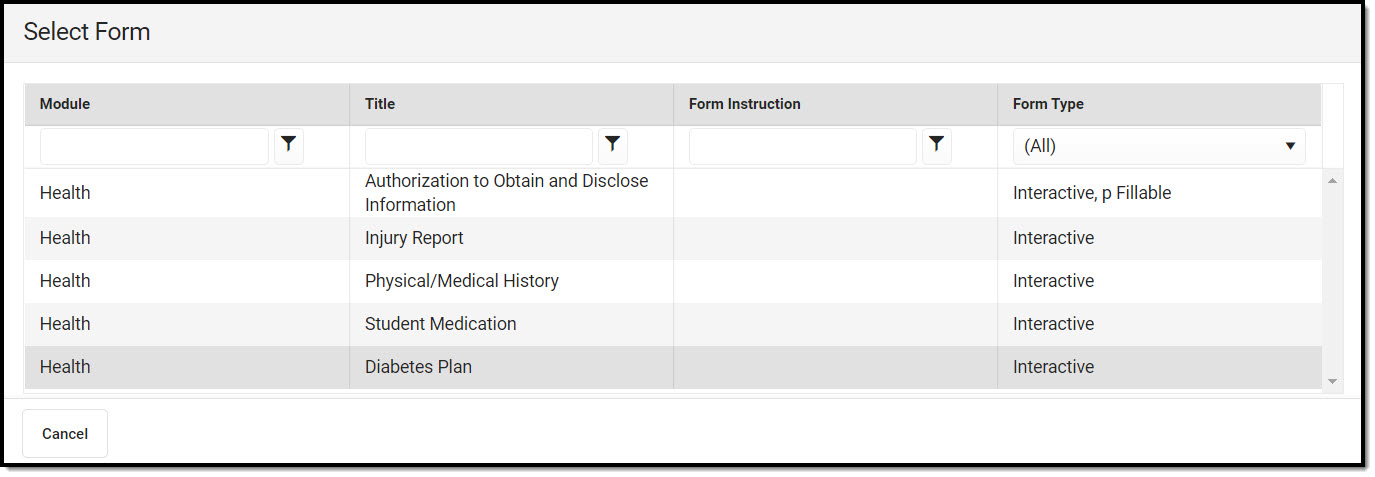 Select Form Screen
Choose a form to associate with the student(s). The Prepare Form screen displays.
Prepare Form
The Prepare Form screen is used to set up the form for the student(s). Enter a Name for the batch and any information into the fillable fields. Any data entered into the form on the Prepare Form screen applies to ALL student forms.
The Term, Section, and Student Group fields are read-only on this screen.
The Custom Form Name and the Instructions display at the top of the form. The header also indicates if the form will display on Roster and/or Portal or be sent to the parent/guardian and/or student for eSignature and data entry.
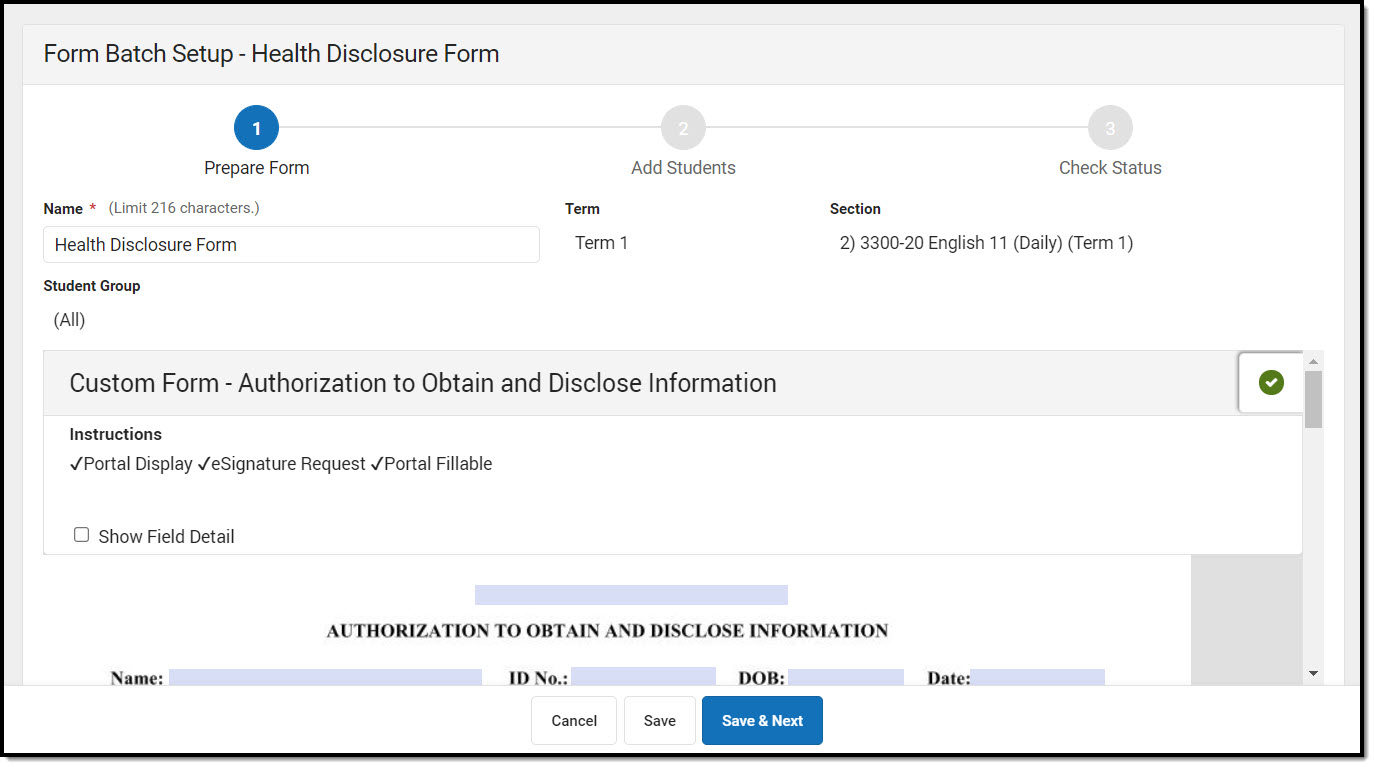 Prepare Form
The Show Field Detail field can be marked to allow the user to view additional information about each field upon hover.
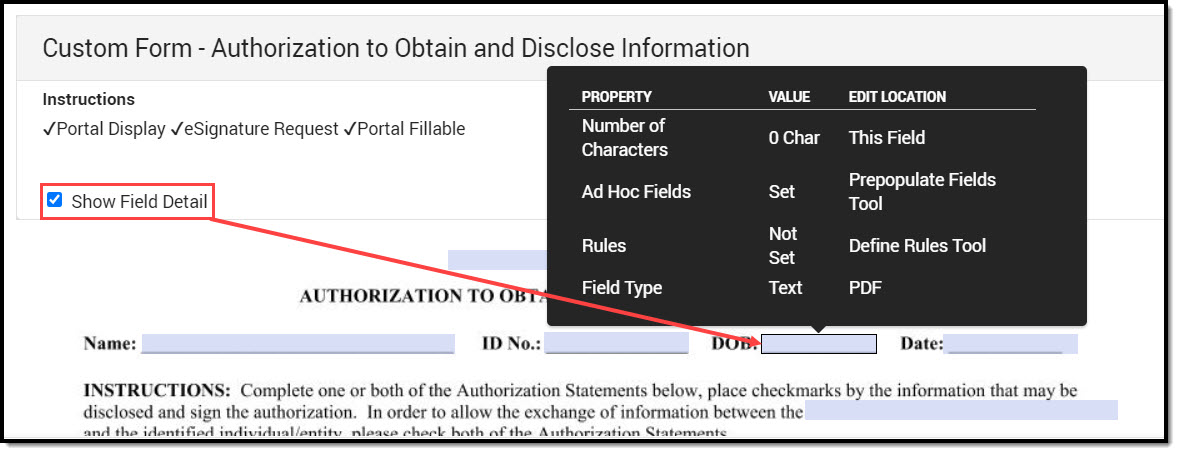 Show Field Detail Hover Information
Enter data onto the form for all students. Click Save to save progress and remain on the screen, or Save & Next to save and proceed to the next step. The Add Students screen displays.
Term Section Add Students
See the Ad Hoc Add Students section for batches created using the Ad hoc Batch option.
The Add Students screen is used to select which students will have the form associated to them.
The Search and Add Students section displays all students from the Term, Section, and Student Group selected . Click Add All to put all students into the batch. Selecting an individual student's name adds that student to the Current Students list and vice versa. Individual students can also be selected to add or remove students to and from the different columns.
The Current Students section displays the names of the students that will be included in the batch. Click Clear to remove all students from the list.
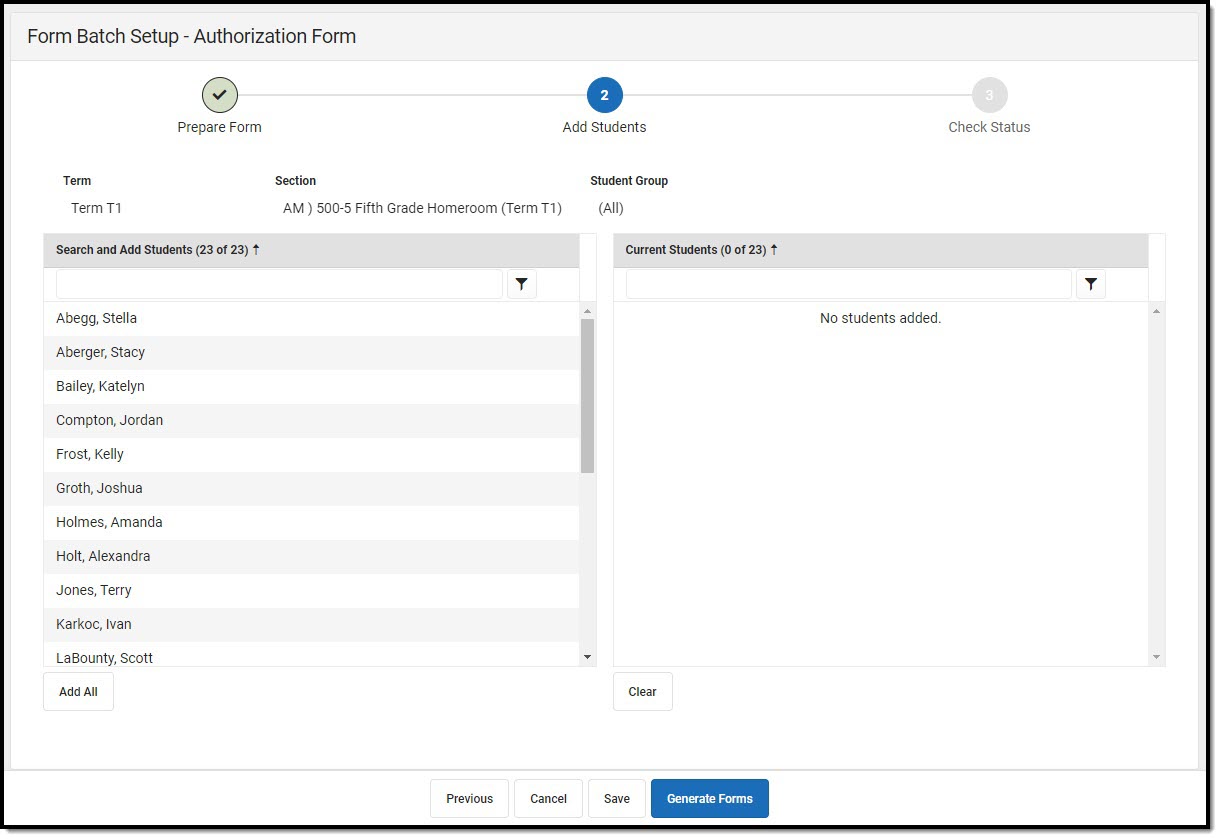 Add Students (Term Section Batch)
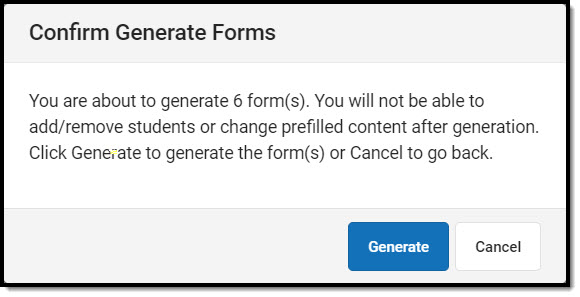
Once the desired students are selected, click Save to save progress and remain on the screen, or Generate Forms to save and proceed to the next step. A pop-up displays explaining the number of forms that will be generated and warning the user that once the forms are generated, students cannot be added/removed from the batch and prefilled content cannot be modified. It will also display on the Forms tool as soon as the form is generated.
 Confirm Generate Forms Warning
Click Generate to create the batch forms, or Cancel to go back. The Check Status Screen Displays.
Ad hoc Add Students
See the Term Section Add Students section for batches created using a Term Section.
The Add Students screen is used to select which students will have the form associated to them.
The Find Students section can be used to select an Ad hoc filter to find a group of students. Selecting an individual student's name adds that student to the Selected Students list and vice versa. Individual students can also be selected to add or remove students to and from the different columns. Users can also filter by student name, grade, or student group to find students. See the Student Group documentation for additional information.
The Selected Students section displays the names of the students that will be included in the batch. Click Clear to remove all students from the list.
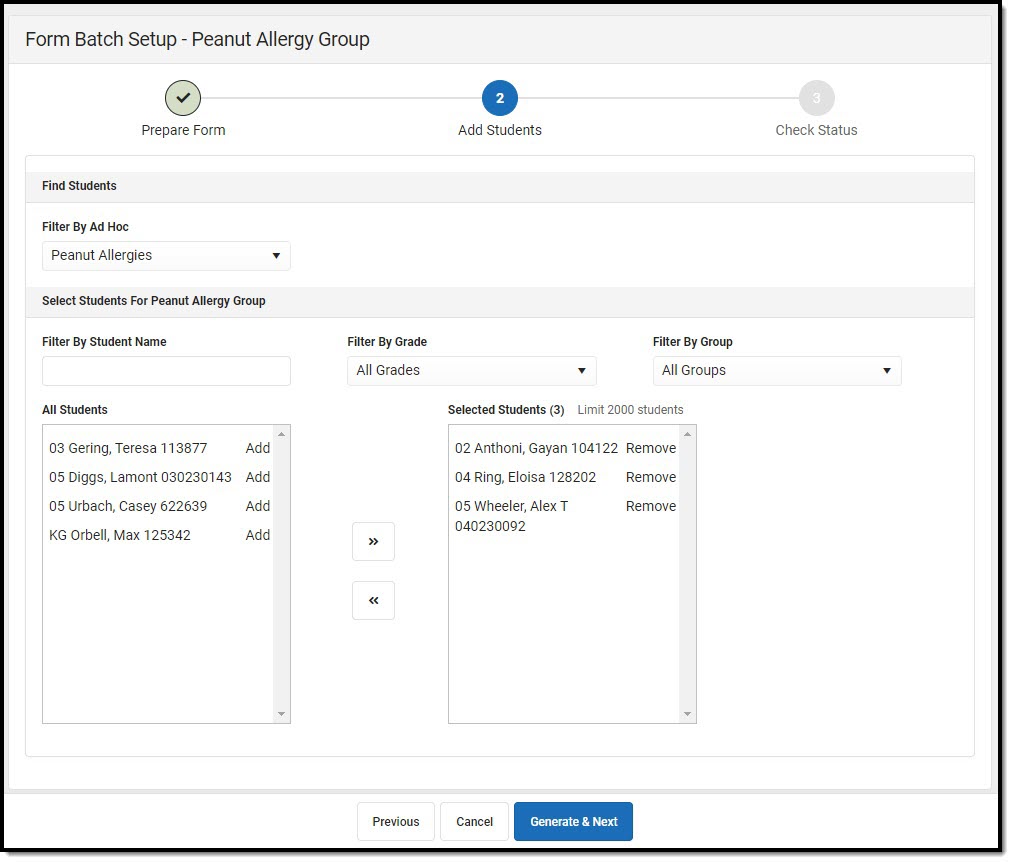 Add Students (Ad hoc Batch)
Once the desired students are selected, click Generate & Next to proceed to the next step. A pop-up displays explaining the number of forms that will be generated and warning the user that once the forms are generated, students cannot be added/removed from the batch and prefilled content cannot be modified. It will also display on the Forms tool as soon as the form is generated.
Click Generate to create the batch forms, or Cancel to go back. The Check Status Screen Displays.
Check Status
The Check Status screen is used to view the status and edit the forms. All functions that can be performed on the Forms tool can also be performed on this screen, with additional batch functions that can be done for all forms. These include setting a Start Date/Time and End Date, Requesting eSignature, Locking, and Completing forms. Individual forms can be edited independently from the batch, including setting different Start and End Dates.
Select a form to modify an individual form.
If the student's Enrollment has been deleted after a Form has been generated, "No grade found" displays in the Grade column. For eSignature Forms, an End Date may be entered to allow the Form on the Portal to expire.
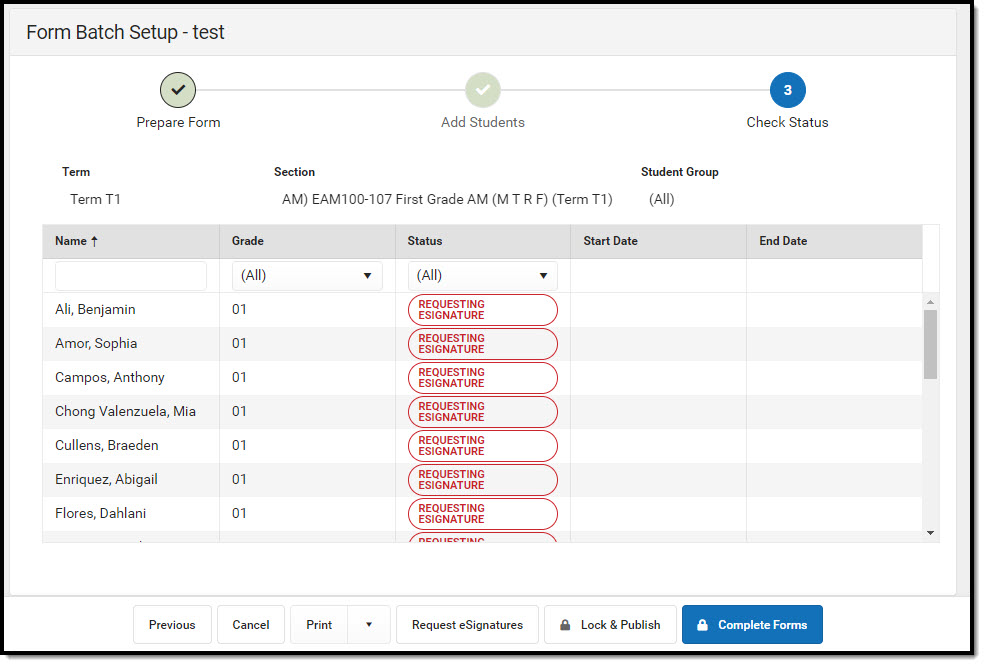 Check Status
| Column Name | Description |
|---|---|
| Name | The student's name. |
| Grade | The student's grade. |
| Status | The state of the form. Statuses include:
Non-eSignature Documents Statuses
eSignature Documents Statuses
Note: If the form has no participants, the user can contact their administrator regarding updating Census information OR they can confirm that there aren't any participants by selecting the individual form and Review Participants > Confirm No Participants. The form will still display on the Forms tool. |
| Start Date | The date the form will be sent to the Portal in the future. This is optional. |
| End Date | The date after which the form becomes read-only on the Portal. This is optional. |
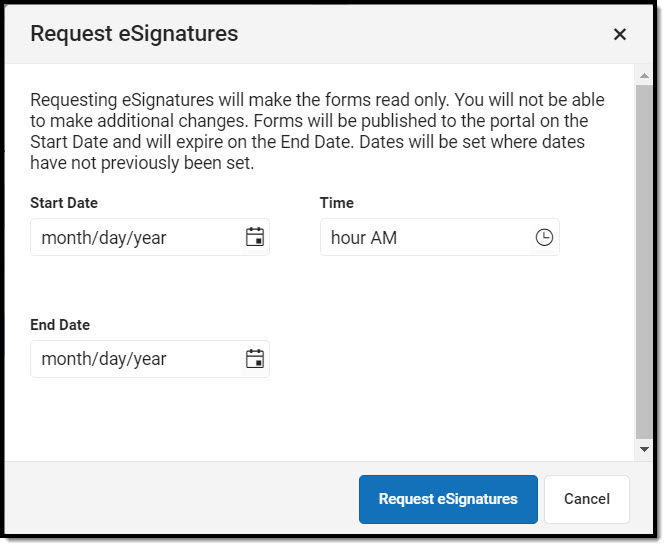
Once all data entry is complete, click the Request eSignature button. A pop-up displays. Entering a Start Date/Time and End Date sets that value for all forms that do not have any values entered already. Additional changes cannot be made after the eSignature request has been sent. The form will display on the Portal as of the Start Date.
When the One Guardian eSignature Required to Complete option is marked on the Custom Forms Setup tool, all guardians associated with the student receive the form, but only one signature is required. The first guardian to sign the form prevents the other guardian(s) from signing.
 Confirm Batch eSignature Request(s)
Additional buttons can display at the bottom of the Check Status screen, depending on the forms' status. For example, when one form has been signed by all participants, the Complete button displays. When clicked, only forms with all signatures gathered will be completed. The rest of the forms remain in their existing statuses.
Confirm Batch eSignature Request(s)
Additional buttons can display at the bottom of the Check Status screen, depending on the forms' status. For example, when one form has been signed by all participants, the Complete button displays. When clicked, only forms with all signatures gathered will be completed. The rest of the forms remain in their existing statuses.
Print Batch Forms
Individual student forms can be printed on the Check Status screen by opening an individual document. Forms can also be printed as a batch by clicking the Print button. The down arrow on the Print button provides users with options to print a batch of forms with a particular status:
| 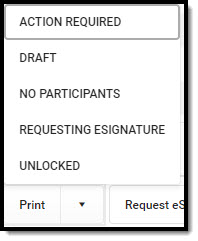 Batch Print Options
|
Complete Batch Forms
Once the batch is generated, the forms can be completed individually and as a batch the same way they can be completed on the Forms tool. See the Complete Forms section on the Forms tool document for additional information.
Click Complete Forms to complete all applicable eSignature forms. Click the Lock & Publish button to complete Unlocked forms.
Note: The Complete Forms button display any time there are forms that can be Completed.
Delete Batch
Batches for eSignature forms can be deleted from the Prepare Form screen. Once a form has been sent to the Portal, the batch cannot be deleted. Portal-only and non-Portal forms can be deleted at any time.
Large Form Batches
Form Batches with 50 or more students (maximum 2000 students) AND batch printing jobs with 50 or more forms are automatically sent to the Batch Queue. Navigate to the Message Center to view and/or print the Form Batch.
Note: By default, Batch Queue reports are deleted after 30 days unless otherwise specified in System Preferences (System Administration > Preferences > System Preferences > Batch Queue Expiration Days).
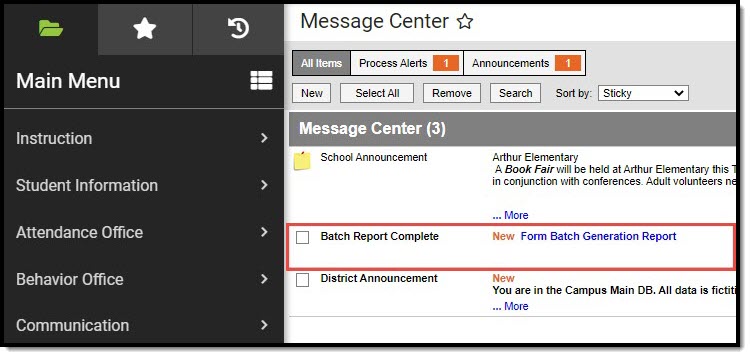 Form Batch Report in Message Center
Large print jobs of approximately 6000 pages or more automatically get broken up into multiple print jobs in the Batch Queue. When this occurs, the batch reports will be labeled with the same Batch ID and be denoted as Part 1, Part 2, etc.
Tool Rights
Tool Search: Tool Rights
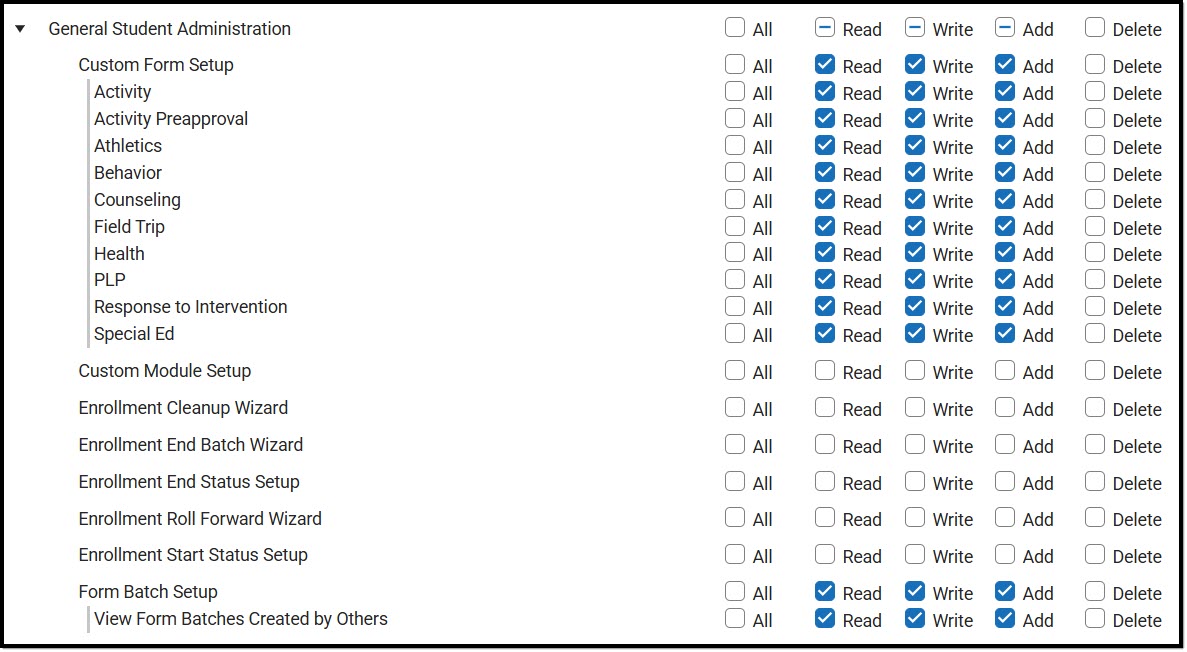
To create a form batch for a module, users need to have tool rights to individual modules under the Forms tool (Tool Rights > Student Information > General > Forms > Module ) and the Form Batch Setup tool (Tool Rights > Student Information > Form Batch Setup).
 Form Batch Setup Tool Rights
| Tool | Read | Write | Add | Delete |
|---|---|---|---|---|
| Form Batch Setup | View existing form batches. | Edit existing batches. | Create new batches. | Users do not need Module Delete rights to delete a batch. |
| View Form Batches Created by Others |
View existing form batches created by other users. Note: users must navigate to the Forms tool to view a specific form. This tool right is only associated with the batch itself. |
N/A | N/A | N/A |
