Tool Search: Settings
The Settings tool allows you to choose where you want the School Store to display and set up different options for every store. From here you can also set up Public Store options. The Public Store is a website where anyone can shop for goods or services from your district.
Create a School Store
Create a store for each school by selecting the school in the Campus toolbar. Use the field descriptions provided here to complete the screen then click Save. Repeat this procedure for each school that is going to have a school store.

Field Descriptions (School Store)
| Field | Description |
|---|---|
| Store Display Name | The name of the store. |
| Public Store URL | The URL that is used to visit the Public Store. The URL is cannot be modified.
|
| Enable Store for | You can display the store in Campus Parent, Campus Student, Employee Self Service, or the Public Store. If you do not want the store to display, do NOT mark the checkbox. |
| Allow Free and Reduced Pricing | When this checkbox is marked, students that have an active eligibility record (FRAM > Eligibility) can be given a reduced price for items in the store. The reduced price is set up on the product. If you do not set up a reduced price, the student is charged the regular selling price. |
| Shop By Categories | This option allows you to set up the School Store for users to shop by category or by products.
|
| Add Parent Portal Description | Adds the text to the top of the Parent Portal School Store. |
| Add Student Portal Description | Adds the text to the top of the Student Portal School Store. |
| Store Logo Upload | A picture that represents the school store in Campus Student and Campus Parent. The image must use one of the following extensions: .jpg, .jpeg, .png, or .gif. |
Create a Public Store
Create a Public Store by selecting All Schools in the Campus toolbar. Use the field descriptions provided here to complete the screen then click Save.
Tip: See the Public Store Overview for more information about setting up a Public Store. There are multiple steps that you must complete before products can be purchased on the Public Store.
 Example Public Store Settings
Field Descriptions (Public Store)
| Field | Description |
|---|---|
| Enable Public Store | Once the Enable Public Store box is checked, people can use the Public Store URL found on this Settings page to shop at your Public Store. |
| Store Display Name | The name of the store as it appears in Campus Student and Campus Parent. |
| Public Store URL | The URL that is used to visit the Public Store. The URL is cannot be modified.
|
| Require User Account To Purchase | Public Store customers can create a user account before they make purchases on the Public Store. If you mark this checkbox, customers will be required to create a user account before making a purchase. When someone creates an account, their name and email address are saved in Campus in the Demographics tool and Campus assigns the Public Store Homepage to their user account. Public Store customers can review their payment methods and purchase history after they log in. 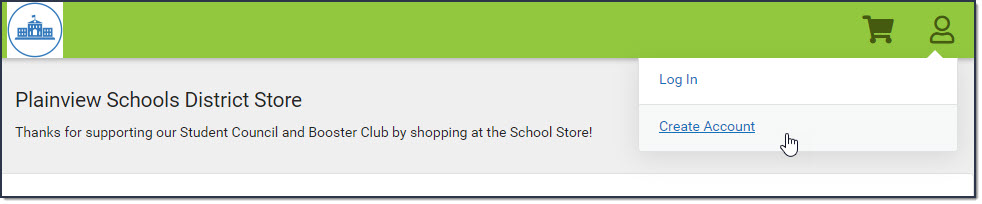 
|
| Description | The text you enter in this field displays below the Title on the Public Store.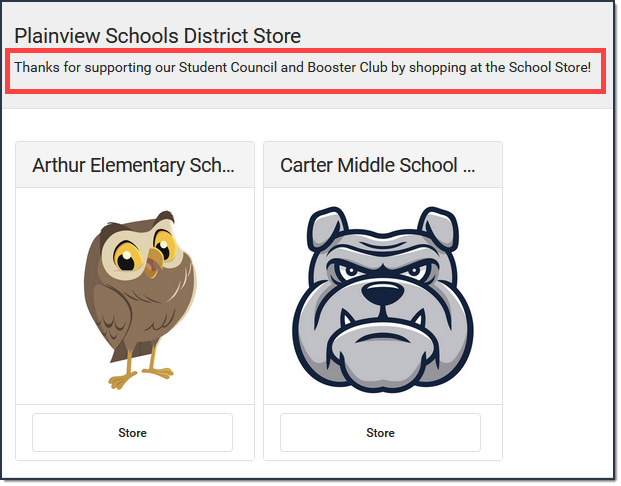 |
| Store Logo Upload | A picture that represents the Public Store. This image displays at top of the page. The image must use one of the following extensions: .jpg, .jpeg, .png, or .gif.  |
