Tool Search: Student Groups
Use Student Groups to sort students into smaller learning groups within a section. You can then assign assignments to only the students in a specific group. See the Use Student Groups article for more information about how to use student groups in grading.
 Use Student Groups to create subsets of students in a section.
 See the Instruction Tool Rights article for information on available tool rights.
'Views' in the Student Groups Tool
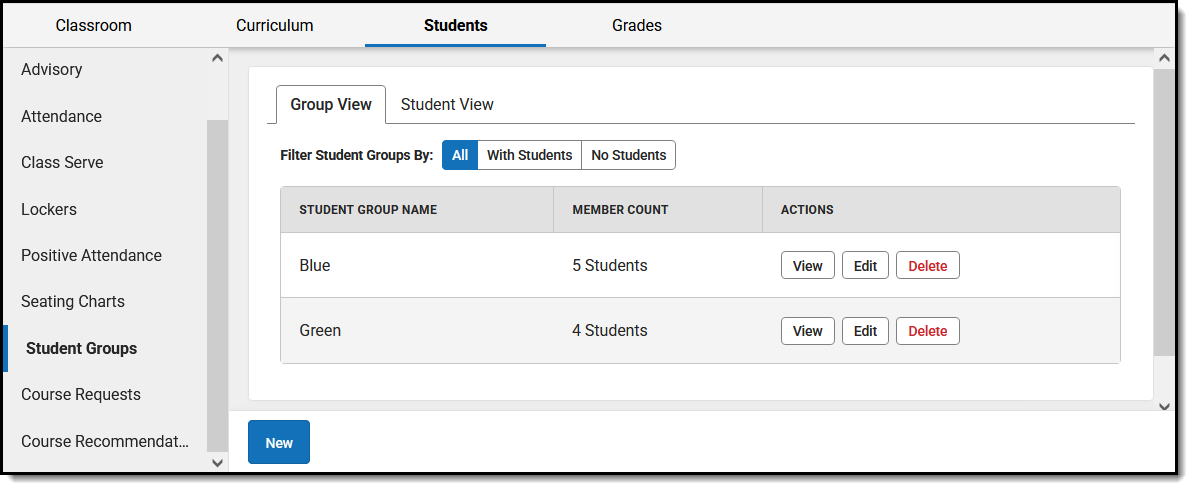
The Student Groups tool has two different views:
- The Group View lists groups for that section with the number of students. Filter this view to show groups that have students and those that don't.
- The Student View lists students in the section with their group memberships. Filter this view to show students who are assigned to a group and those that are not.
Create a Student Group
You can create groups with any combination of students in a group.
- From the Student Groups tool, select the Section you want to create a group for at the top of the screen.
- Click New to open a new group.
- Enter a Name for the group, which appears in assignments and the Grade Book.
- Groups are marked as Active by default. Unmark this checkbox to exclude the group from appearing in assignments and the Grade Book. Inactive groups display in red text in the groups list.
- From the Student Roster list, click Add next to any student who should be in the group. Those names move to the Group Members list at the right.
- Sort Students By Name or by Grade level.
- To display other groups each student is assigned to, toggle Show Other Groups to On.
- Click the student's name to view basic demographic data and contact information for the student.
- If your school is using Blended Learning, an icon indicating each student's blended learning group displays next to their name, based on the Term selected.
- To move students out of the Group Members list, click Remove next to the name.
- Click Save to create the group.
 Click Add to move students to the Group Members list.
 Review and Modify Groups
To see the list of students in a group, click the Group View and then View in the Actions column. There are also options to Edit and Delete groups.
