This article pertains to districts that have purchased Remote Dial-In; the following information is provided by Shoutpoint. More information regarding Shoutpoint can be found here.
Remote Dial-in Administration covers user and contact maintenance. For information about creating and maintaining notifications, see Creating Remote Dial-in Campaigns.
This article contains the following topics:
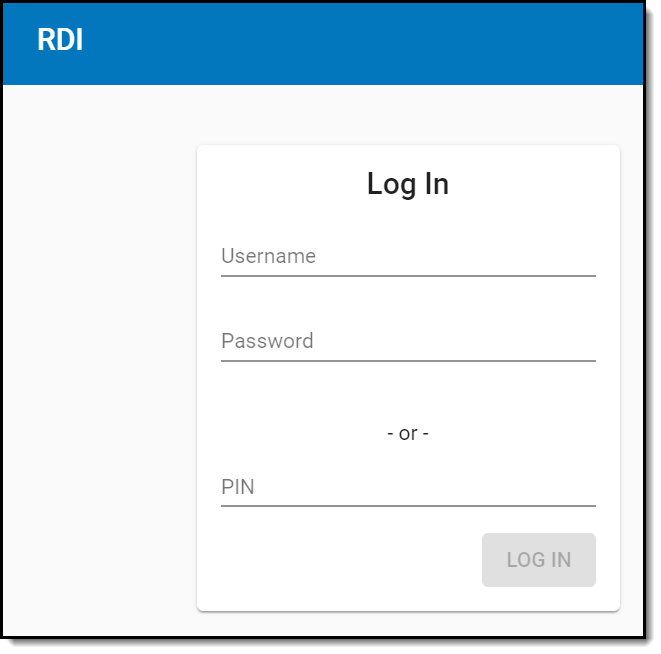
Accessing the Remote Dial-In Console
- Go to: https://rdi.shoutpoint.com.
- Enter your username and password or enter your numeric PIN.
- Click OK. The Notifications screen displays.
 Remote Dial-in Web Access
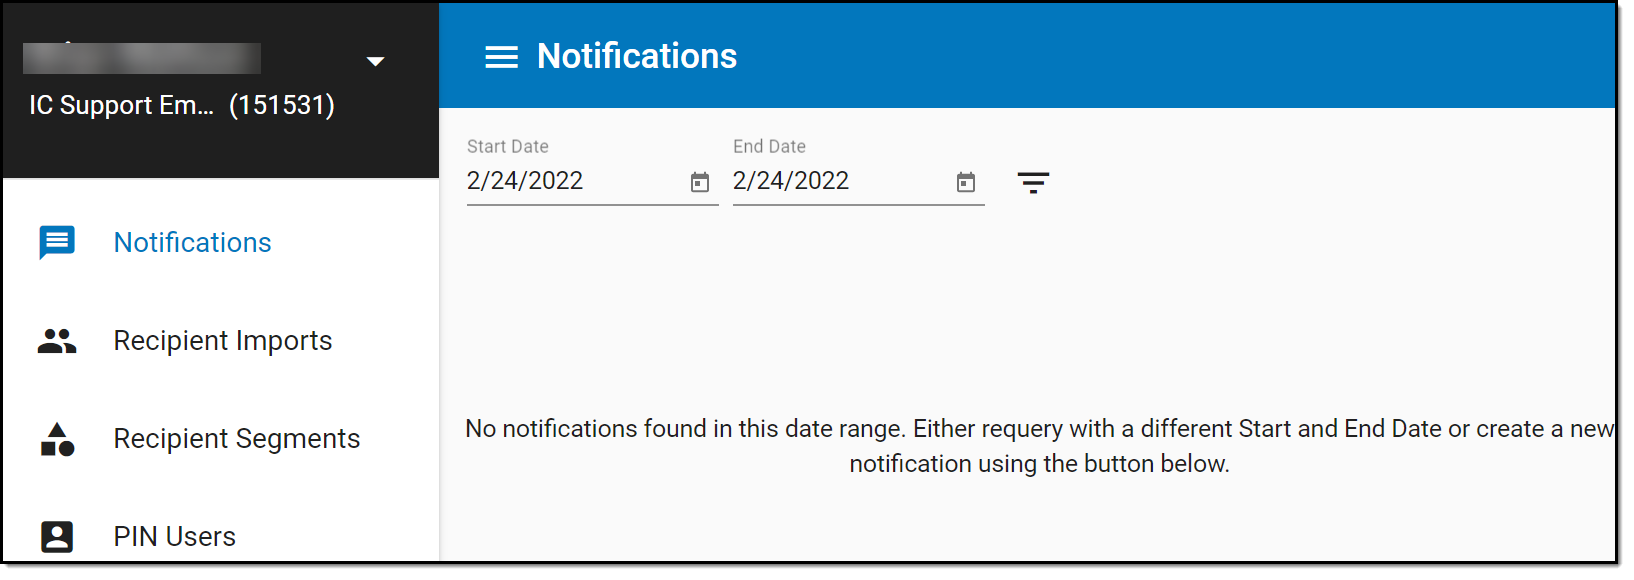
Notifications
Notifications are voice/text message campaigns districts create to send urgent or important messages to students, parents and staff. Notifications can be sent immediately or scheduled for a later date and time.
 Remote Dial-In - Notifications
 Remote Dial-In - Notifications |
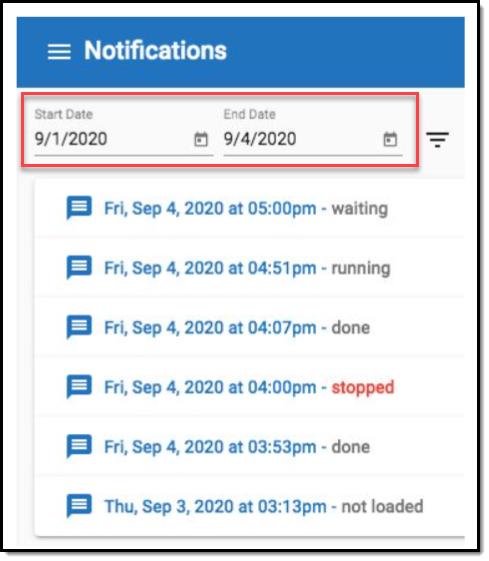
By default, notifications scheduled for the the current date will be displayed. To see notifications for a different date range, enter the desired start and end dates (or use the calendar feature to select the dates) and then click the filter icon.
Results will be displayed in the user’s local time zone, from newest notification to oldest.
|
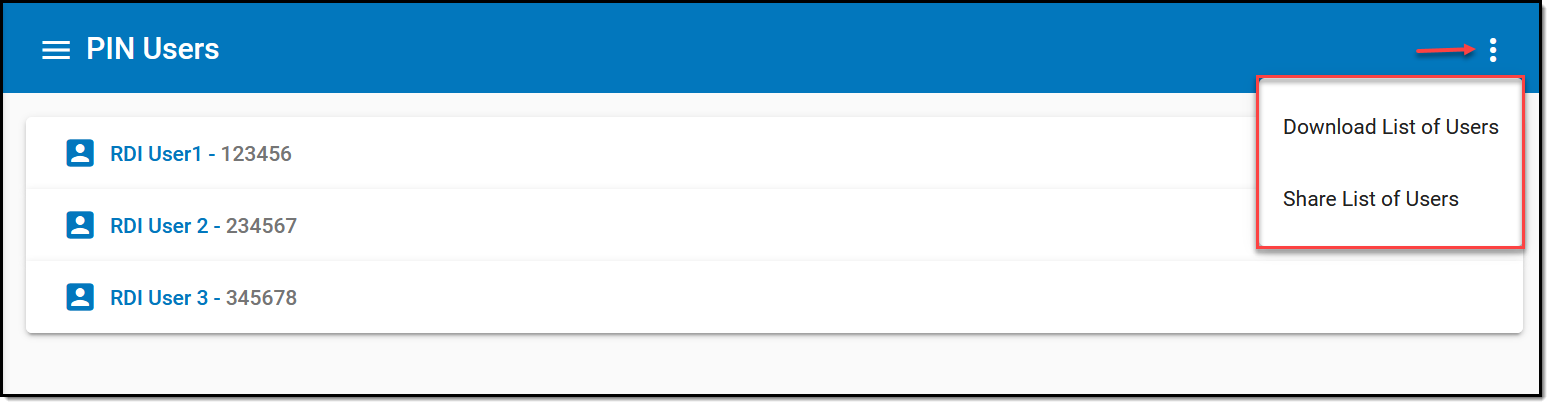
PIN Users
View a List of PIN Users
Both of these options are not available if the user logged in using a PIN. Users must log in with a username and password to access this section.
 Remote Dial-In - PIN Users
Adding a New PIN User
- Select Pin Users from the Index.
- Select the Create a new user icon. A User Detail editor will display.
- Enter a First Name, Last Name, and Email for the new user.
- Click SAVE. The new PIN user's information will appear in the PIN Users list and a confirmation message will be sent to the email address of the new user.
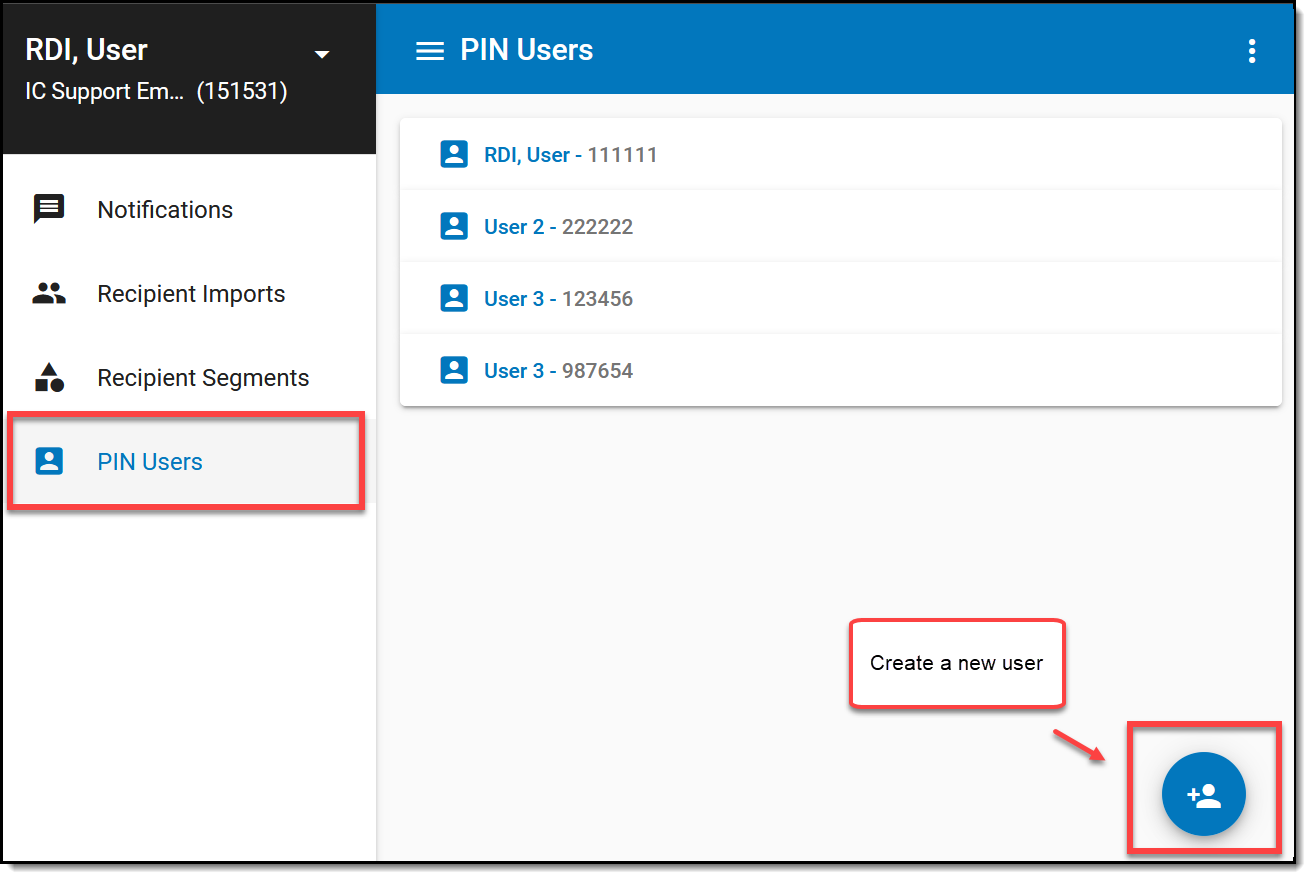
PIN Users can not set up new users or manage contact queries.
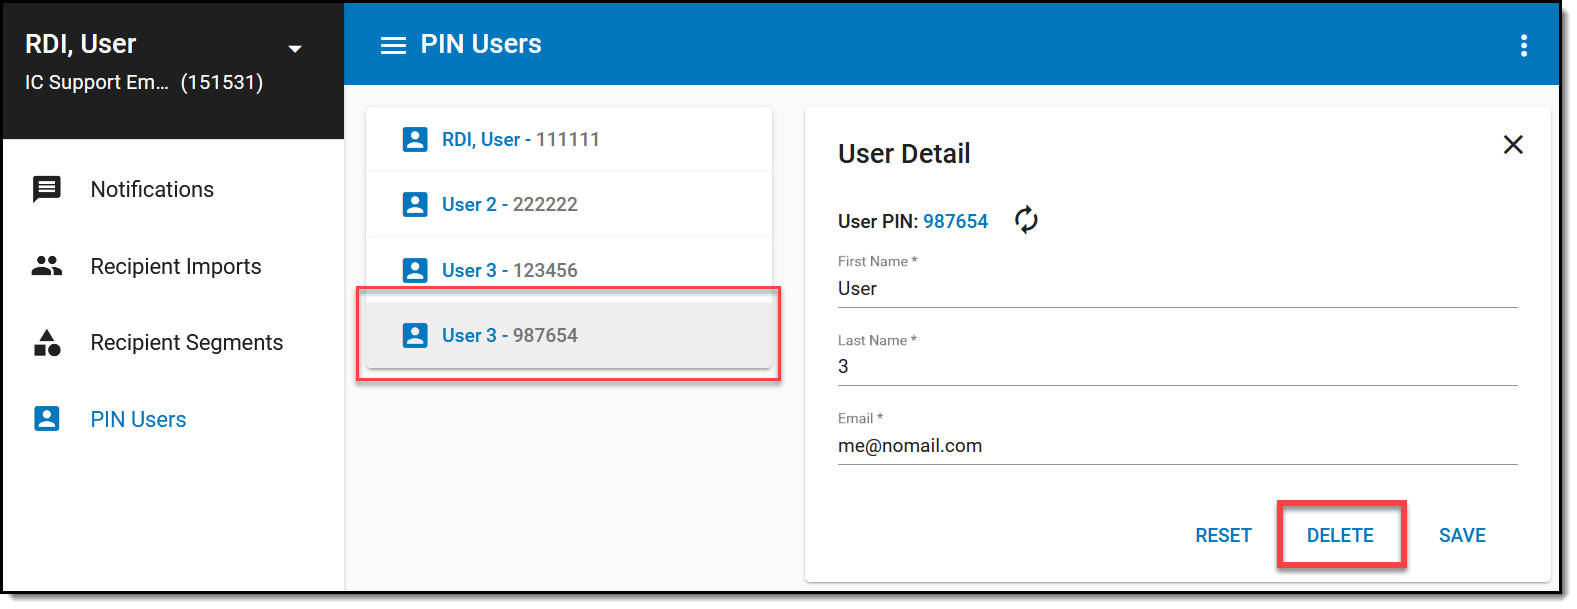
Deleting a PIN User
- Select the correct user from the list.
- Click the Delete button. The user will be removed from the list.
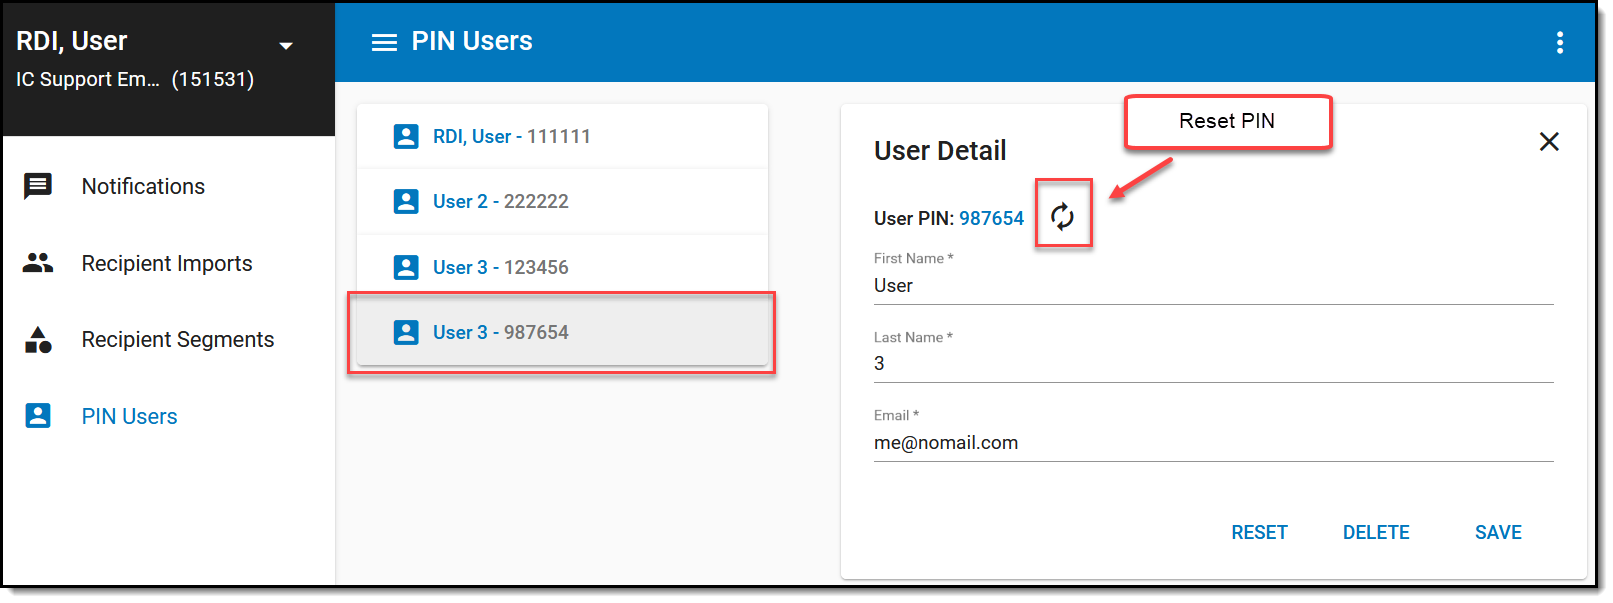
Resetting a PIN
- Select the correct user from the list.
- Select Reset PIN icon. The new PIN will be emailed to the address provided.
- Click Save.
Recipient Segments
Send Voice/Text messages to a specific group of student and staff recipients by creating a Recipient Segment. Using the filter options available, identify specific recipient groups to receive only the information they need. Example: create a Recipient Segment for each school in the district for only students/staff of the selected school to receive Call/Text notifications. Users may edit and delete existing segments as needed.
Create Student and Staff Recipient Segments
A sample of recipients displays in the Sample Recipients box. Select the refresh icon in Sample Recipients to query the recipient sample on only the selected filters.
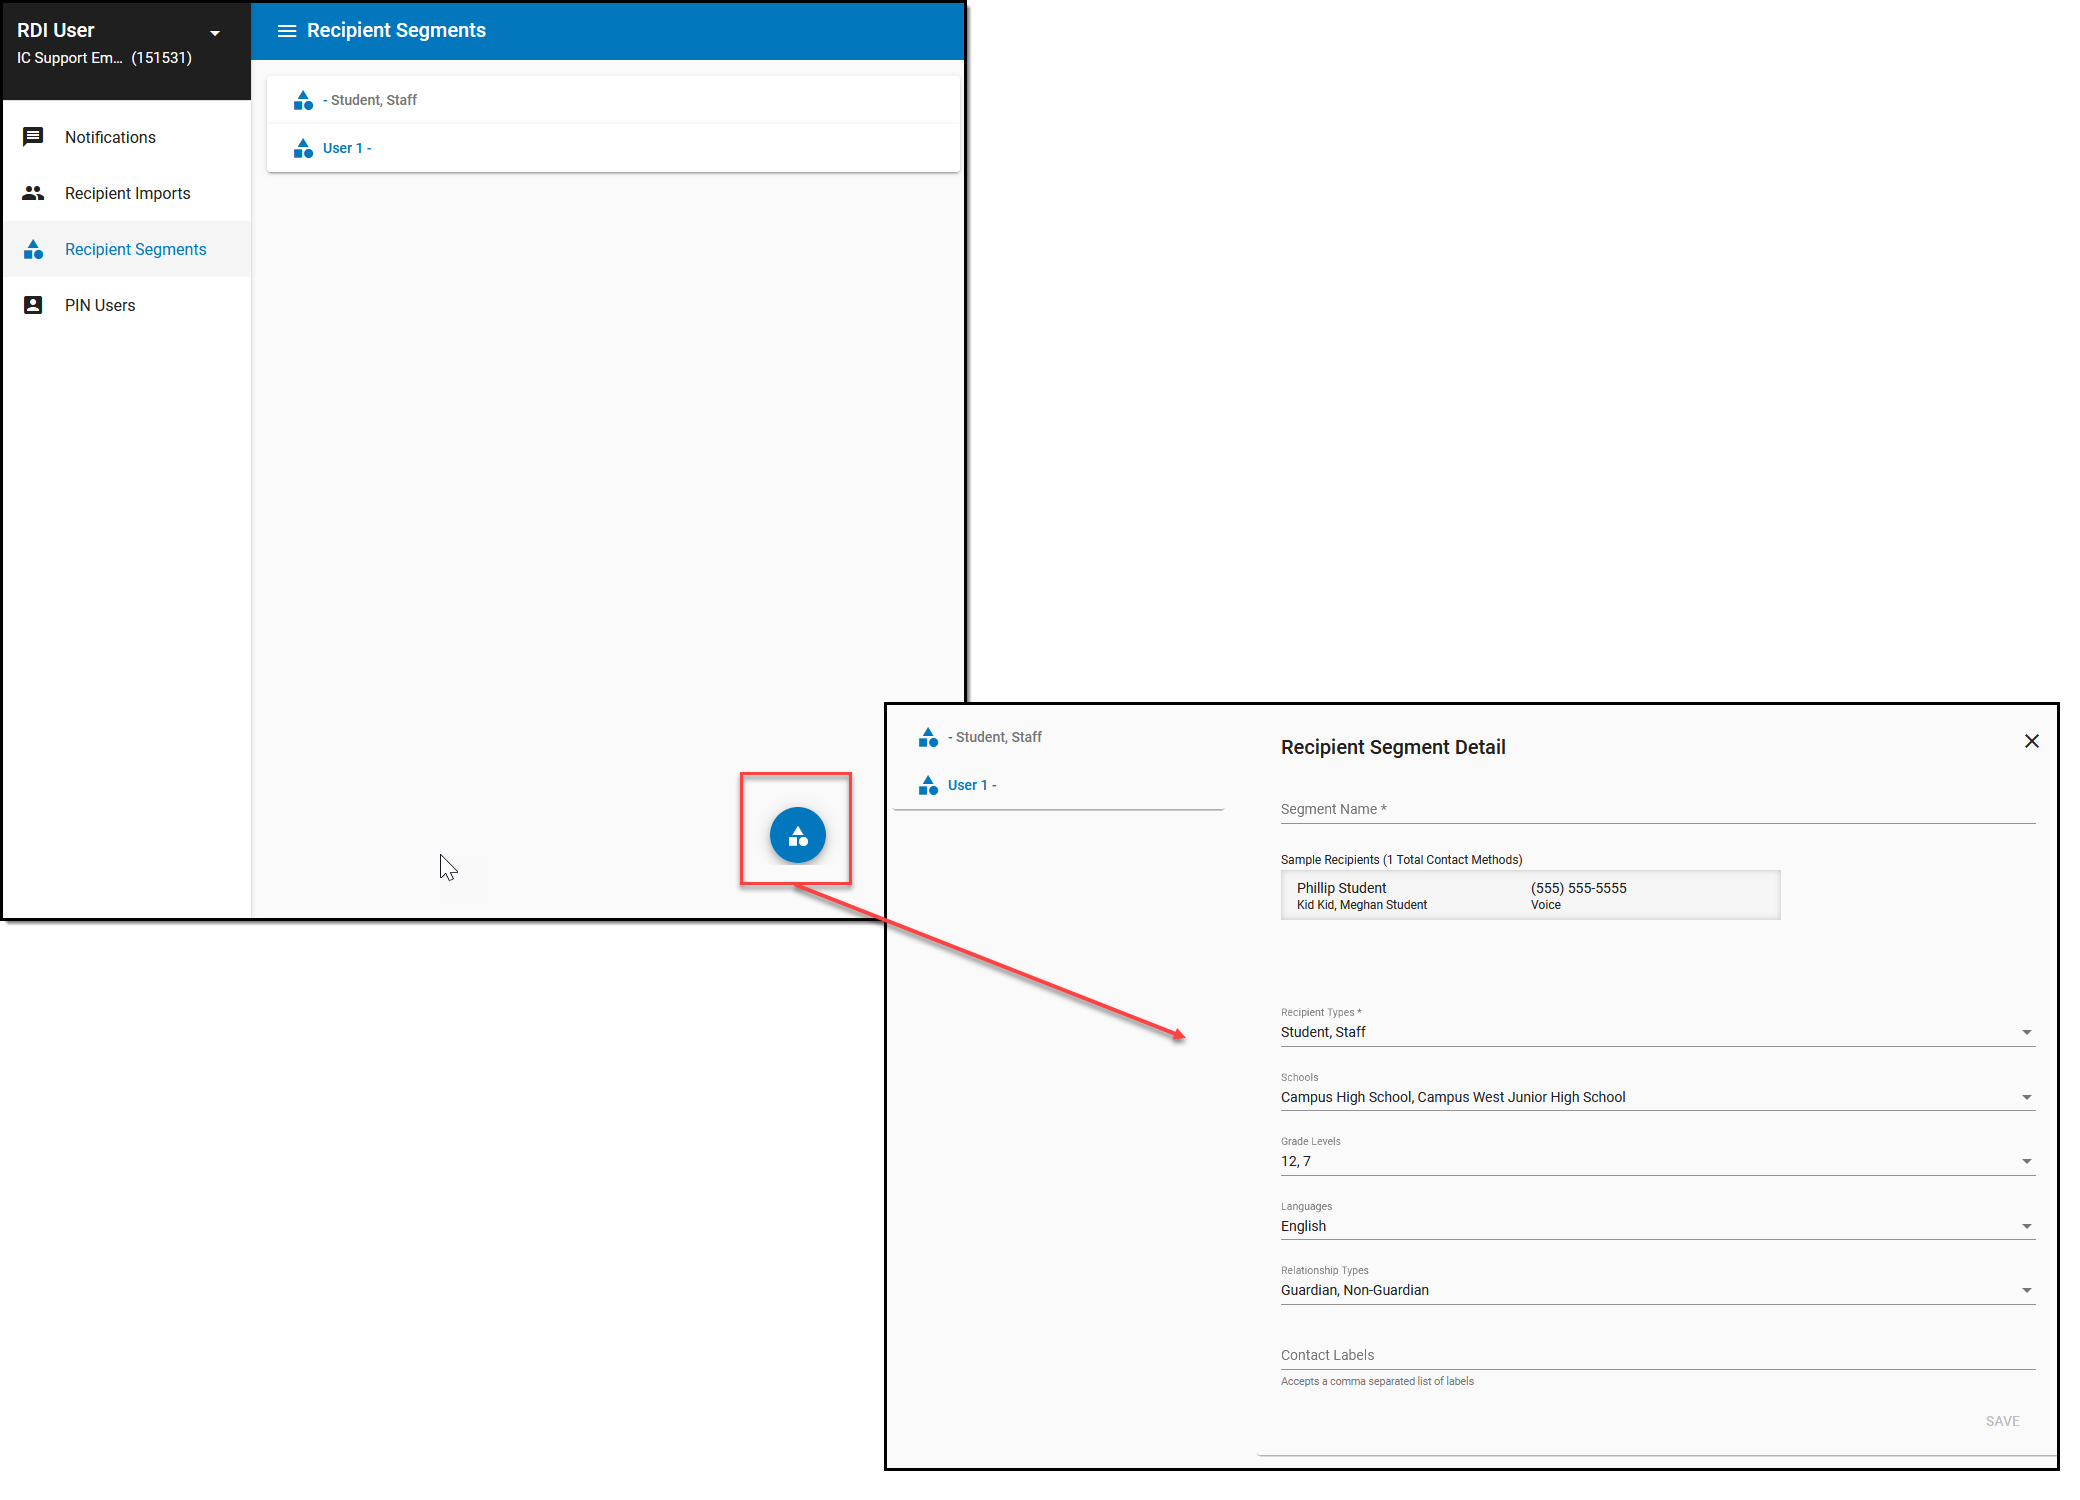 Create new Recipient Segments
- Select the Recipient Segments tab.
- Enter a Segment Name.
- Select the desired Recipient Types.
- Select a school or multiple schools to filter the recipient segment to.
- Select Grade Levels filter if desired.
- Select Languages filter if desired.
- Select a Relationship Types filter of the student's contacts.
- Select Save.
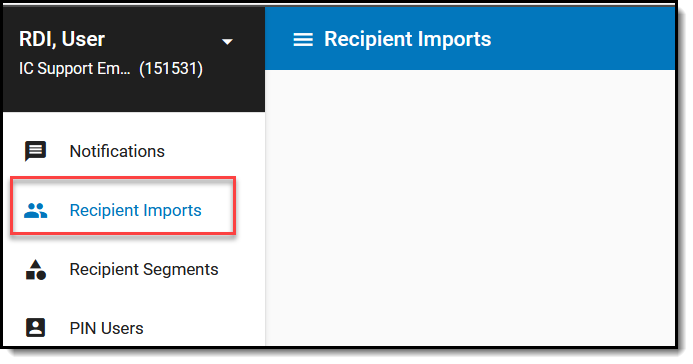
Recipient Imports
To manage importing and updating contacts automatically through Campus, see the Automatically Importing and Updating Contacts (Remote Dial-In) article.
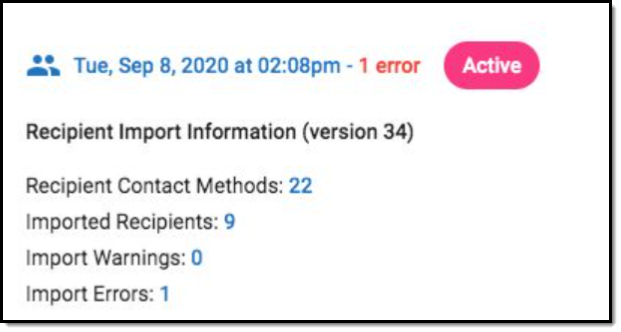
The Recipient Imports tab is where the administrator reviews imports that have historically been completed by the Campus extract/Shoutpoint import.
 Shoutpoint - Recipient Imports
| Recipient Import Stats | Description |
|---|---|
|
If there are any import warnings or errors, there will be a blue “Export Errors” button for users to select to download a file containing details about the warnings and errors. | |
| Recipient Contact Methods |
Reflects how many recipient phone numbers are in the
contact list. Each recipient (parents/guardians and school staff members) may have 1 or more
contact method (phone number set to receive phone calls or text messages).
|
| Imported Recipients | Reflects how many recipients are in the contact list. |
| Import Warnings |
Reflects the number of contact list records that contain invalid data,
but were still imported.
|
| Import Errors |
Reflects the number of contact list records that
could not be imported at all. Most import errors are due to invalid phone numbers, or a recipient not having any contact methods set.
|
