Setting up Pre-Ordering in the School Store
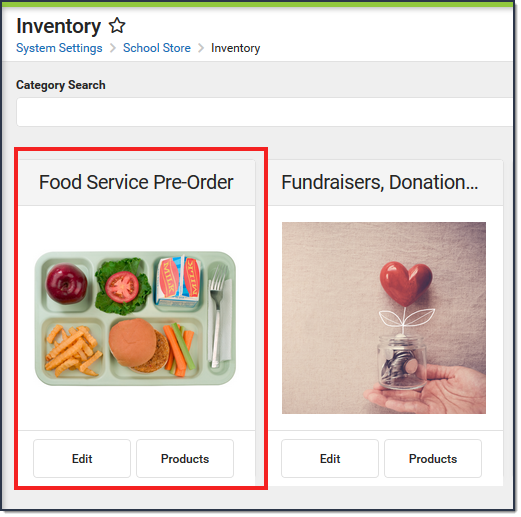
- Set up a single category and call it something like "Food Service Pre-Order."
- Create products for each school level; e.g., elementary, middle school, and high school.
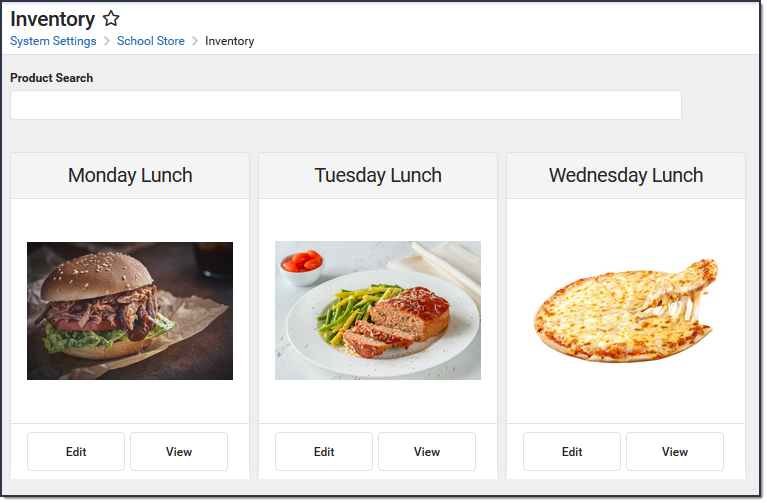
- For each school level, create products for each day; e.g., Monday Lunch, Tuesday Lunch, etc. To help parents, you could also label each meal to include the school level; e.g. Monday Lunch (Elementary).
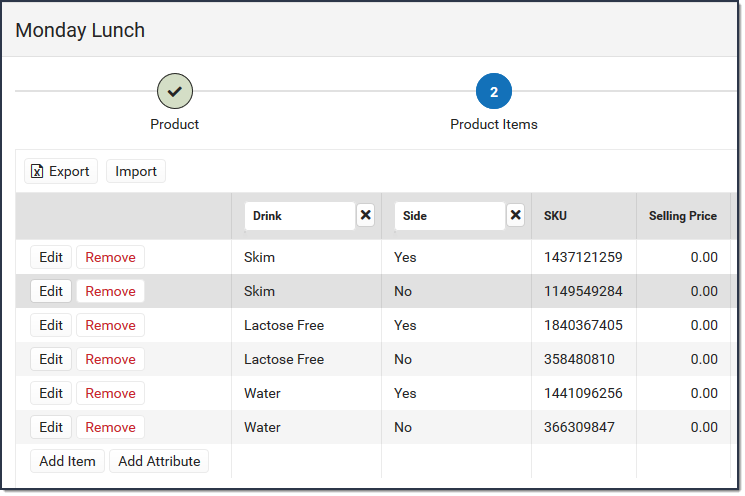
- Keep the product items as simple as possible. For example, on Monday's Lunch you could offer a Drink and Side as the attributes. This allows your menu to be flexible and still be reusable each week.


- Do NOT use inventory tracking in any mode if you're planning to reuse the product.
- Upload a PDF of the menu for the day, week, month or include a link in the description to the menu.
- Set the starting effective date to the first day you want to allow any orders to occur. When you want to stop accepting orders for a specific product, clear the Active checkbox. Pull reports for that product within the appropriate date range. Do this as approrpiate for each day. When the product is not active, update to the next week's options and reactive it.
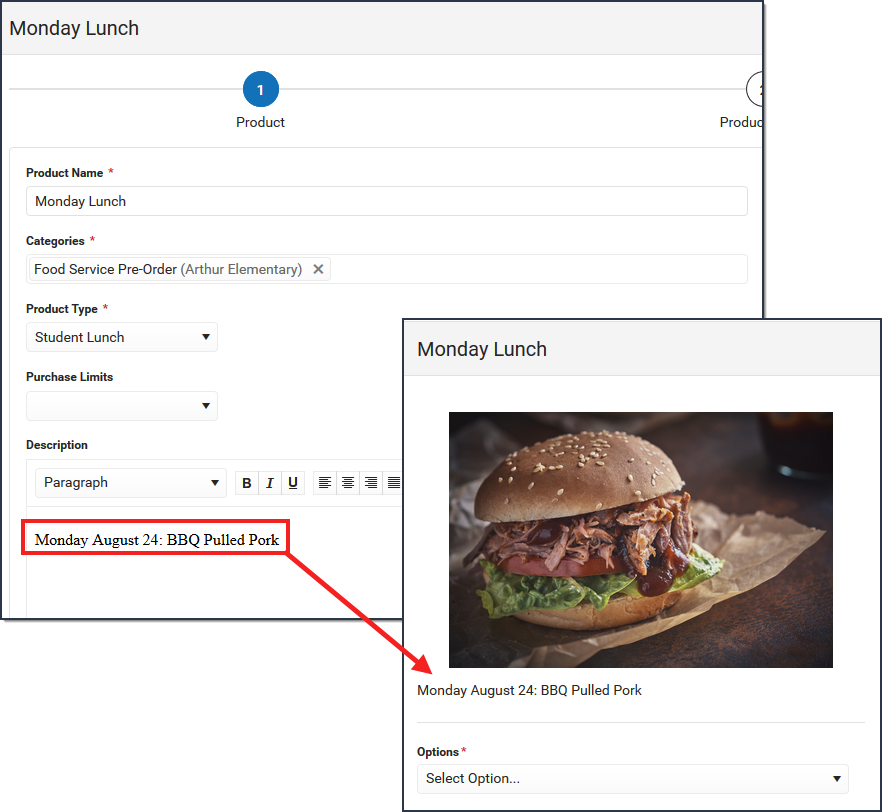
- In the product description, include the actual DATE when the meal will be distributed.
- Use Ad Hoc filters to limit the products to the appropriate grade levels being served.

