You are viewing a previous version of this article. See Activity Monitor for the most current information.
Tool Search: Activity Monitor
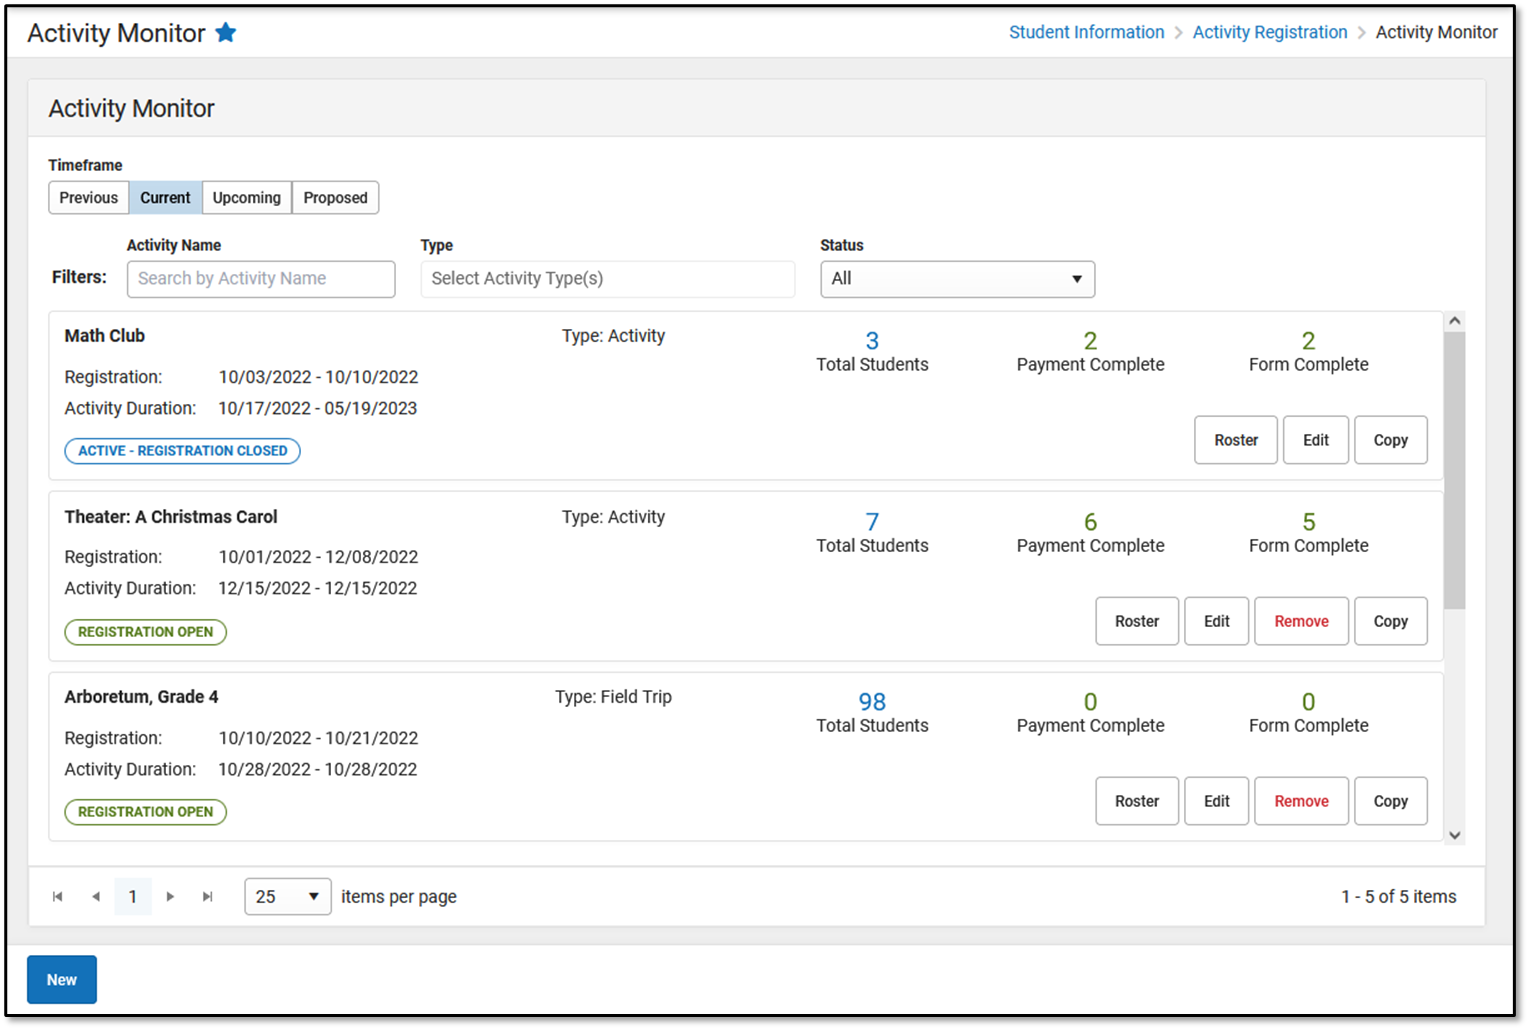
The Activity Monitor tool can be used by Campus administrators or activity coordinators to manage and monitor existing and upcoming activities. The Activity Roster is accessed on the Activity Monitor tool and provides a detailed view of the students who have registered for an activity.
| What can I do? |
|---|
View Activities
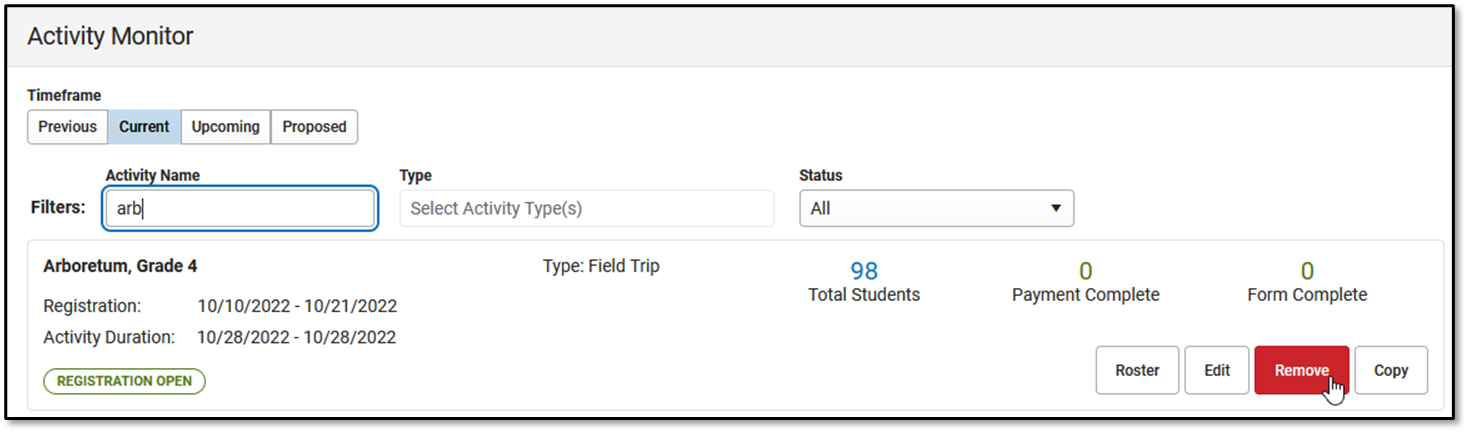
- The initial view provided by the Activity Monitor is a summary view of all activities. This summary view provides a preview of the roster information and the status of each activity.
- To view detailed information about an activity, click the Edit button to go to the Activity Builder. While editing is limited after registration is open, the Activity Builder still allows you to view all of the details for the activity.
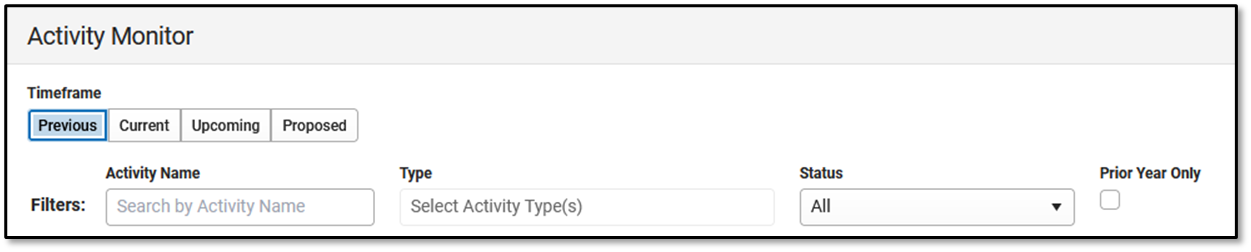
The Activity Monitor allows you to filter activities by using the following options.
| Option | Description |
|---|---|
| Previous | All activities in a Complete status. |
| Current | All activities in a Draft, Registration Open, Registration Closed, or Active status. |
| Upcoming | All activities in Ready status. |
| Proposed | All activities in Pending, In Review, and Returned status. Only users who are given the Activity Approval tool right see this option. |
| Filters | You can further narrow the number of activities that display by using the following filters:
|
| Prior Year Only | When this checkbox is marked, only activities from the prior calendar year display. This checkbox only displays on the Previous tab. |
Delete or Cancel an Activity
There are two options for removing an activity from the Activity Monitor:
- Delete completely removes the activity from the Activity Monitor. You cannot delete an activity if students have already registered. Registered students can be removed from an activity; however, this should only be done after refunds are processed.
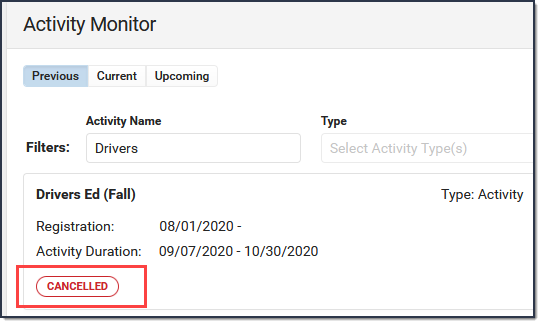
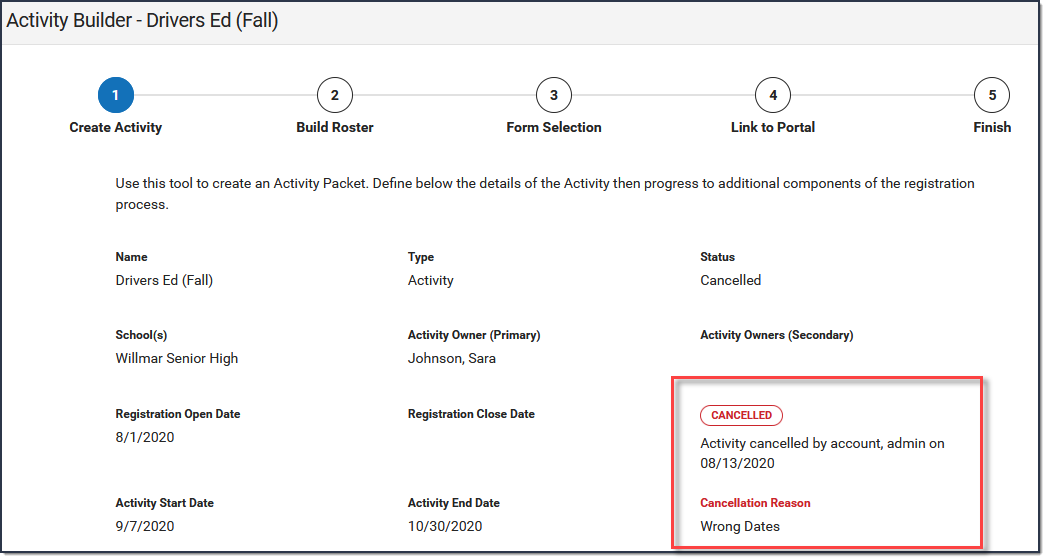
- Cancel assigns the Cancelled status and automatically moves the activity to the Previous view on the Activity Monitor. After cancelling an activity, you can see who cancelled the activity, the date on which it was cancelled, and the cancellation reason by clicking the Edit button. Cancelled activities can be deleted if the activity does not have any registered students.


You cannot remove an activity if it is in a Complete, Active, or Preapproval Pending - Proposal status.
To Delete or Cancel an Activity, you must have Delete tool rights for the Activity Monitor and Calendar rights for the school associated with the activity.
- Click the Remove button.
 Result
The Removal Details panel displays. - Select Delete or Cancel.
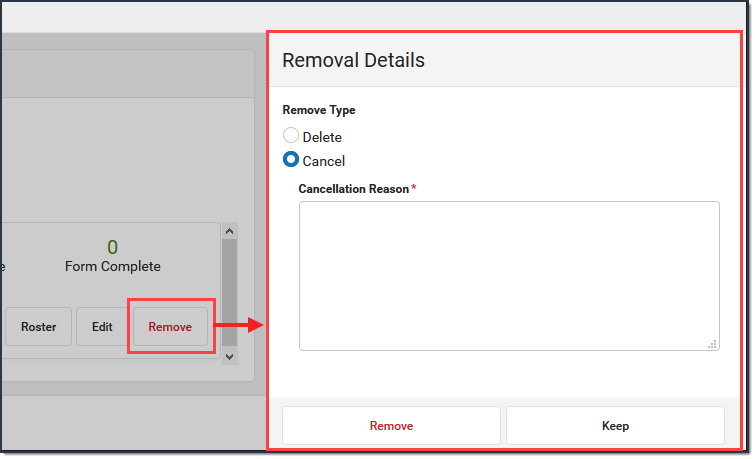
- Enter a Cancellation Reason. This field is required for Cancelled activities.
- Click Remove.
Result
A Confirmation message displays.
 Result
Copy an Activity
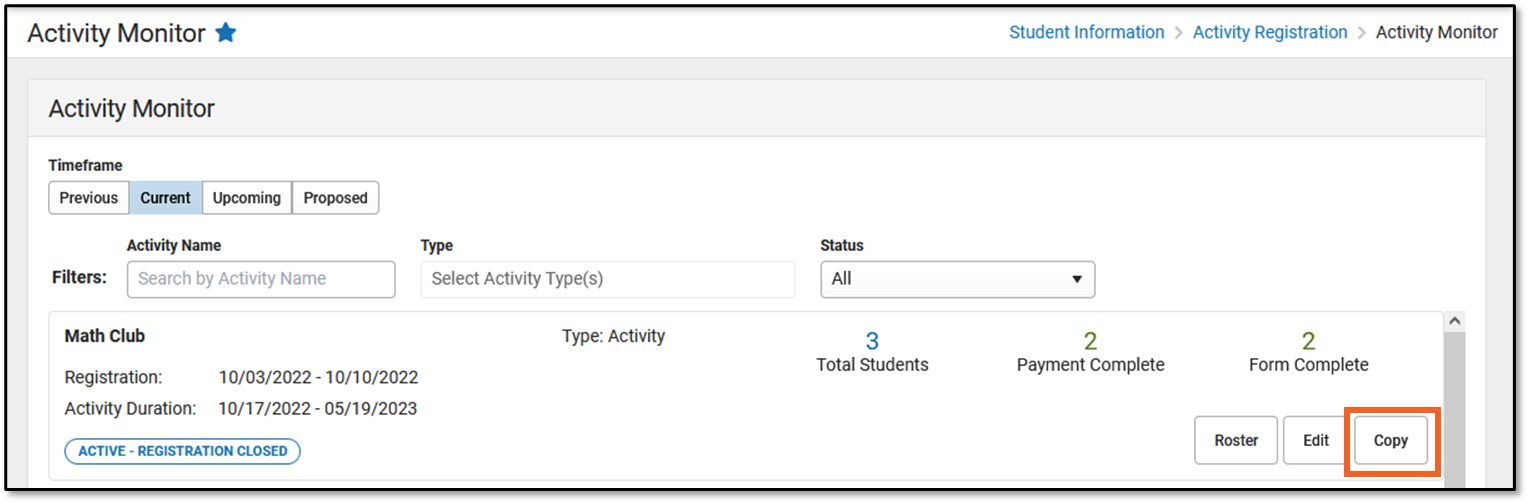
To save time, click the Copy button to copy an existing activity. After you click Copy, Campus displays the Activity Builder tool in copy mode. See the Activity Builder article for details about each step in the Activity Builder tool.
When you copy an activity, Campus creates a new activity by duplicating most of the information from the existing activity.
- Registration and Activity dates are not copied.
- Campus verifies Activity Owners, Ad Hoc filters and Custom Forms are still active and requires you to update that information if necessary.
- You cannot copy an activity if its Status is Draft, Cancelled, or in any state of Preapproval.
- You must have Add rights for the Activity Monitor to copy an activity.
- You can NOT finish copying an activity if your activity requires preapproval. See the Submit an Activity Request for Preapproval topic in the Activity Builder article for more information.
- Activities that are associated with more than one school and more than one Preapproval Configuration cannot be copied. Instead, create separate activity records for the applicable schools.
Review a Proposed Activity
Using the Activity Dashboard, users can create and submit activities for approval. Once an activity is submitted for approval, it displays in the Activity Monitor in the Proposed area. Only users who are given the Activity Approval tool right, can review proposed activities.
When reviewing, keep the following items in mind.
- You cannot review your own proposed activity.
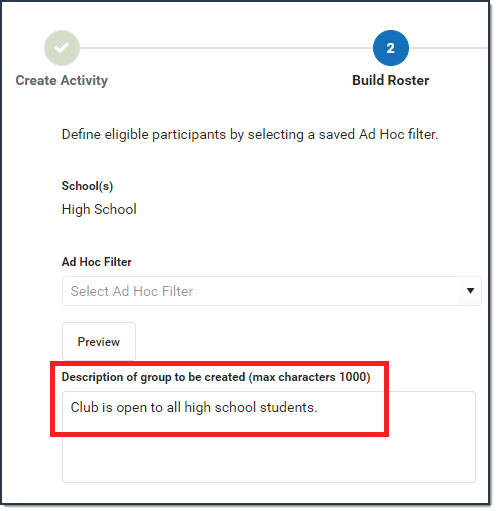
- If an Ad Hoc filter is not provided by the user, you can add one on the Build Roster screen.
- If the user who submitted the activity does not have access to Ad hoc, a description of the group they want for the activity may be included.
- On Step 4. Link to Portal, the Restrict to Associated School Enrollments checkbox is automatically marked.

- If someone Recalls an activity that they submitted, there is no notification that this occurred. Campus just removes the proposed activity from the Proposed screen.
- Not all fields are required during the review; however, for an activity to be eligible for approval, the following fields must be filled in.
- Adhoc Filter
- Form Title
- Categories
- Product Type


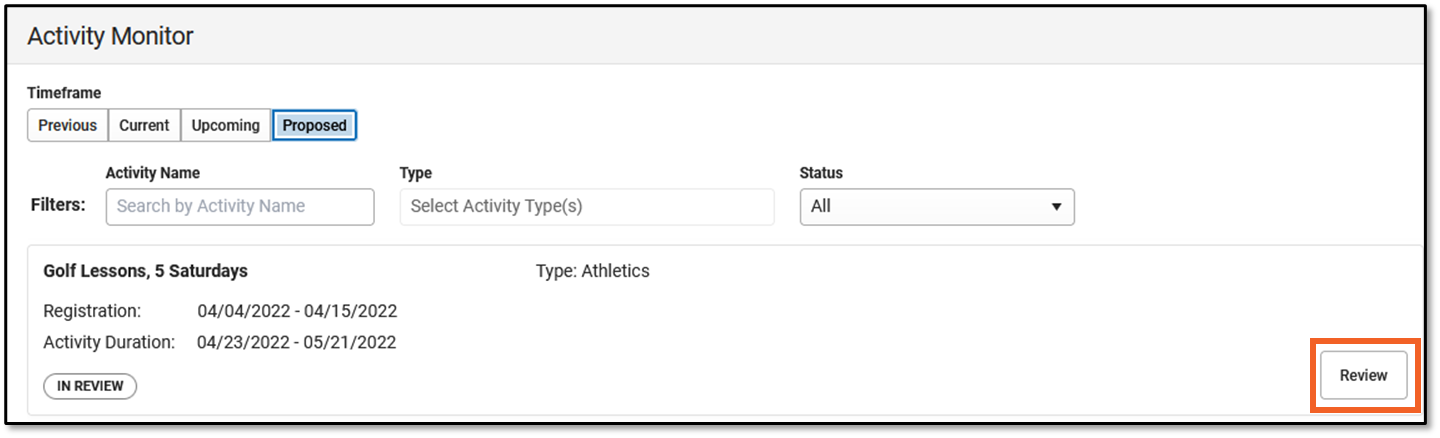 Example Proposed Activity
Use the following steps to review Activities that are in a Pending or In Review status.
Example Proposed Activity
Use the following steps to review Activities that are in a Pending or In Review status.
- Click the Review button.
Result
The Activity Builder displays on Step 1 Create Activity. - Review each screen in the Activity Builder and make any necessary changes.
Tip: You can skip screens by clicking the number at the top of the page. You might want to skip to Step 5 Finish if you already know the proposed activity must be declined or returned.
3. On Step 5 Finish, click Finish.
Result
The Proposal Response options display.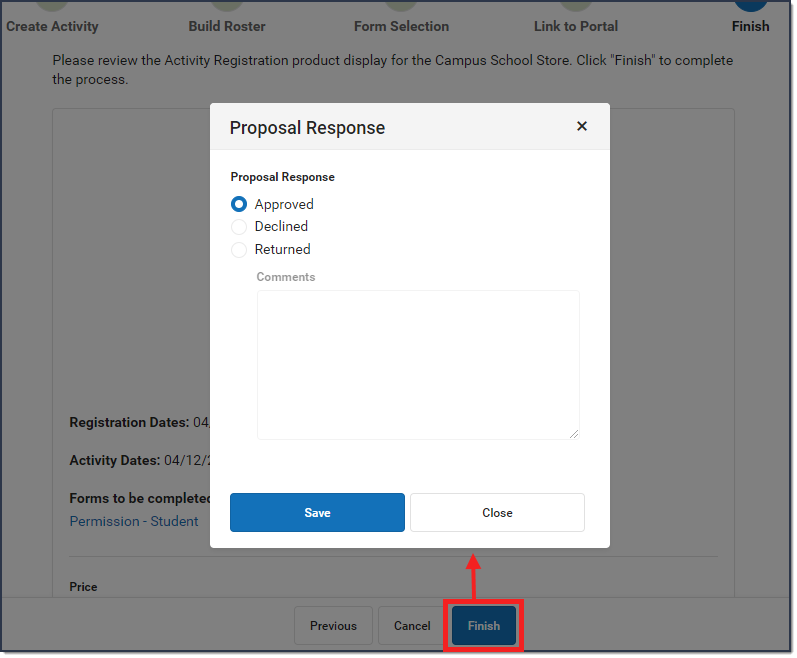
4. Select one of the following options.
- Approved - The activity will display in the Current or Upcoming area with the appropriate status.
- Declined - The activity is removed from the Activity Monitor and displays in the Previous area of the Activity Dashboard with a status of Declined. When you select this option, the Comments text box is enabled and you must leave notes for the user who submitted the activity.
- Returned - The activity displays in the Proposed area with the status Returned. When you select this option, the Comments text box is enabled and you must leave notes for the user who submitted the activity. The activity displays in the Activity Dashboard with the status Returned. The user who submitted the activity can review your comments, make changes, and re-submit the activity for approval.
5. Click the Save button when you are finished.
Result
A Notification is sent to the user who submitted the proposed activity.
