The Scanning toolset is part of the Campus Workflow Suite.
Tool Search: Teacher Attendance Scanner
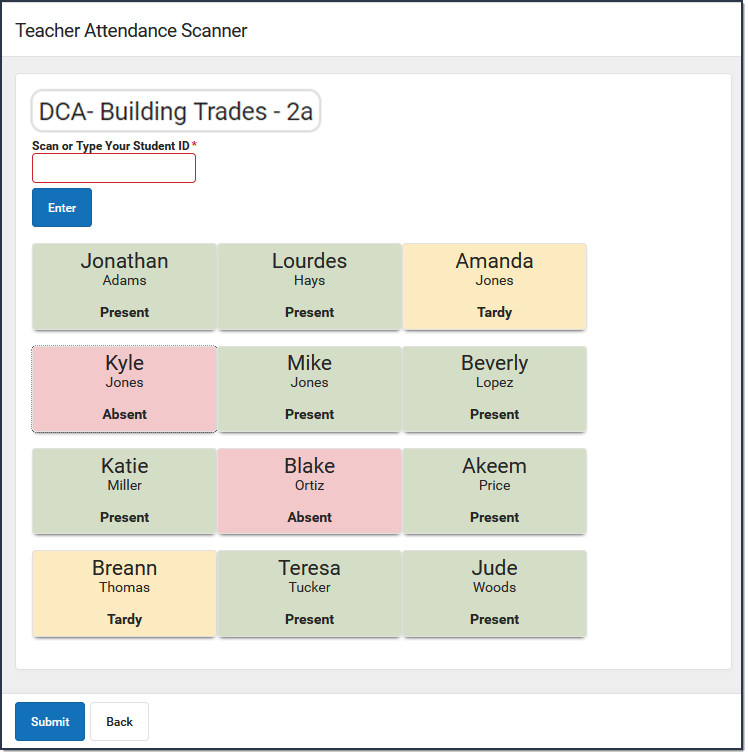
Use the Teacher Attendance scanning tool to take classroom attendance. To take attendance, teachers can:
- monitor students as they scan in ID cards,
- manually enter student ID numbers, or
- click the button with the student's name to mark them as Absent, Present, or Tardy.
NOTE: In order to manually enter Student Numbers or scan badges that use Student Number for taking attendance, the Enable Alternate Identifiers option in Scanner Settings must be set to either No or Yes, w/Fallback. See Alternate Identifier for more information.
This tool is designed to have a teacher logged into Campus and actively monitoring students. See the Classroom Kiosk article for information on how to take attendance in an unaccompanied kiosk mode that allows students to scan in for attendance without having access to a Campus account.
| What can I do? | What do I need to know? |
|---|---|
| Take Attendance |
Important Information About this Tool
- The Lunch Configuration settings apply only to the Classroom Attendance Kiosk and NOT the Teacher Attendance Scanner.
- The Select Course for Attendance drop-list only provides the course sections assigned to the teacher.
- The Tardy Threshold drop-list is used to set the number of minutes past the bell students can scan in without being counted as tardy. For example, if the Tardy Threshold is set to 1, students can scan in up to one minute after the bell rings and be counted as present. After one minute, students who scan in are marked Tardy.
Users with only R (Read) rights to the Teacher Attendance scanner cannot modify the Tardy Threshold. The Tardy Threshold value is set at System Administration > Scanning > Scanner Settings. See the Scanner Settings documentation for additional information.
Users need Teacher Attendance Tool Rights for their sections to appear in the drop list.
Take Attendance
- Choose a course from the Select Course for Attendance drop-list, select the Tardy Threshold, then click Launch.

- Complete one of the following options.Scan ID CardsManually Enter Student ID NumbersClick the Student's NameStudents can scan their ID cards. The roster at the bottom of the screen automatically reflects their attendance as present or tardy.
NOTE: If students are scanning their IDs that use their Student Number, the Enable Alternate Identifiers option in Scanner Settings must be set to either No or Yes, w/Fallback. See Alternate Identifier for more information.
For scanners to work correctly, the cursor must be positioned in the entry box before scanning a barcode. If the cursor is not in the box, the scanner will not be able to copy/paste the number into the box and the student will not be scanned in correctly.
If the student does not have their ID card, teachers can manually enter their student ID in the Scan or Type Your Student ID field. Press Enter to update the roster at the bottom of the screen.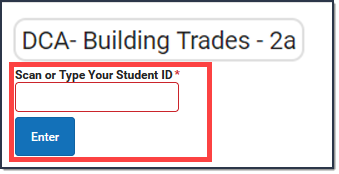
NOTE: If teachers are taking attendance by manually entering Student Numbers, the Enable Alternate Identifiers option in Scanner Settings must be set to either No or Yes, w/Fallback. See Alternate Identifier for more information
Click the student's name to change their attendance status to Present, Tardy, or Absent. The default attendance status for all students is Absent. If you make a mistake, click the student's name again to change to the correct status. - Click Submit.


If a student enters the classroom after attendance is submitted, you can restart the Teacher Attendance Scanner and resubmit attendance.
