Tool Search: Event Management
Data certification events are a tool for ensuring districts have reviewed and validated their information prior to submitting it to the state for funding and other important purposes. States create an event focused on a specific set of data (validation groups), publish the event to districts or schools, and then review and certify the data that is returned to them. This article will explain the process of creating a new data certification event.
Data Certification tools are only available in State Editions of Campus that have purchased the Campus Data Suite.
Before you start
- Certification Category(s) must be created, active, and published to districts
- Data Validation Group(s) must be created, active, and published to districts
- Read - Provides access to the tool, but you cannot interact with it.
- Write - Provides access to edit events (but you cannot view or publish the event).
- Add - Provides access to create new events, publish events, and copy events.
- Delete - Provides access to delete unpublished events or close published events.
Event approvers must have full tool rights.
Event reviewers must have at least Read and Write rights
Create a data certification event
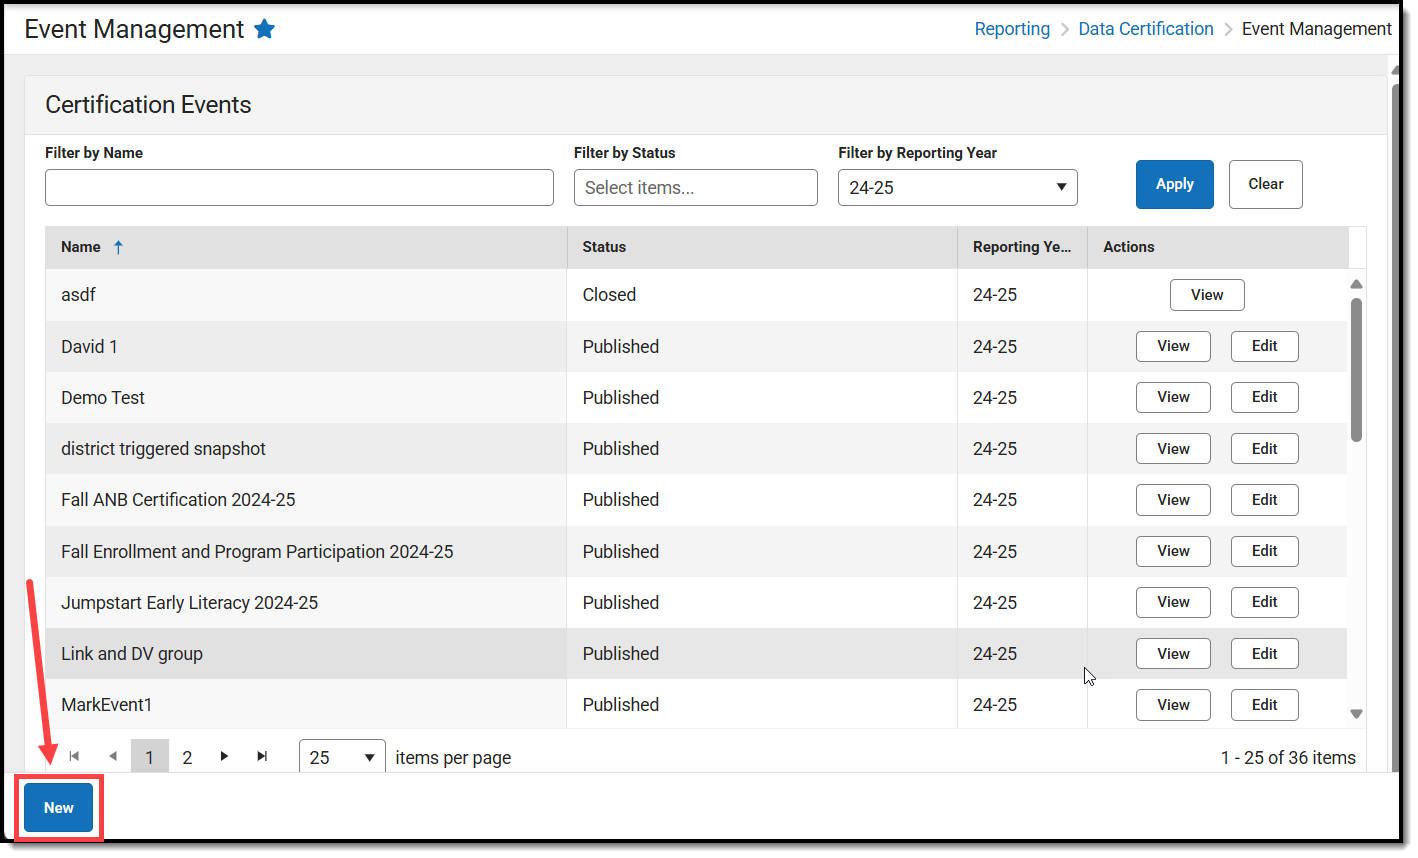
- Navigate to Reporting > Data Certification > Event Management
- Click the New icon. The Event Details editor will appear.
- Enter event details:
- Event Name - The name of the event.
- Reporting Year - The school year reporting data.
- Event Start Date - The first day the event is open and active.
- Event End Date - The day the event is closed and no longer accepts certifications.
- Event Description - Describes the event and helps districts understand the purpose of the event.
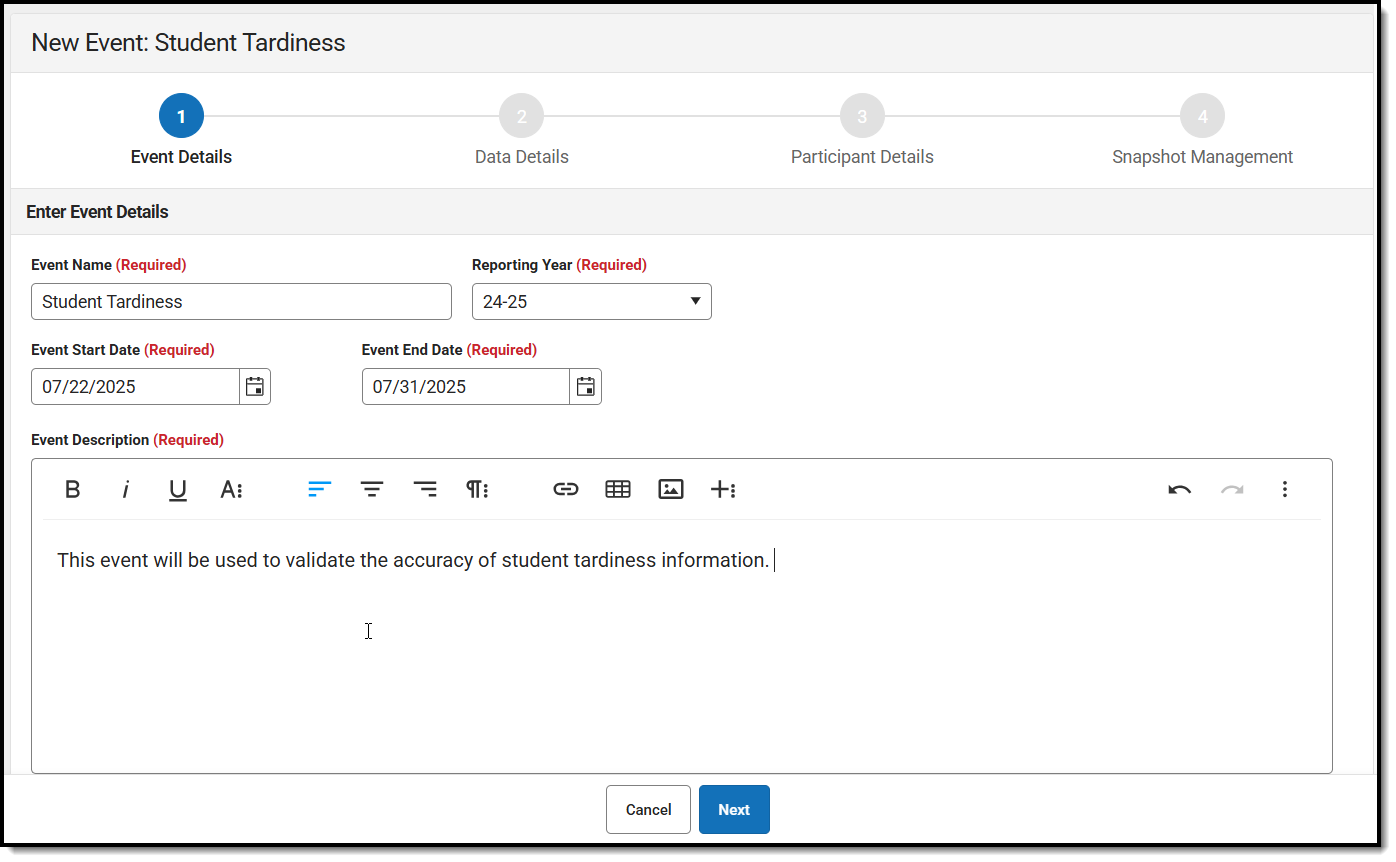
- Click Next. Data Details screens appear.
- Select the Certification Level of District or School. This means either only schools or only districts will be responsible for reviewing and certifying the event.
- Select the Certification Category. Only district/school staff assigned to this certification category are allowed to review/certify the event, and only state staff assigned to this category are allowed to approve and complete a school/district certification. Certification categories are created and managed in the Certification Category tool.
If the event is set to District, only Certification Categories set with a Category Level = District can be selected. If the event is set to School, District and School-level Certification Categories can be selected because users assigned the category can be a school-level staff member certifying for a specific school(s) or a district-level staff member certifying the event on behalf of schools.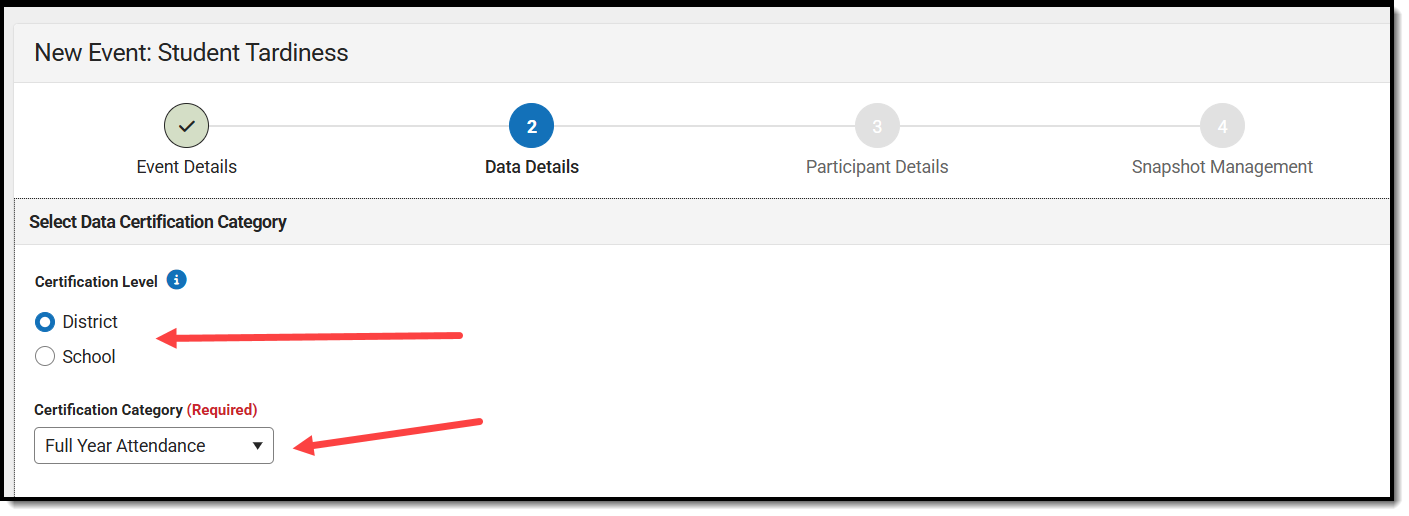
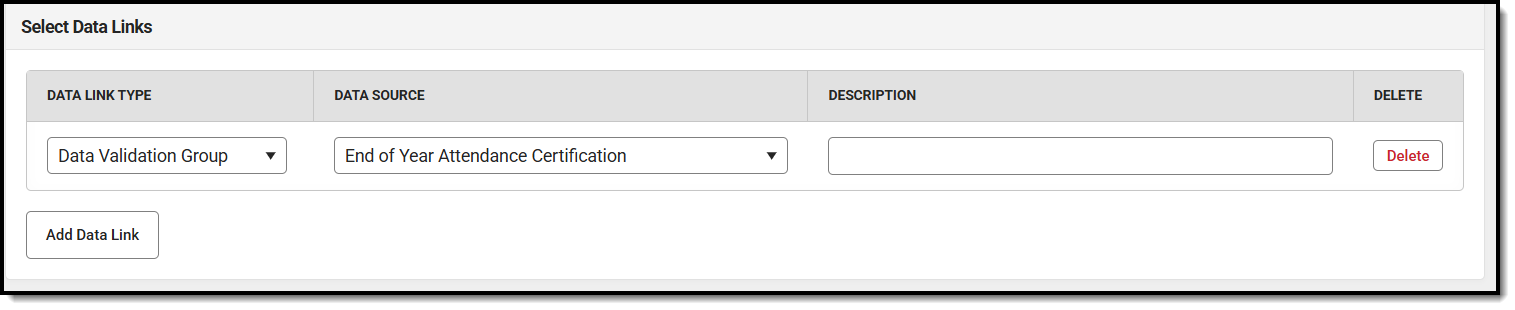
- Select the Data Link Type.
- Data Validation Group - Data validation groups are a combination of rules designed to audit and report the health of a data set. For example, a data validation group focused on attendance might have 5 rules established, each auditing the accuracy or availability of specific attendance markers such as tardiness, days absent, etc. Data Validation Groups are created in the Validation Groups tool. Validation Groups containing ad hoc filters are not available for use in Data Certification tools.
- External Data Link - This option allows the state to include a URL that directs the school/district to the data or tool needed for accessing and reviewing their data.
- Data Validation Group - Data validation groups are a combination of rules designed to audit and report the health of a data set. For example, a data validation group focused on attendance might have 5 rules established, each auditing the accuracy or availability of specific attendance markers such as tardiness, days absent, etc. Data Validation Groups are created in the Validation Groups tool. Validation Groups containing ad hoc filters are not available for use in Data Certification tools.
- If Validation Group was selected, select the Data Source and enter a Description of the data source (optional). This is the validation group that will be used for the event.
- If External Data Link is selected, enter the URL or link to the Data Source and a Description of the data source.
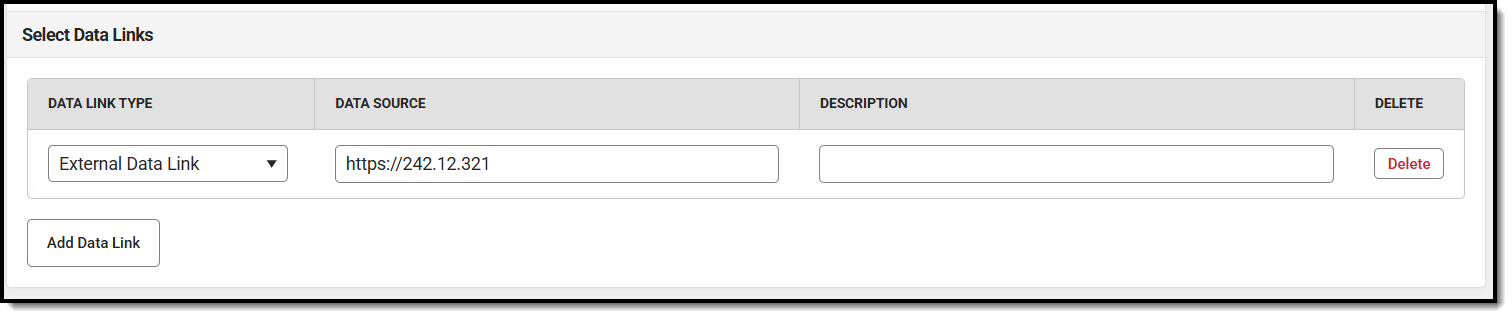
- You can add additional data links by clicking the Add Data Link button.
- Once all data links have been added, click Next. The Participant Details screen appears.
- You now need to identify which school and/or districts will be required to participate in this event. Select the Participant Level that matches your selection in Step 6 (the certification level of the event).
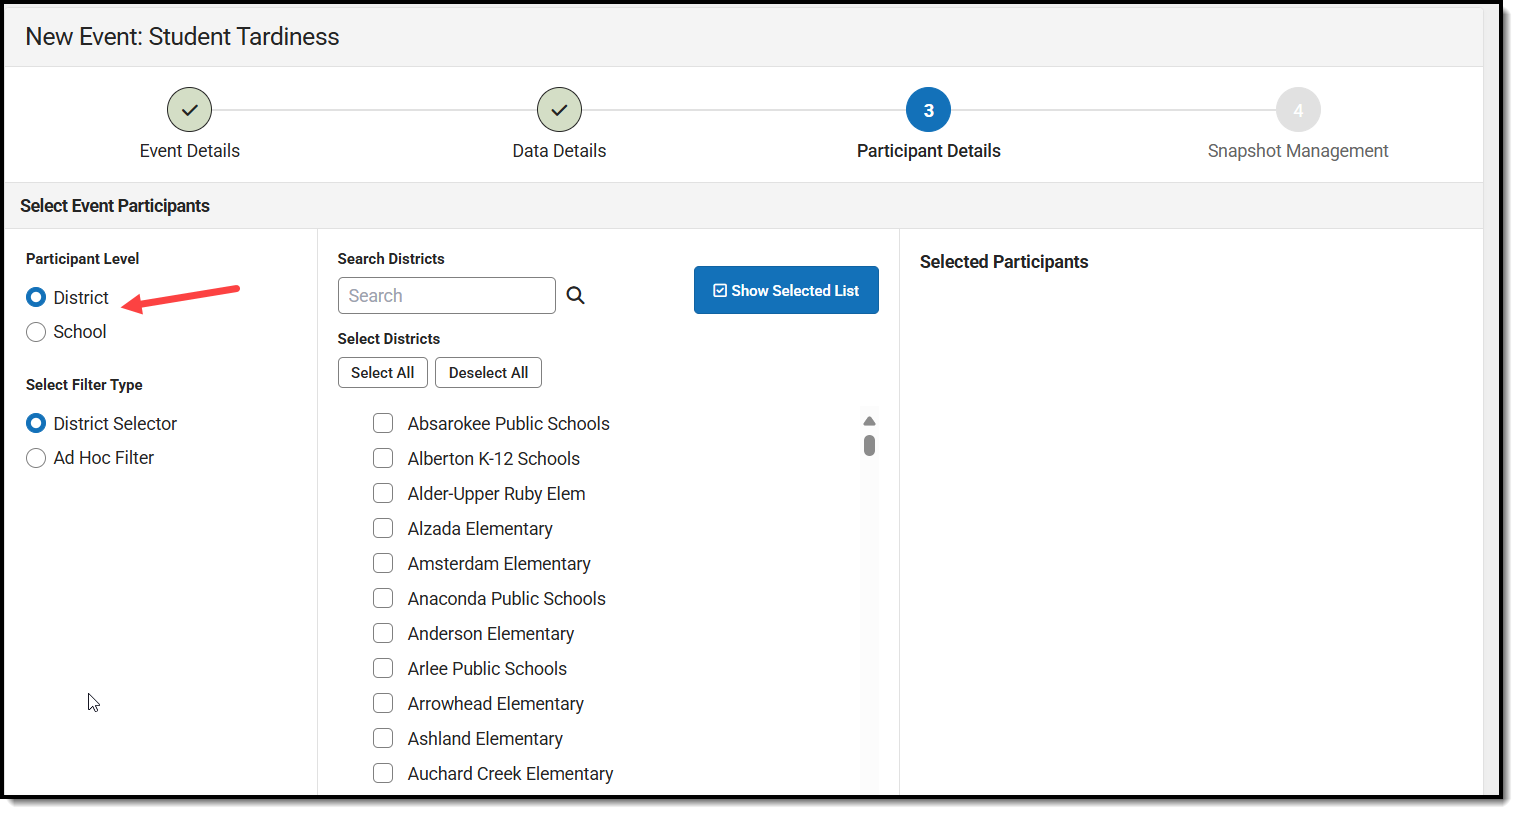
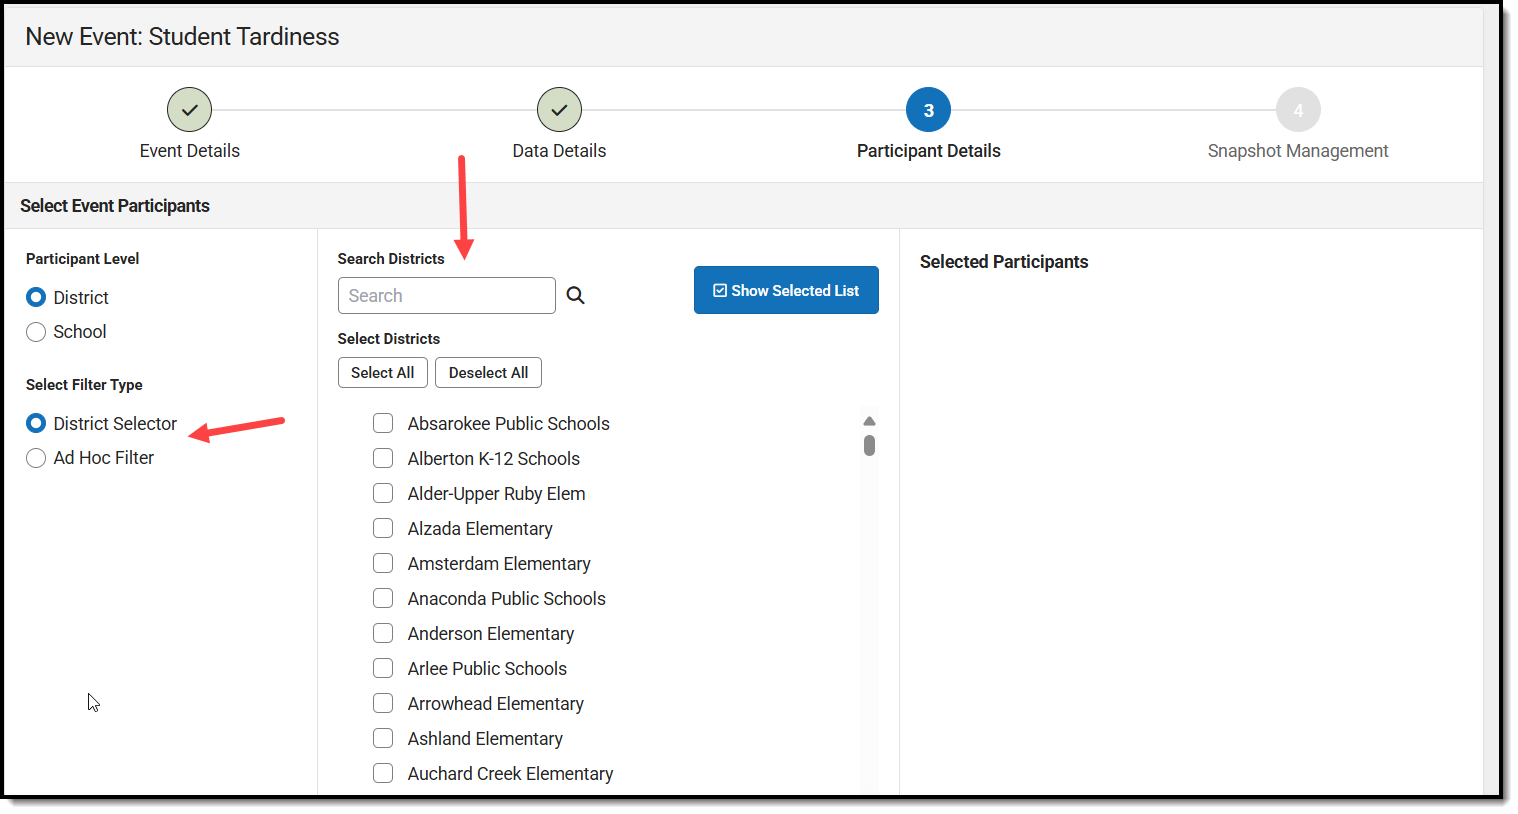
- You can identify the schools/districts for inclusion in the event by using the Search Districts/Schools field or by using an Ad Hoc Filter (only available for districts).
- Mark the checkbox next to each school/district that will participate in this event. As schools/districts are marked, they will appear in the Selected Participants window.
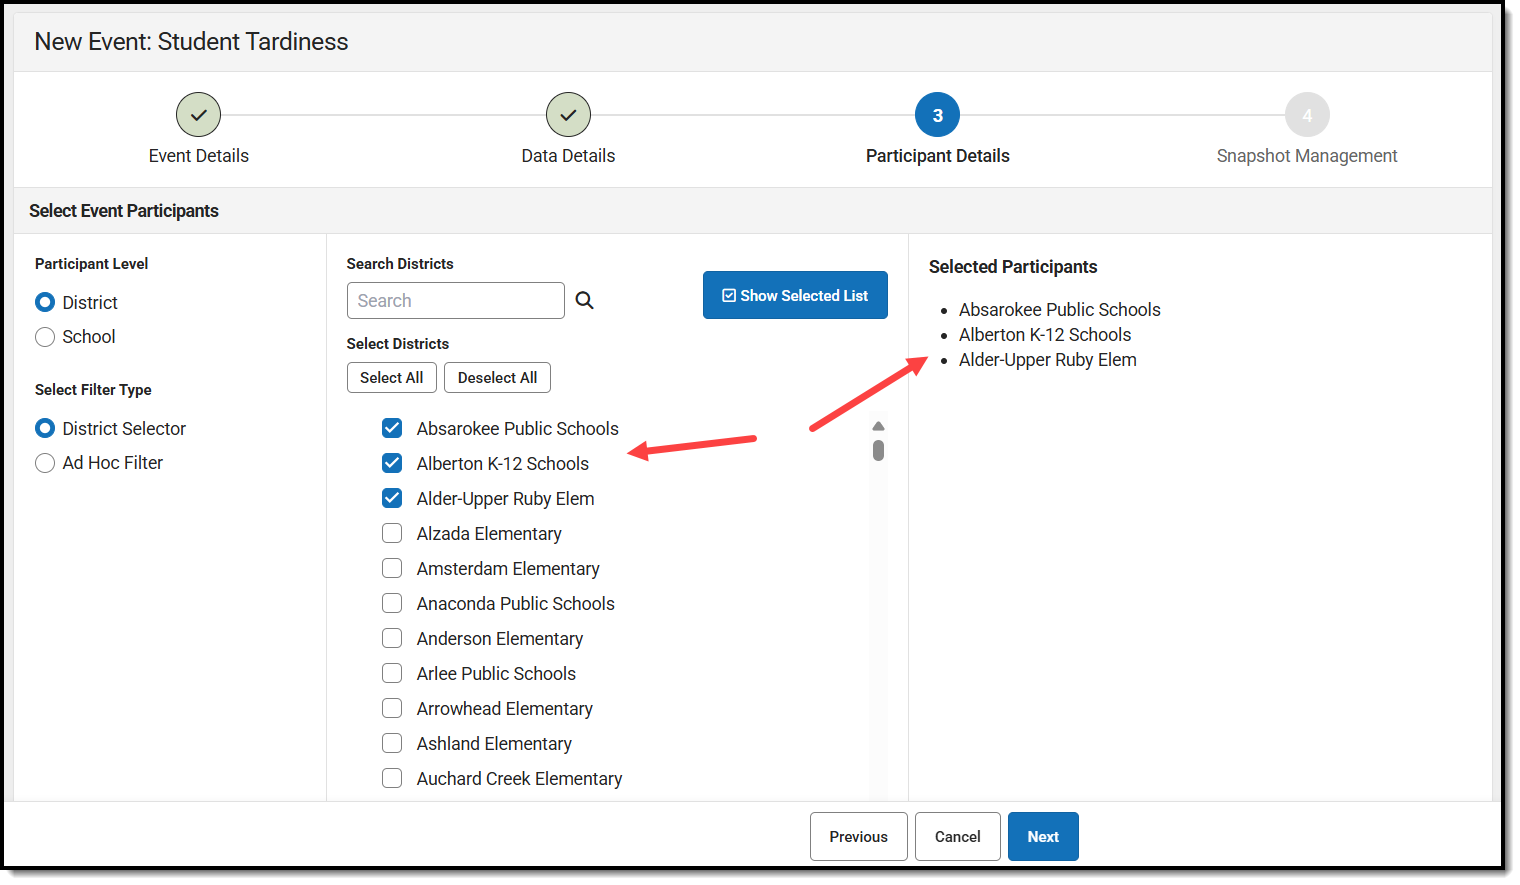
- Once all schools/districts have been added, click Next. The Snapshot Management screen appears.
- You now need to determine what data the school/district will use to certify the event. You do so by selecting the Snapshot Method:
- None - Schools/districts will validate their data in real time. This is not recommended as the data will be different between the time the data is certified and the date the state reviews it for accuracy.
- Certification start triggers snapshot - This means a snapshot of the school/district's data is triggered at the school/district level when they start the certification process. Each district/user will have a different snapshot day and time because of this, but it ensures the data being certified is as up-to-date and accurate as possible. District and school users can trigger a retake of this data if they are cleaning up data and need to update the snapshot to match.
If a school or district is missing the data snapshot, the Missing Snapshot Creation Time is the date by which the system will create a snapshot for them.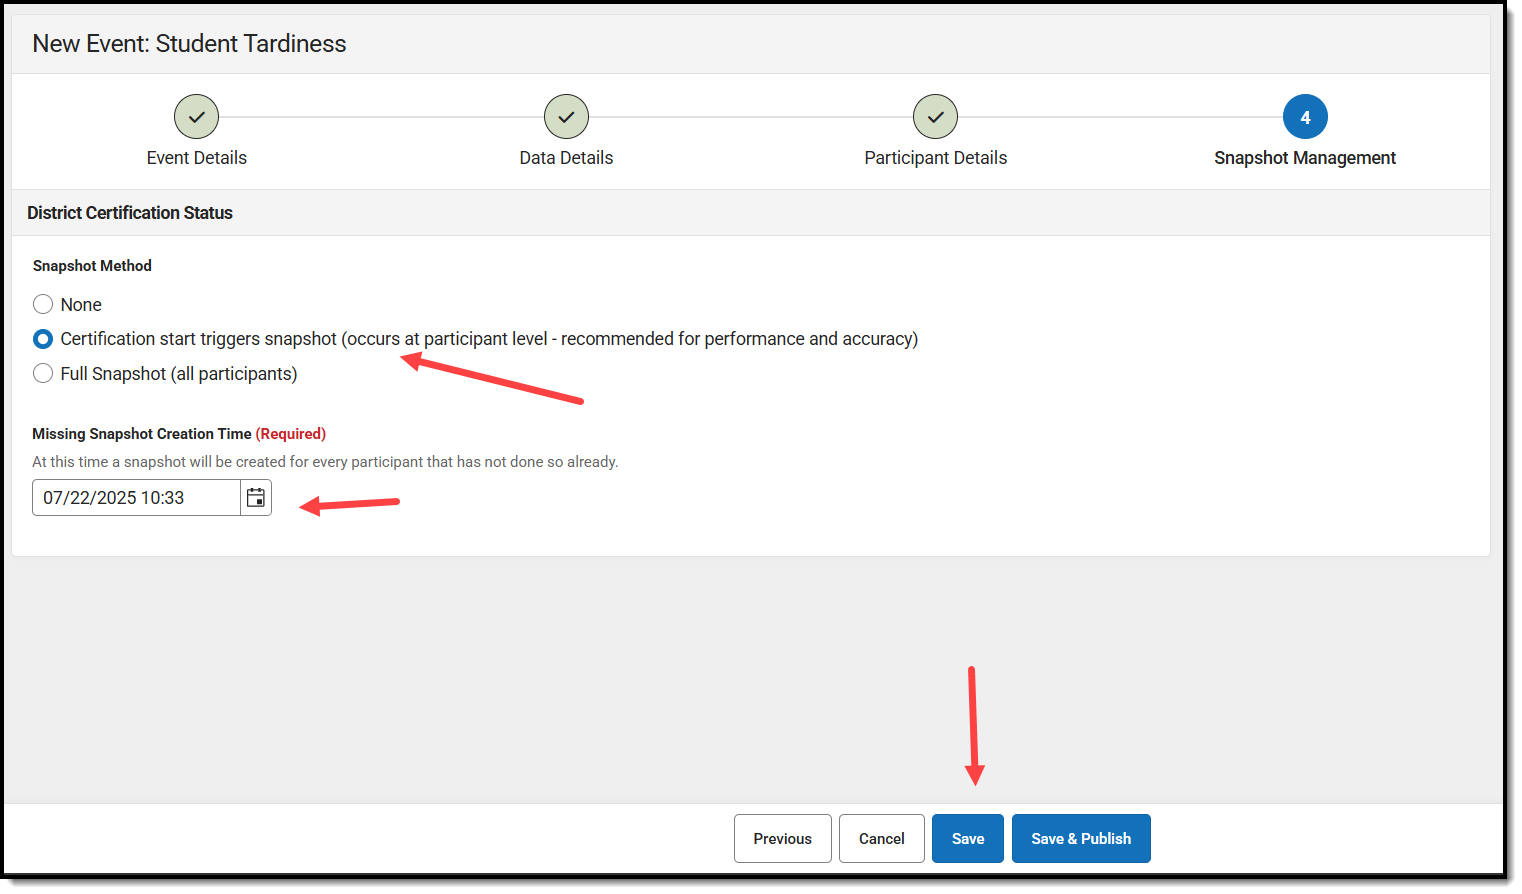
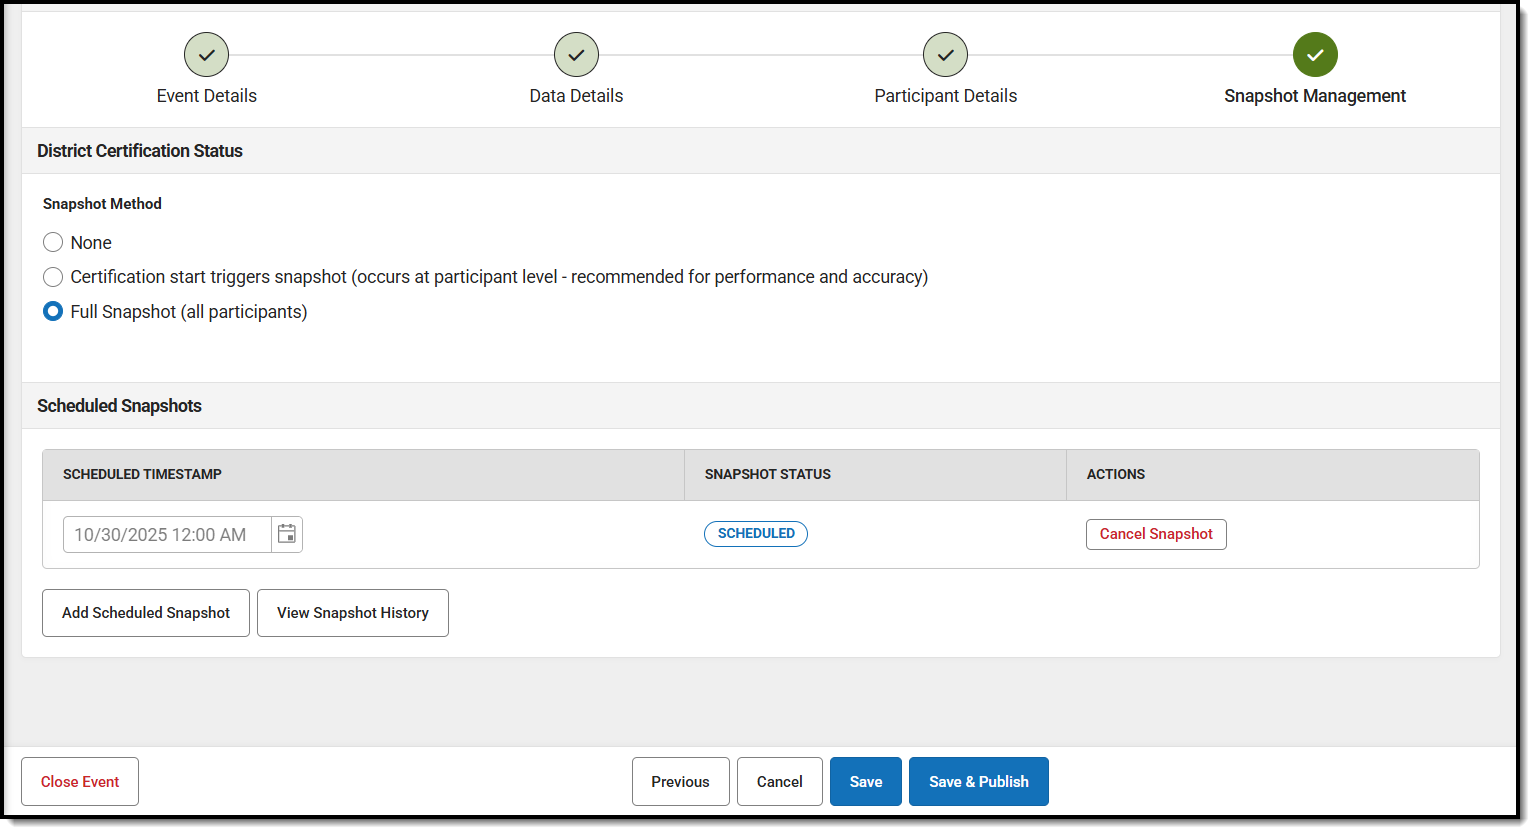
- Full Snapshot - This creates a snapshot of all participant data on the day and time scheduled by the state. Multiple snapshots can be scheduled by clicking the Add Scheduled Snapshot button.
- None - Schools/districts will validate their data in real time. This is not recommended as the data will be different between the time the data is certified and the date the state reviews it for accuracy.
- Click Save to complete the event's creation, or click Save & Publish to save it and publish it to all participants.
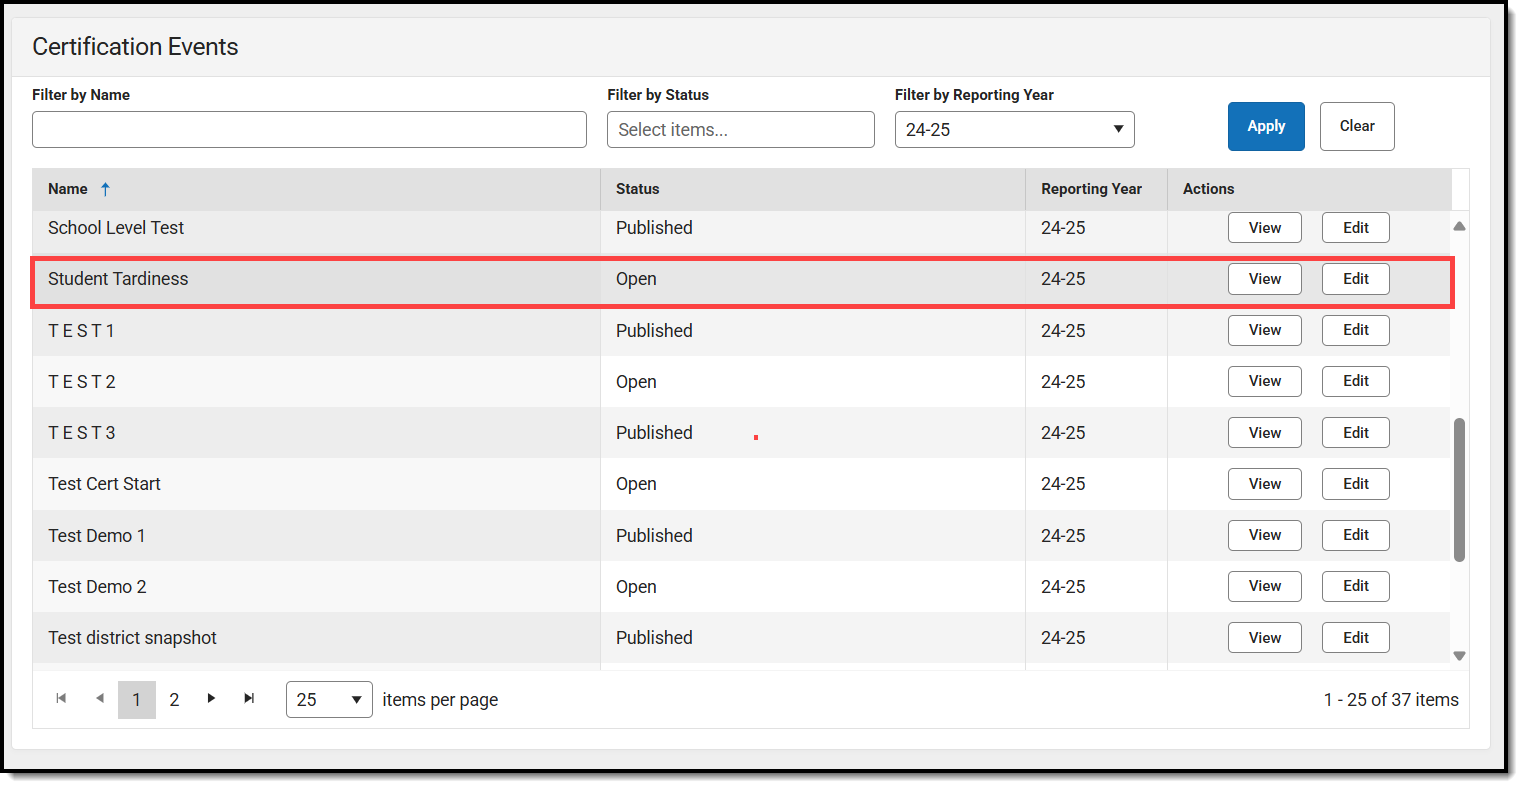
If you selected save, the event will show as Open, and you will need to publish it later.