Tool Search: CCGI
The CCGI (California College Guidance Initiative) Extracts are used to upload data to Californiacolleges.edu, which aids in the college and financial aid process.
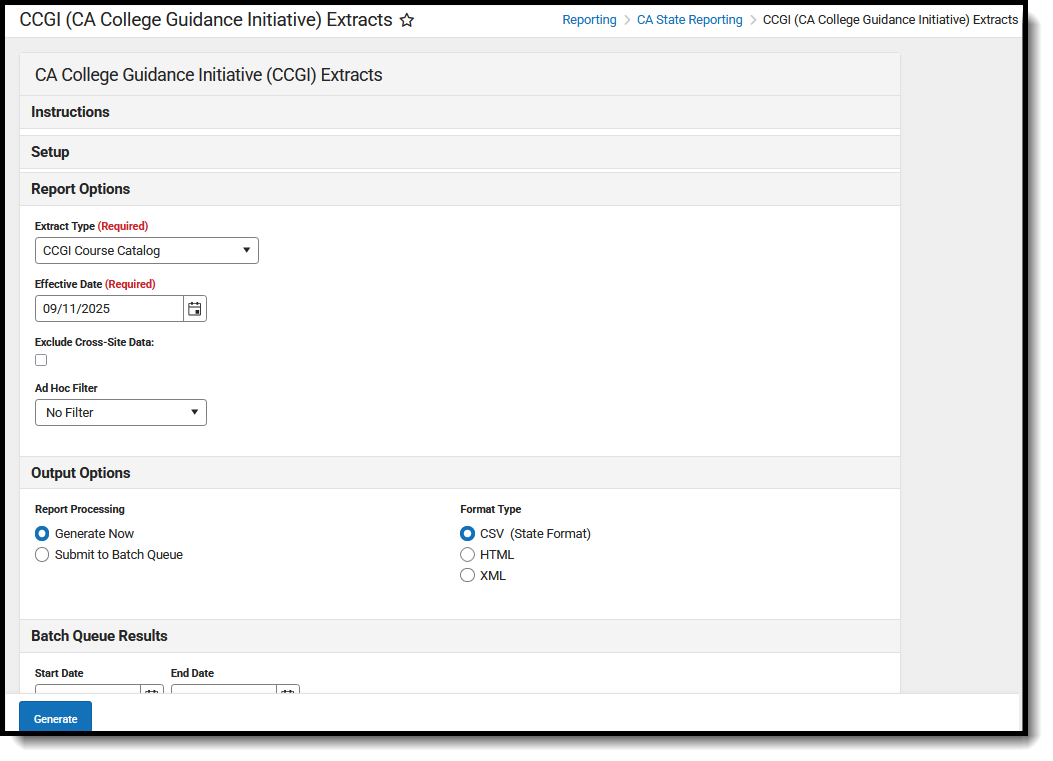 CCGI Extract Editor
Report Editor
| Data Element | Description |
|---|---|
| Set Up | |
| Search Calendars | Use the search field to narrow the list of calendars to select. Use the Expand All/Collapse All option. Place a checkbox next to the desired school and calendars.
As noted previously, all calendars are automatically selected because this is a school-wide report. |
| Report Options | |
| Extract Type Required |
Determines which CCGI extract to generate. Options are: |
| Effective Date Required |
Entered date determines which courses are reported. All courses active as of the entered date are included in the report.
This field auto-populates with today's date. |
| Exclude Cross-Site Data | When marked, Cross-Site Enrollments and courses the student takes as part of their Cross-Site Enrollment are not included in the report. |
| Ad hoc Filter | A selection in this field causes the extracts to only include students included in the Ad hoc filter. For example, if an Ad hoc filter is selected that lists all 9th grade students, only those students are included in the extract. |
| Output Options | |
| Report Processing | To generate the report immediately, select Generate Now option. To choose when the report generates, use the Submit to Batch option.
The Batch Queue processing can be used for both the report generation and the report review, allowing results to be reviewed later. |
| Format Type | Determines in which format the report generates - CSV (State Format) or HTML.
CSV Best Practice CSV files usually open with the Microsoft Excel application. The default handling of date values in Excel removes leading zeros. This causes issues with reporting. To prevent this issue, perform edits to CSV files through a text editor application such as Notepad, Notepad++, etc. Or, to use Excel, ensure that all date fields are set to format MM/DD/YYYY with leading zeros (e.g., 8/4/2024 should display as 08/04/2024). |
Generate the Extract
See the blue callout above for details on report logic and report layout.
- Select the applicable Calendar(s) to include in the report.
- Select the desired Extract Type.
- Select the Effective Date for the report.
- Select an Ad hoc Filter from the dropdown list, if desired.
- Select the desired Report Processing option of Generate Now or Submit to Batch Queue.
- Select the desired Format Type.
- Click Generate. The report displays in the selected format.
Refer to the PDF attachments in the Extract Type description for the report layout.
