POS-X Cash Drawer Installation
The following installation instructions have been made available for districts who use POS-X cash drawers.
Campus does NOT support POS-X cash drawers on the POSReady 2009 operating system.
See the Point of Sale Terminal Minimums for more information about supported platforms.
Windows 11 Support
If you are using Windows 11 and a POS-X Cash Drawer, the following adapter must be used:- P/N: 977GF010000005
- Description: USB CASH DRAWER ADAPTER GEN2
Download and install this driver to finalize the adapter installation process: https://px-download.s3.us-east-1.amazonaws.com/Apex_USB_Cash_Drawer_VCOM_Driver.exe
| Step | Description | Notes |
|---|---|---|
| 1 |
Use the Install Terminal option on the Terminals tool in Campus to download and install the POS terminal software. After the POS terminal software is installed and the terminal has rebooted, click the Never uninstall the Campus POS application without first contacting Support. |
See the article Terminal Installation and Configuration for complete instructions. PATH: Point of Sale > Administration > Terminals |
| 2 |
Set Point of Sale Options. When setting Point of Sale Options, select POS-X in the Cash Drawer Options. 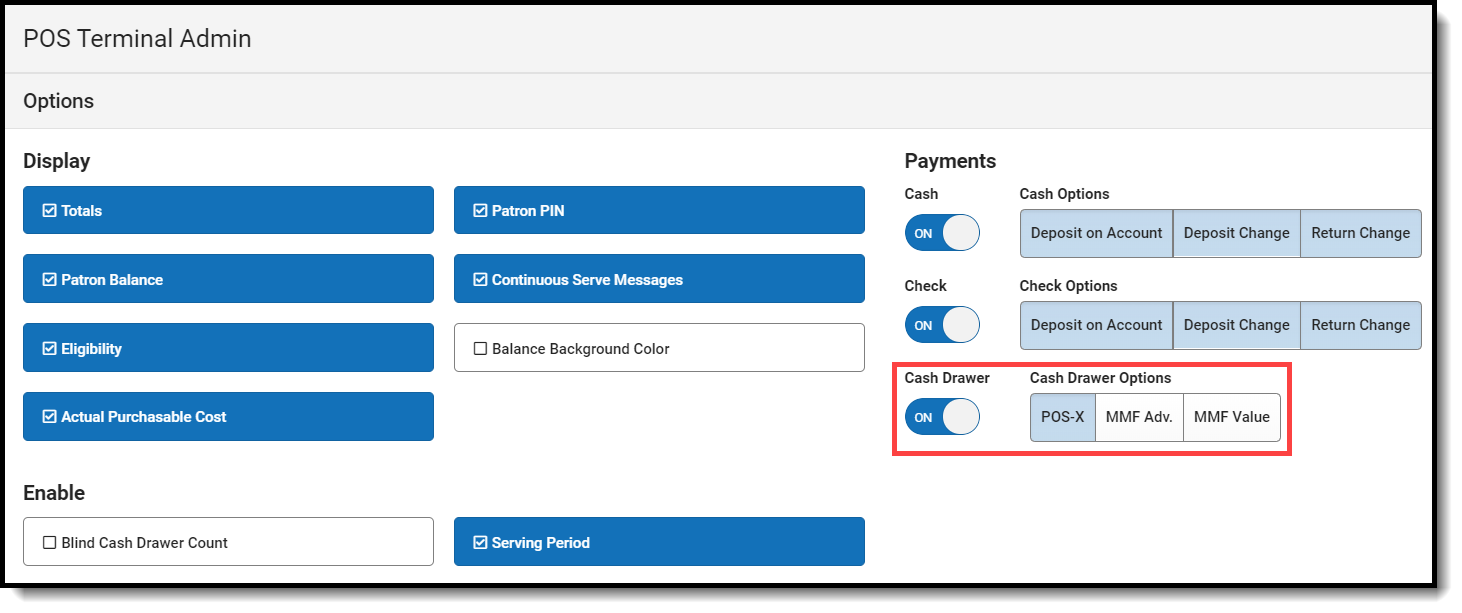 Point of Sale Options Point of Sale Options |
See the article Terminal Installation and Configuration for complete instructions. After setting Point of Sale Options, the POS-X cash drawer is ready for use. |
POS-X Ion Tablet Configuration Reset
The scanner on the POS-X Ion Tablet immediately works with Campus Point of Sale without additional configuration. However, if the configuration is manually changed and no longer works with Campus, you can use the following steps to reset the configuration.
- Download the scanner configuration guide found here: https://pos-x.com/download/ion-tablet-scanner-configuration-guide/
- Scan the following barcodes in the order listed below:
- Restore Defaults (Header 6-5, page 12)
- USB HID Keyboard (Header 8-5, page 67)
- Carriage Return (Header 6-29, page 36)
