This article is continually updated as new information becomes available.
The following checklist provides the steps you must complete to migrate to Point of Sale 2.0.
Done | Task | Description |
|---|---|---|
| 1 | At minimum, update to the Campus.2227 release. With this release, districts do NOT need to open a ticket with Campus Support. As of Campus.2227, Point of Sale 2.0 is automatically enabled for all districts that have purchased Campus Point of Sale as add-on functionality. We recommend districts update to the most current version of Campus. | |
| 2 | Use the Application Manager to create new applications, services, and service layouts. See the Application Manager (POS 2.0) article for detailed instructions. | |
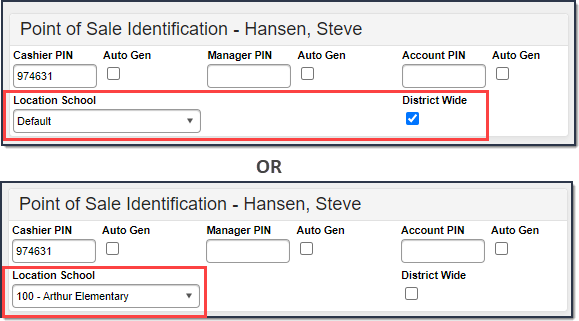
| 3 | Set the Location School or mark the District Wide checkbox on the Food Service account for any cashiers who do not have an active employment record in Campus.
| |
| 4 | Use the Terminals tool to create, install, and configure POS 2.0 terminals. See the Terminal Installation and Configuration (POS 2.0) article for detailed instructions. As part of this step, be sure to validate the application is the correct size on your terminal. | |
| 5 | Attach and test PIN entry devices. | |
| 6 | Attach and test cash drawers. | |
| 7 | Train cashiers to use POS 2.0. The Cashier Cheat Sheet (POS 2.0) and training videos are available here: Point of Sale 2.0. |