You are viewing a previous version of this article. A newer version is not available.
In Campus.2223, cosmetic updates were made to improve the appearance and usability of WYSIWYG editors.
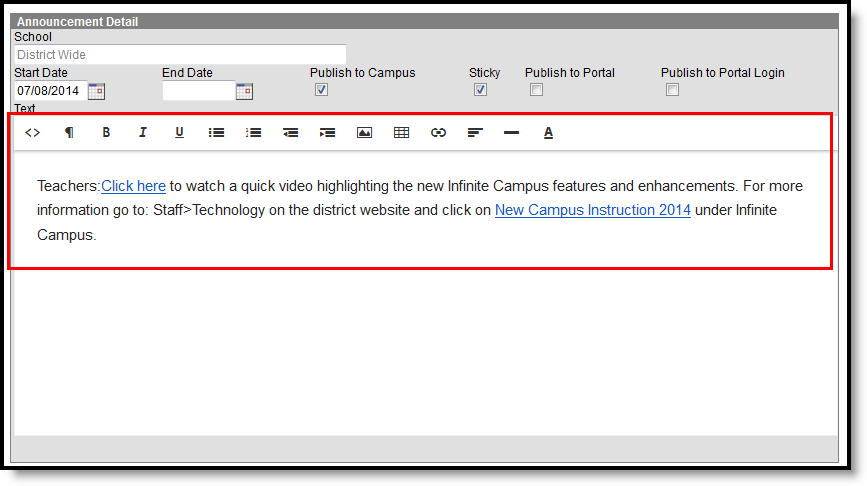
WYSIWYG (What You See Is What You Get) Editors are used throughout Campus, allowing users the ability to customize entered text that displays on reports and letters that are sent to parents/guardians, notices that are sent to district and school staff, and notices that are visible to parents/guardians and students on the Campus Portal.
Enter videos and links to internal and external websites as links. Special characters can be entered as needed. Spell check functionality is controlled through the browser.
WYSIWYG Editor Field Definitions
These options are available on all WYSIWYG editors in Campus.
The following table provides a definition of the standard options available in the editor.
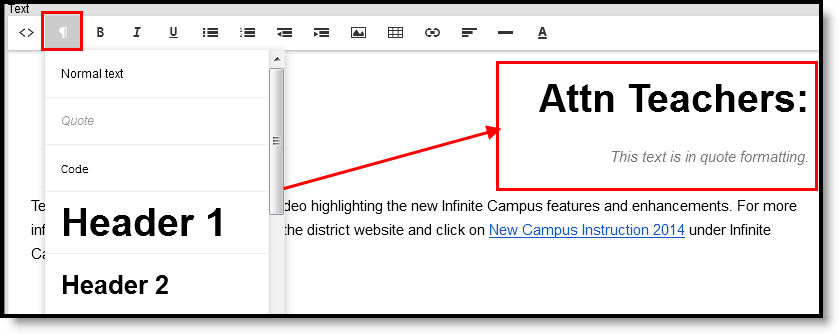
| Formatting | This option appears as the paragraph symbol in the editor and allows different sizes to be set, as desired. Available options are:
Text must either be selected and then a formatting option can be chosen, or set the formatting option first. |
| ||||||||||||||||||
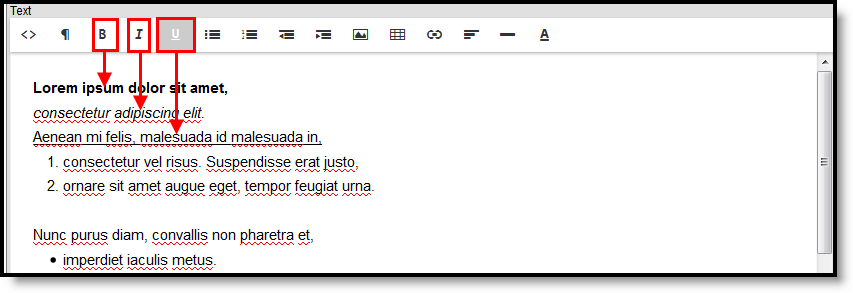
(B)old | Highlighting the text and selecting B displays the text in bold. |
| ||||||||||||||||||
(I)talic | Highlighting the text and selecting I displays the text in italics. | |||||||||||||||||||
(U)nderline | Highlighting the text and selecting U adds an underline. | |||||||||||||||||||
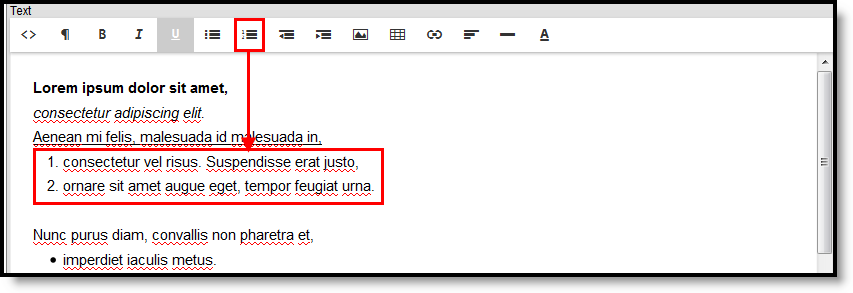
Numbers | Selecting this option adds a numbered list to the text. Numbers will continue to be added in numeric order until removed.
|
| ||||||||||||||||||
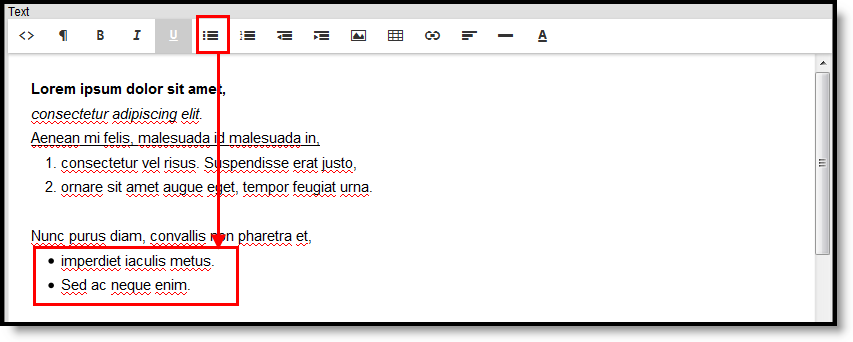
Bullets | Selecting this option adds a bulleted list to the text. Bullets will continue to be added until removed.
|
| ||||||||||||||||||
Decrease Indent | Selecting this option removes the indent and moves text to the left. |
| ||||||||||||||||||
Increase Indent | Selecting this option adds an indent and moves the text to the right. | |||||||||||||||||||
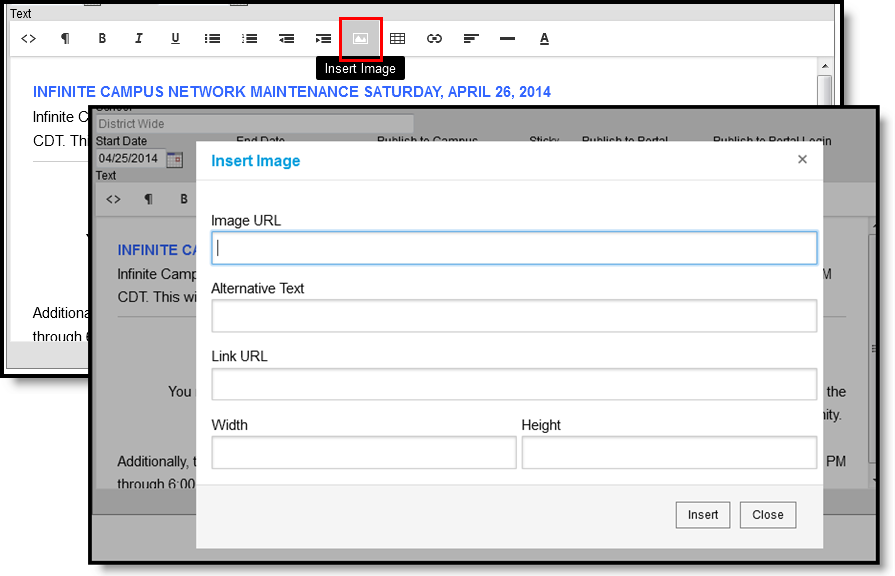
| Insert Image | Adds an image to the message, letter, etc. Enter the URL (file location) of the image and select the desired size and any other text required. Then, enter the desired width and height of the image in pixels. Click the Insert button when finished. The URL must be a public literal URL The following types of images can be inserted. Image file extensions are listed; extensions in bold are the most common type. Approved Image Types for UI Display
Inserting Images in Letters Images in any of the approved formats can be added to letters. If you have trouble with a .JPEG image in FOP, try opening it with an image processing program (such as Photoshop or Gimp) and then save it. Specifying 24-bit color output may also help. For the PDF and PostScript renderers, most .JPEG images can be passed through without decompression. Grayscale, RGB, and CMYK color spaces render properly; however, for other output formats, the .JPEG images have to be decompressed. Inserting Images in Emails Image types accepted are dependent on your email client. It is recommended to use common file types such as .PNG and .GIF in emails. |
| ||||||||||||||||||
| Table | Adds a table. First, select the Insert Table option from the dropdown. The default size of the table is 2 rows by 3 columns. Use the other options in the Table dropdown to increase this sized. Available options are:
|
| ||||||||||||||||||
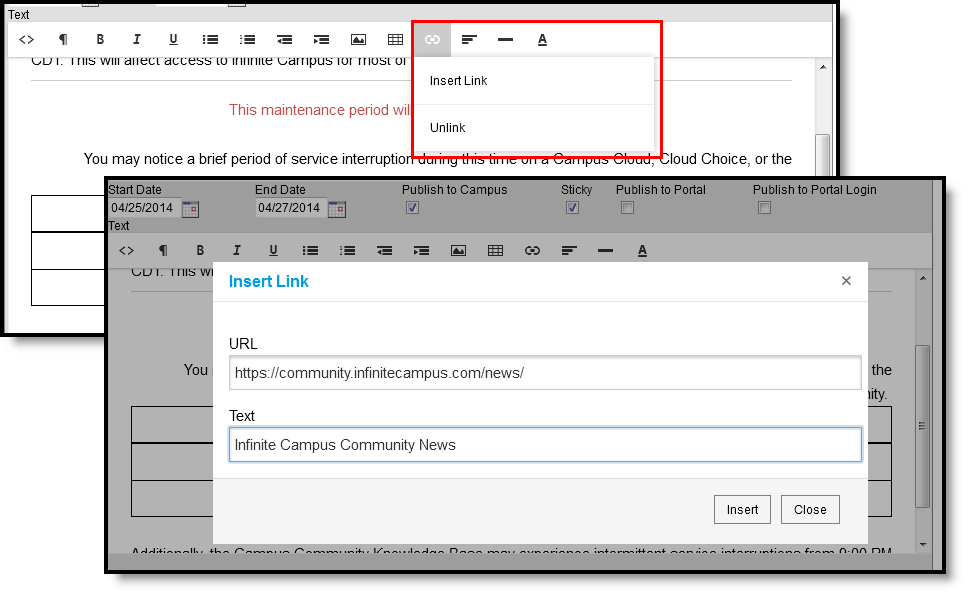
| Links | Adds a URL link to an external site (outside of the district) or an internal site (within district). Links could include websites, district-approved videos, etc. Videos are embedded and use the <embed> tag All links enter in a new window. |
| ||||||||||||||||||
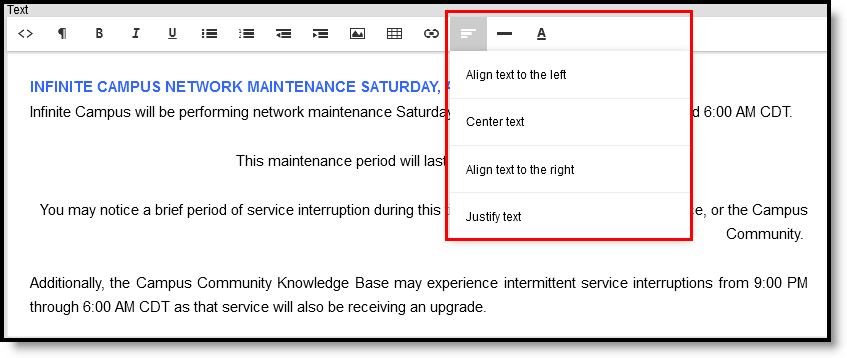
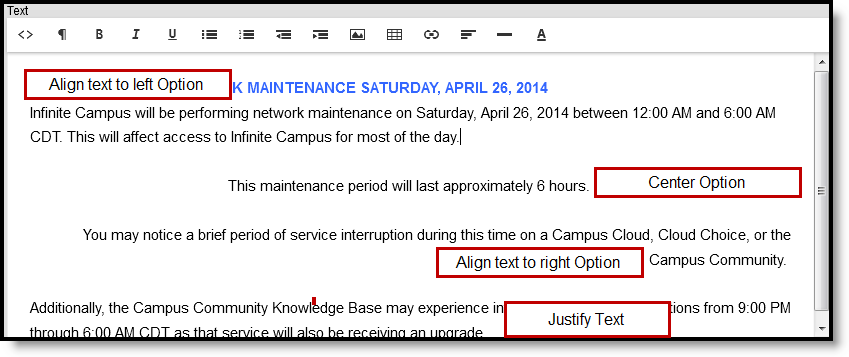
Align text to left | Lines all selected text up to the left of the margin/editor. |
| ||||||||||||||||||
Center text | Centers all selected text to the middle of the editor. | |||||||||||||||||||
Align text to right | Line all selected text up to the right of the margin/editor. | |||||||||||||||||||
| Justify Text | Aligns all selected text along the left margin, and letter- and word-spacing is adjusted so that the text falls flush with both margins | |||||||||||||||||||
Insert Horizontal Line | Adds a line that displays across the text box, separating a section of the content from another section of the content. | |||||||||||||||||||
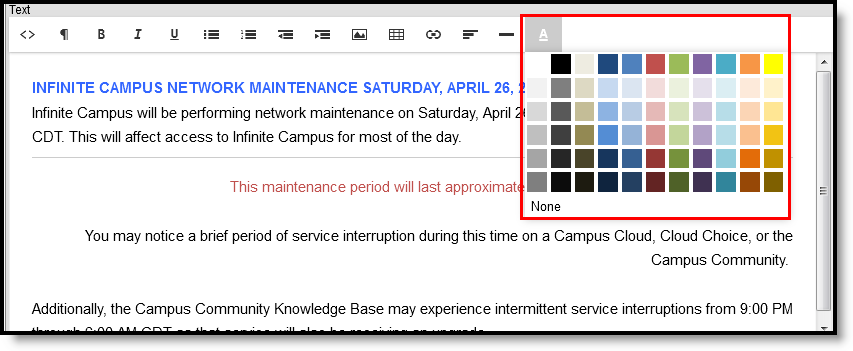
| Font Color | Changes the text color from black to a chosen color. |
|


Additional WYSIWYG Editors Fields
The following options are also available in the WYSIWYG editor, depending on the tool.
WYSIWYG Option | Definition | Image |
|---|---|---|
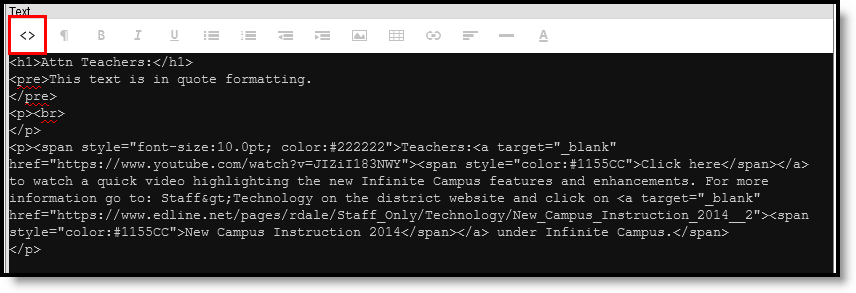
| HTML | This option displays the text and formatting of the message in HTML source code. It's helpful to use this to see hidden formatting options or change image sizes, modify font styles, etc. Only use this option if you are familiar with HTML. |
|
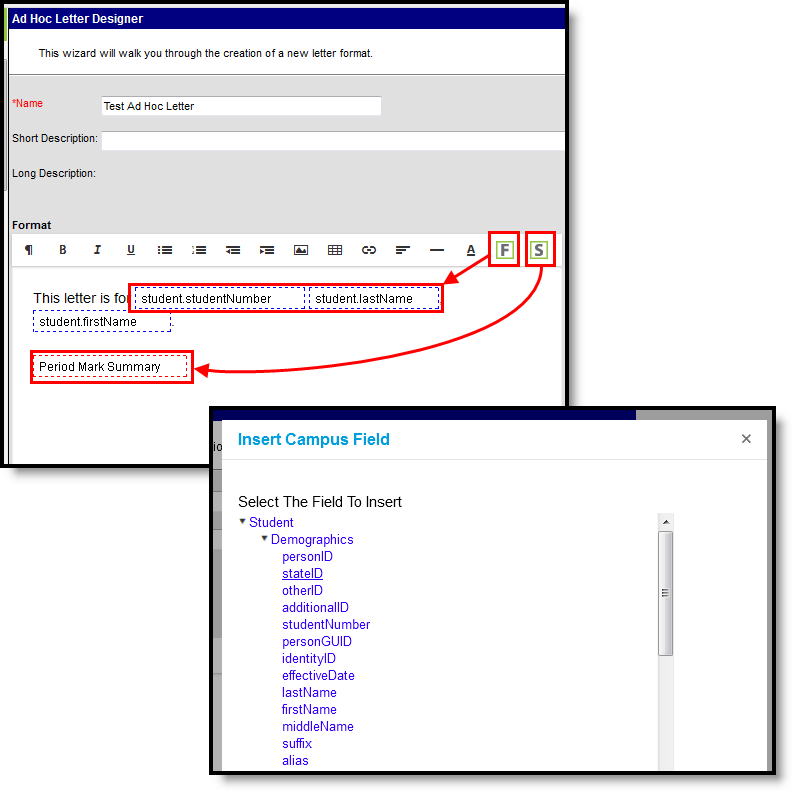
Campus Field Properties Campus Sub-reports | Campus Field Properties are available when creating a letter or report. These fields are essentially the database field names into which data is originally entered. For example, when creating a personalized letter for the seniors, choose the Campus Fields option to insert the student.firstName and student.lastName into the letter body. Each letter for seniors then displays the student's first and last names as it has been entered into Census Demographics. Campus Sub-reports work the same way, but instead call on database views that have been already established. So if the letter scenario above included general attendance information, select one of the Attendance reports to insert a summary of the student's attendance. This is the same concept that's used in Ad hoc tools. |
|