PATH: System Administration > Custom > Custom Tab
The Custom Tab editor allows a district/state to define custom data objects for tracking local or state-level information. Custom data objects will display in the interface as new custom tabs. When created, custom tabs are district-wide, but information can be displayed/hidden from users through the assignment of user tool rights. If marked, information on this Custom Tab is visible on the Campus Portal for parents and students when a student is selected and the custom tab has data saved in one or more fields.
Custom Tabs require the following three steps:
Custom Tab Tool
See the Documents Uploaded on Custom Tabs article if you allow documents to be uploaded to Custom Tabs.
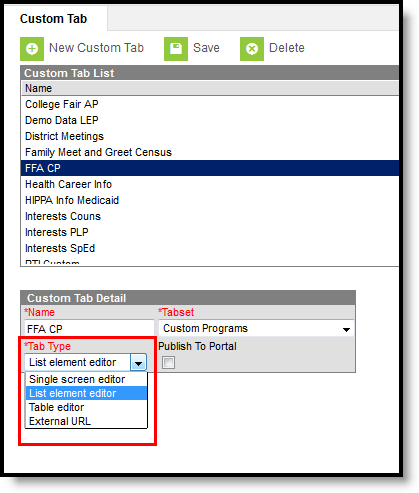
Custom Tab Detail
The following table describes the fields available on the Custom Tab Detail editor.
Field | Description |
|---|---|
Name | Name that appears on the new Custom tab. This name cannot be more than 33 characters and cannot include special characters ($, %, etc.). |
Tabset | Location of the custom tab. Custom tabs can be located in the following areas:
|
Tab Type | Indicates the format of the editor on the custom tab. See the Tab Types section for more information. Depending on the Tabset selection, a certain tab type may not be available. |
Publish to Portal | If marked, information on this custom tab is visible on the Campus Portal for parents and students. This is not available for selection if the Tabset is set to District Information or School. |
Tab Types
The following formats are available for selection from the Tab Type field of the Custom Tab Detail editor. The options available determine the format/layout of the custom tab.
Tab Type Options
Changing types for tabs that have attributes and data associated with them is not supported and may cause issues with Ad hoc Reporting.
| Tab Type | Description | Examples |
|---|---|---|
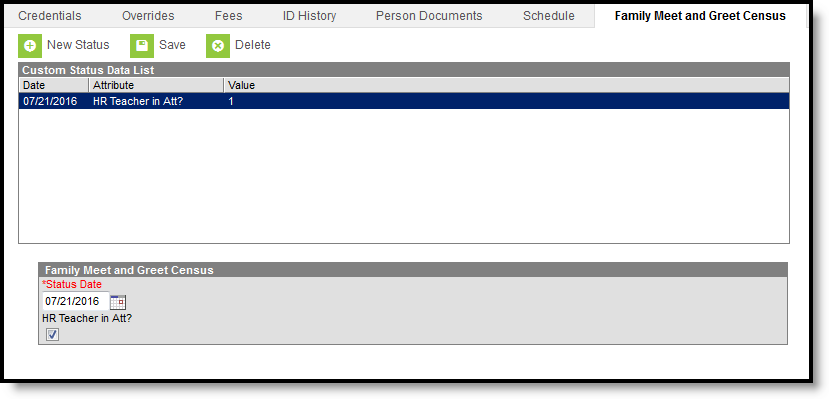
| Single Screen Editor | The Single Screen Editor is used to collect a single set of data that will only have one record. If data needs to be historical and referenced over the school year, the Single Screen Editor option cannot be used. This tab type is available for all tabset selections. | Health General Custom Tab |
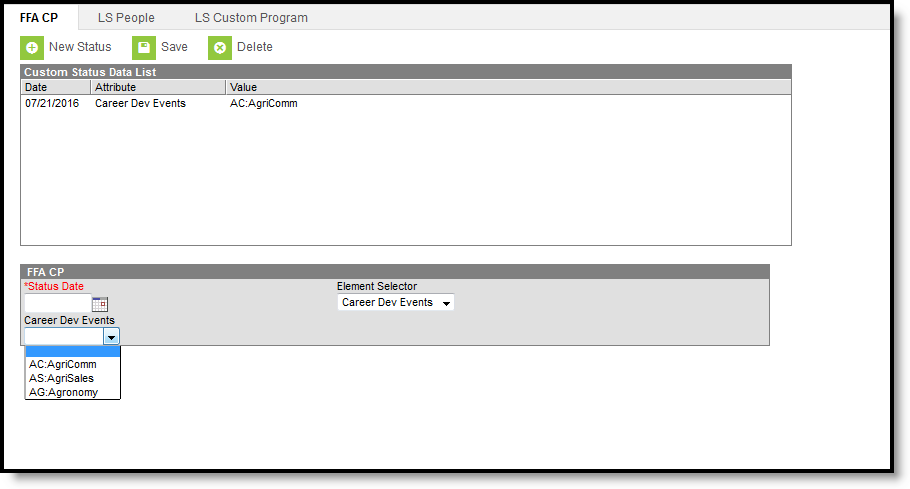
| List Element Editor | The List element editor option holds multiple sets of data and will track information over a period of time (multiple records). The user can choose which type of record to post a value for, unlike the table editor, where only the same type of data is available. A Status Date is required for each record. This tab type is NOT available for the following tabsets:
| People Custom Tab Custom Programs Custom Tab |
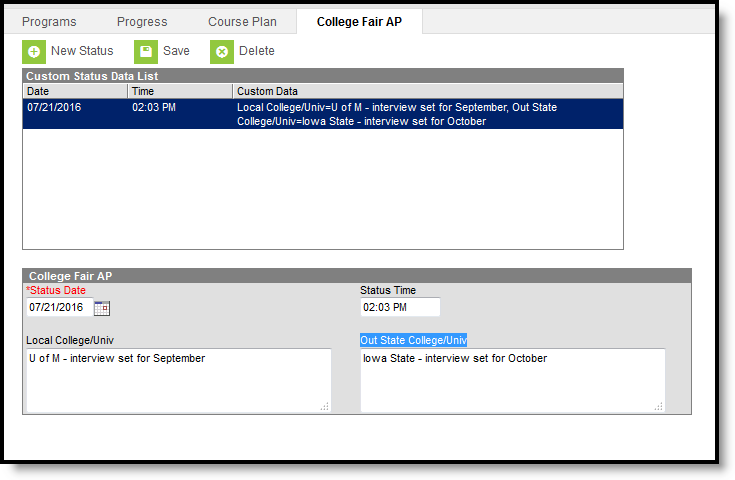
| Table Editor | This option should be selected from the Tab Type field if the custom tab will hold lists of associated values to be displayed for the same record, such as totals. Unlike the list editor, there is only one type of record created, for which multiple values may display. This option uses a date and time field to track entries. Only one entry for any given time is allowed, meaning two entries with the time of 10:10 AM cannot be saved. This tab type is available for all tabset selections. | Academic Planning Custom Tab |
| External URL | An external URL will display in a new tab/window, not in the Campus workspace. In order for external websites to display, turn off the pop-up blocker on the browser. This External URL option is selected from the Tab Type field when the custom tab automatically displays an external website. The user can navigate to the external site in a normal manner (i.e., if the site is website, users will be able to use hyperlinks to navigate freely within the website). The Pass User Session field is used for auto-authentication for other external sites (especially for custom reporting). The following describes each option:
This tab type is NOT available for the following tabsets:
|
|
Step 1. Create a Custom Tab
- Select the New Custom Tab icon from the action bar. The Custom Tab Detail editor displays.
- Enter the Name to be displayed as the tab name.
- Select the area of Campus to which the new custom tab relates from the Tabset field.
- Select the manner in which the tab should organize and display data from the Tab Type field. Refer to the Tab Types section of this article for more information.
- Click the Save button to create the new custom tab.
The new tab will not appear in its designated location until a user logs out of his/her current session and logs into a new session.
- Click the Log Off icon from the Campus Index.
- Re-enter User Name/Password credentials.
- Click Sign In.
The new tab now appears in its designated location. Access to the custom tab can be assigned to users through the Tool Rights (User) or Tool Rights (User Group) tabs.
The following table indicates what a user can do with assigned rights to Custom tabs.
| Assigned Rights | What Users Can Do |
|---|---|
| Read | See existing custom tab records |
| Read and Write | See and edit existing custom tab records |
| Read and Add | See existing custom tab records and add new custom tab records |
| Read, Write and Add | See existing custom tab records, edit custom tab records and add new custom tab records |
| Read, Write and Delete | See existing custom tab records, edit existing records and delete records |
| Read, Add and Delete | See existing custom tab records, add new records and delete records |
| Read, Write, Add and Delete | See custom tab records, edit existing records, add new records and delete records. |
Step 2. Add Custom Tab Attributes
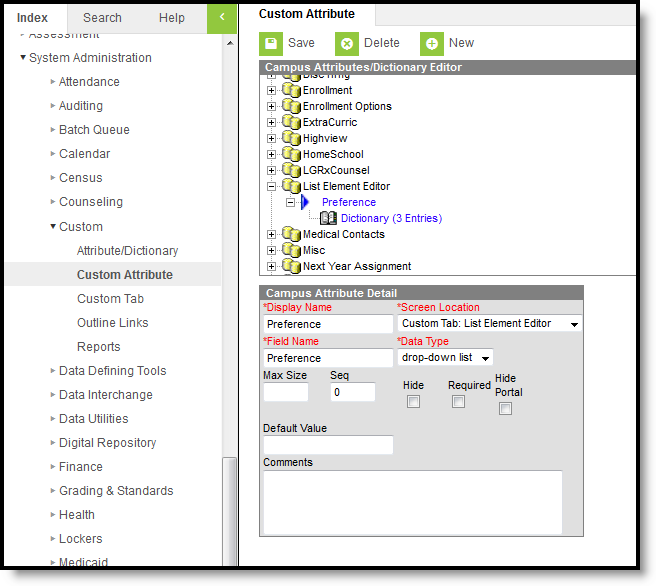
After creating a custom tab, the user should add and define its custom fields on the Custom Attribute tool.
Custom Attribute Tool
Any custom tab that contains the word "time" cannot be queried in Ad hoc tools if it is not an actual time field.
Step 3. Add Data to a Custom Tab
Once the tab is created and attributes have been added, the tab displays in the selected location, based on the Tabset selection. Users do need to be given tool rights to the custom tabs in order to view and enter data on the tab.
For those Districts associated with a State Edition installation, any state edition-published custom tabs also require tool rights to be given before data can be entered on state edition custom tabs.District users do not have the ability to modify the State Edition Custom Tab name or attributed associated with the Custom Tab.
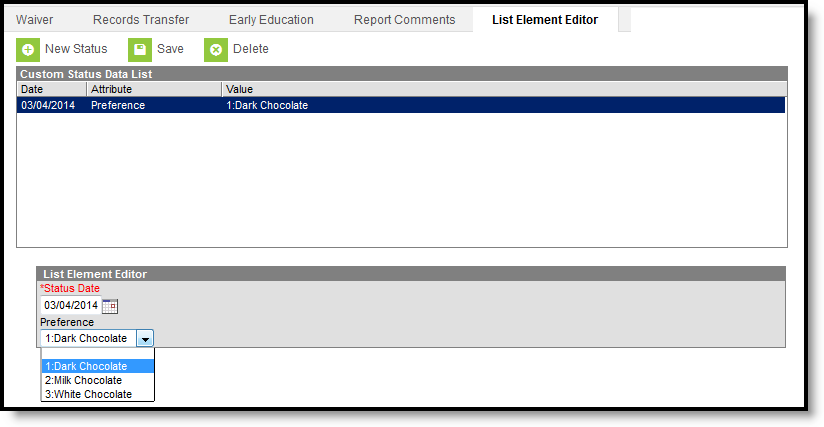
Custom Tab Display in Student Information

