Tool Search: Academic Planning
Academic Planning allows schools to create an academic plan encompassing a student's entire high school career, as well as track a student's progress toward graduation. This typically includes 8th-grade students moving into 9th grade all the way through their senior year, but can be used for grade levels Kindergarten through 12th grade.
Academic Planning (Student Information) includes the following tools:
Best Practices and Things to Know
It is not required to use Academic Planning functionality, but if you do, there are certain things to consider. The articles linked in the Tools column below contain a Best Practices section for these considerations.
- Academic Planning considers all enrollment types.
- Only one credit group is allowed per academic program.
- The Credit Summary report can only be generated from the student's Credit Summary tab. However, this information can be viewed on the student's Transcript, by building an Ad Hoc filter or generating other Grading and Standards Reports.
- Course Catalogs used in different schools (for example, middle school and high school) should have unique course numbers.
- Terms must be entered in Course Information in order for course Progress information to display correctly for students.
- The Course Plan tool is used by counselors to populate the student's academic plan. Students can see this academic plan on their Academic Planner in the Portal. In turn, counselors can see the student's changes on the Academic Planner by viewing the Course Plan tool.
- If a student is scheduled (has a roster entry) into a course, grades for that course must be posted to the transcript using the Transcript Post tool. Grades may not be manually entered.
Academic Planning Prerequisites
The following areas must be appropriately established in order to properly use the Academic Planning tools:
Done | Task |
|---|---|
Establish Credit Groups. This is a list of credits a student can earn based on completion of grading tasks or achieving a certain level of scores. Credit Groups define what credits have been earned and under what group earned credits fall. | |
Create Graduation Programs and/or Academic Programs. Creation of these programs includes any combination of the following:
See the appropriate Programs article for detailed guidance on creating Graduation and Academic Programs. | |
Assign programs to students. This can be accomplished manually (one student at a time) on the Academic Planning Programs tab or through the Batch Assignment Tool. |
Academic Planning Workflow
Ad hoc Information for Academic Planning
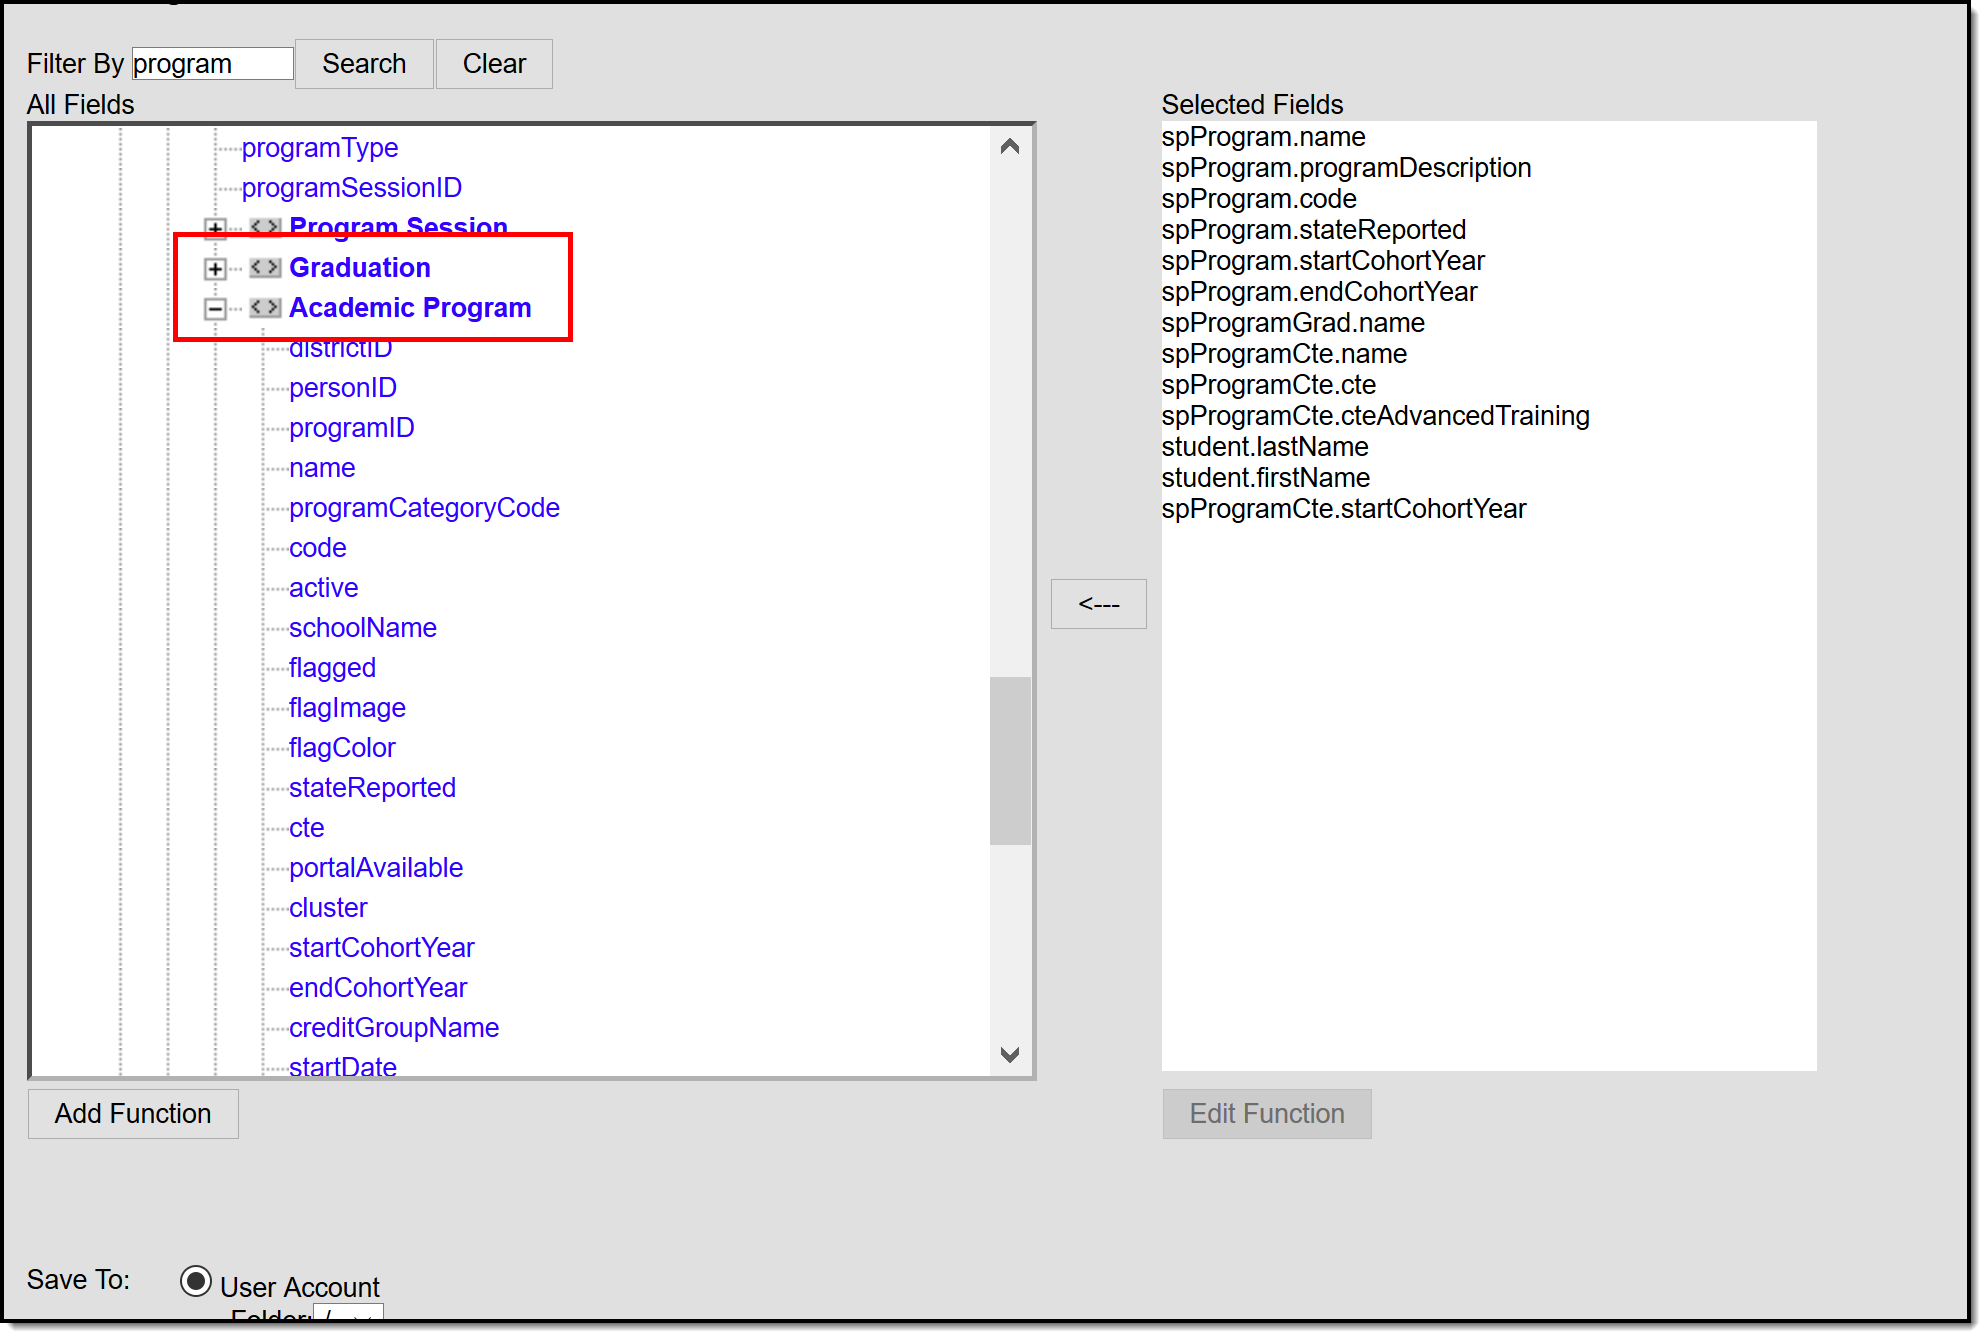
Demographics information is available in the Query Wizard for Student Data Type filters. Fields can be selected from the following locations:
- Student > Learner > Programs/Flags: This section includes fields related to Programs (those not related to Graduation or Academic Programs) and Flags assigned to the student.
- Student > Learner > Programs/Flags > Graduation: This section includes fields related to assigned Graduation Programs.
- Student > Learner > Programs/Flags > Academic Program: This section includes fields related to assigned Academic Programs (formerly Career Tech Programs).