Users must have Campus Learning and the Enhanced Curriculum tool right to access advanced curriculum options such as folders and resources. |
Location: Click the List button in tools through Instruction, including Grade Book, Planner > My Planner, or Progress Monitor; Grade Book > expand Settings menu > Curriculum List; Planner > click section name > Curriculum List
The List displays all curriculum for a section, across terms and alignments.
This list looks different for teachers who do not have Campus Learning and the Enhanced Curriculum tool right. See the Without Enhanced Curriculum section below for more information.
 The List shows all curriculum for the section. Use folders to organize content.
When you open the list, the highest level of your curriculum hierarchy displays. If you don't use folders to organize your content, you'll just see a list of all assignments and resources, ordered by Start Date.
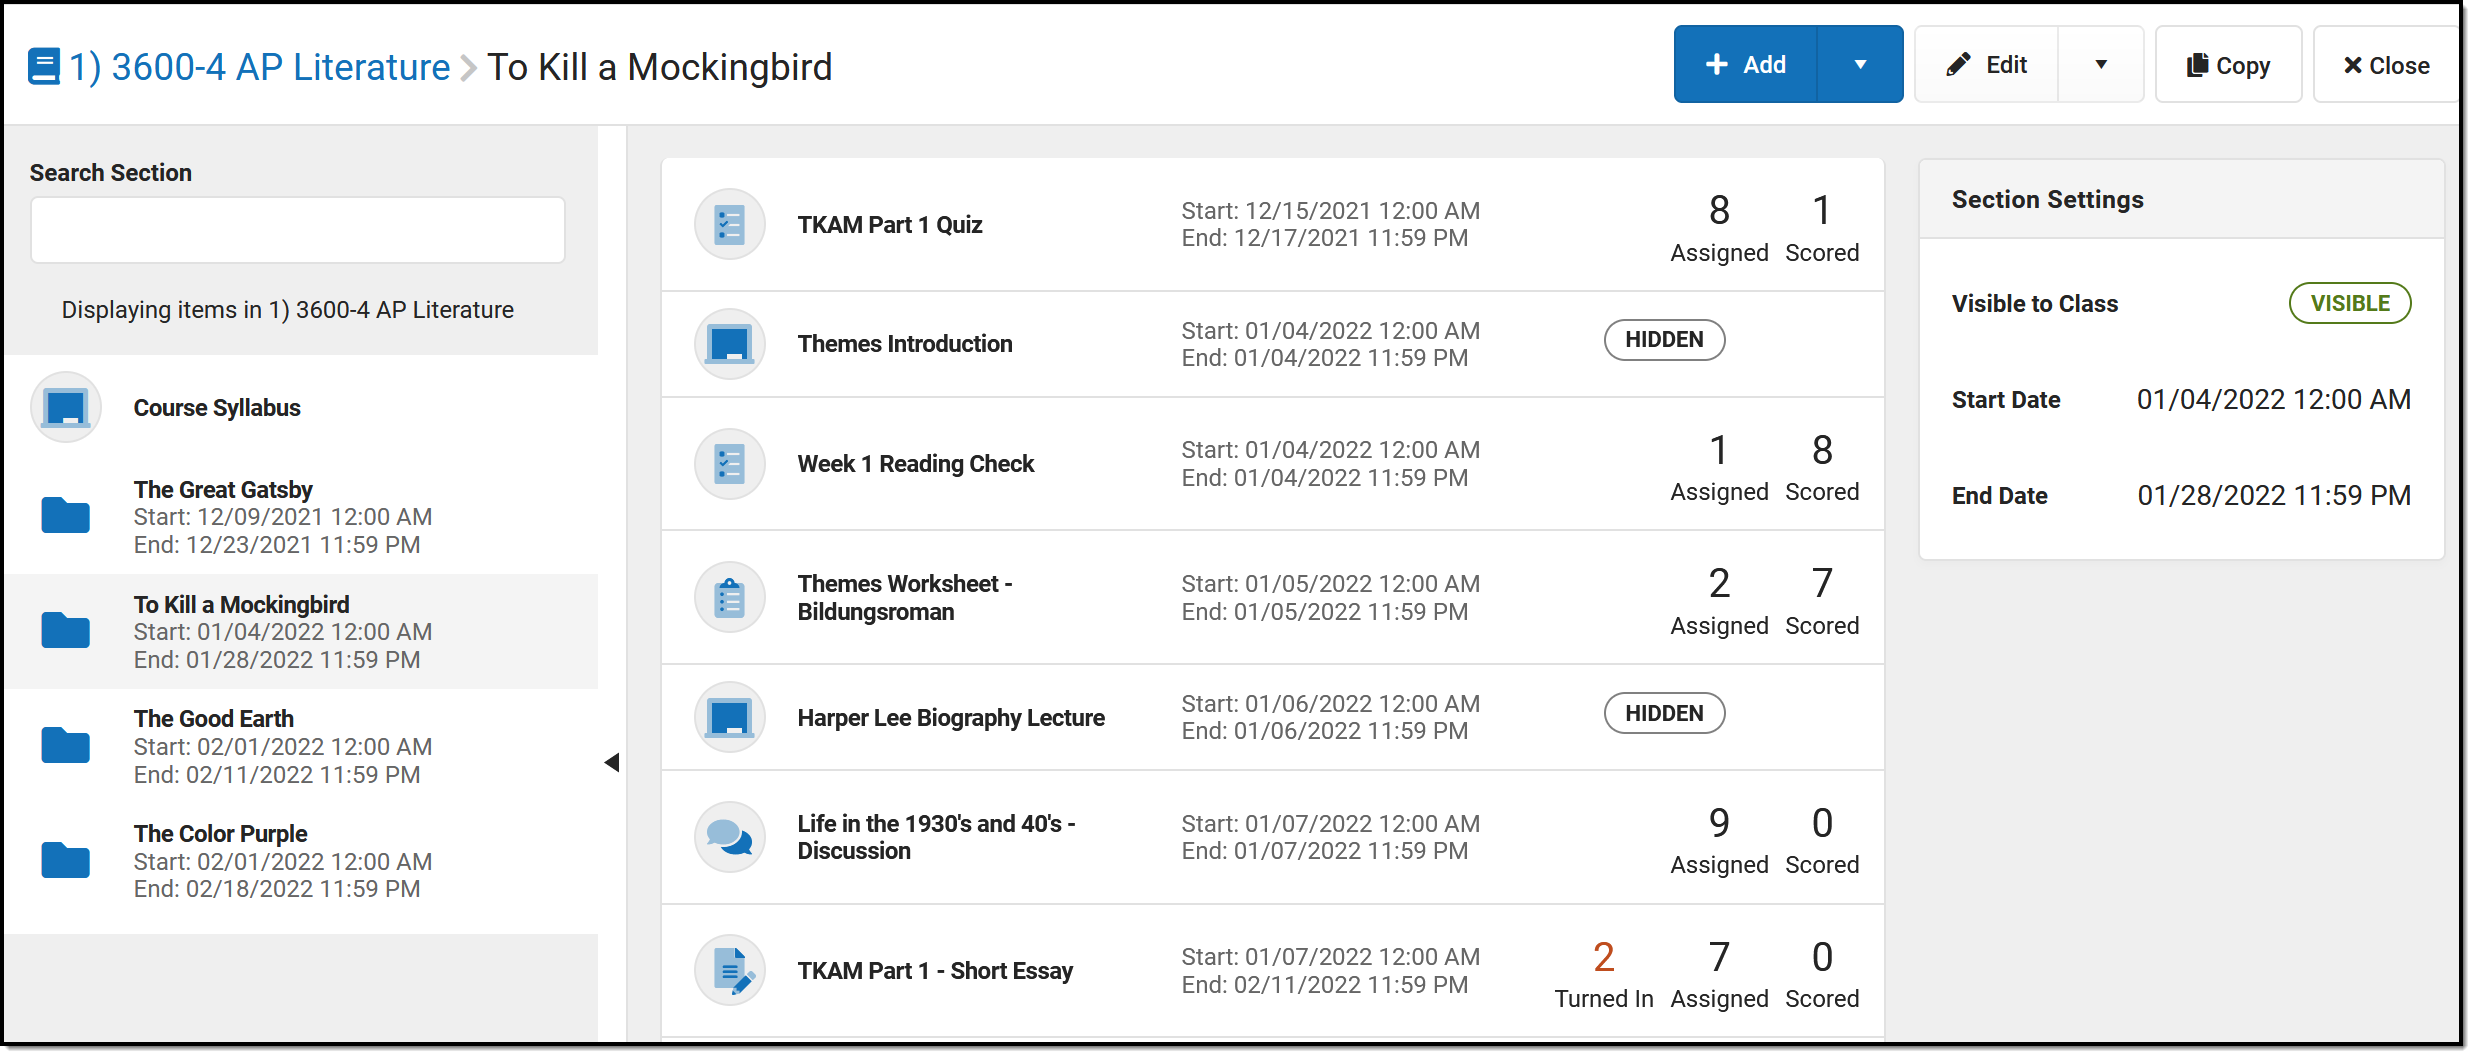
In the example above, I've organized my items into folders for the books my Lit class is reading, with a Course Syllabus resource at the top to keep it visible to students. I then clicked on the "To Kill a Mockingbird" folder to view the assignments, resources, and other items nested within that folder.
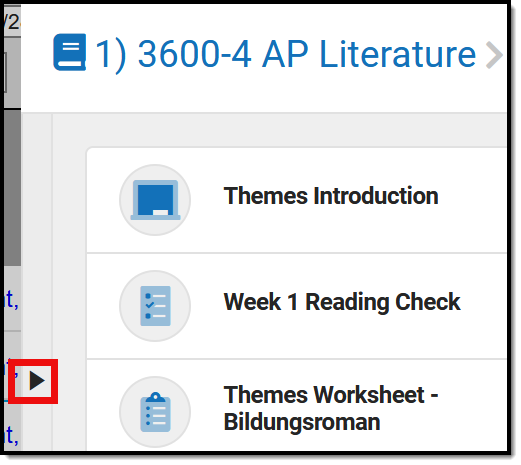 | Within a folder, click the black arrow on the left side of the list to expand or collapse the folder list. In the image above, I've expanded the folder list to display next to my assignments and resources. |
Numbers display next to assignments to provide more information about their status:

| Turned In | Assigned | Scored |
| The first number, in red, indicates if there are unscored submissions for the assignment. Click this number to view and score student work. | The assigned number indicates how many student have been given this assignment and have not turned it in or received a score. Click this number to Individualize the assignment | The scored number indicates how many students have received a score for this assignment. Click this number to open the scoring editor. |
At any point when viewing the list or a piece of curriculum, use the breadcrumbs at the top to navigate up through the hierarchy. In the example below, I've opened an assignment in the To Kill a Mockingbird folder. At the top, I can click the folder name to view it, or the section name to return to the top level curriculum list: |

Curriculum TypesEach type of curriculum has its own identifying icon. Links below provide more information: | |
 | Folders |
 | Assignments |
 | Resources |
 | Discussions |
 | Quizzes |
 | Submissions |
 | Imported Assignments |
Create an assignment by clicking 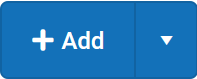 or click the arrow next to +Add to create any other item.
Click Library to view the Curriculum Library where you can add curriculum to your section that other teachers have shared. Click Copy to open the Curriculum Copier
Filtering the List
At the top level of the list, filtering options display along the top to simplify finding curriculum.
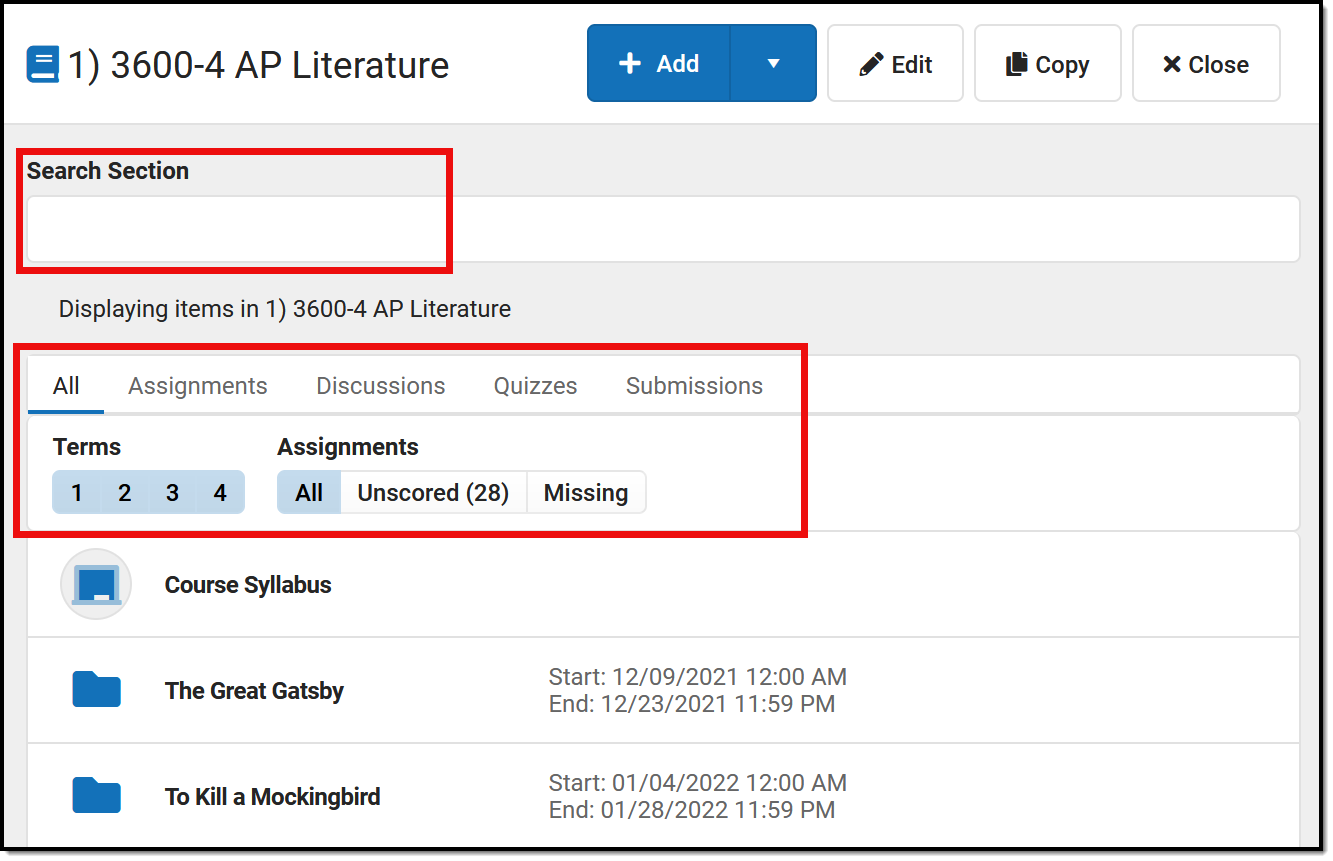 Filter options display at the top of the Curriculum List.
Search within all items in the section using the search bar at the top. This search includes the title and all other content entered for items, including summaries and notes.
Filter the list to show All items, only Assignments (any item with Grading toggled on), or based on the Task aligned to the item: Discussions, Quizzes, and Submissions. Users who receive assignments from a different program also have a filter for Imported items. Use the Term buttons to filter the list to only display items that are in-progress at some point during the selected term(s). Finally, use the Assignment filters to display graded items that are Unscored, are have Unreleased scores, or have any students flagged as Missing.
Filter the list to Unreleased assignments to display the Release All Scores button, which updates all assignments with Release Dates in the future to have a Release Scores setting of On Save. See the Release Scores article for more information.
Edit Mode
Click the Edit button to open edit mode for your current view of the list, whether it be a single assignment, all items in a folder, or everything in your section.
Below is an example of edit mode for all items in a folder:
 Click 'Edit' to modify the folder and items in it.
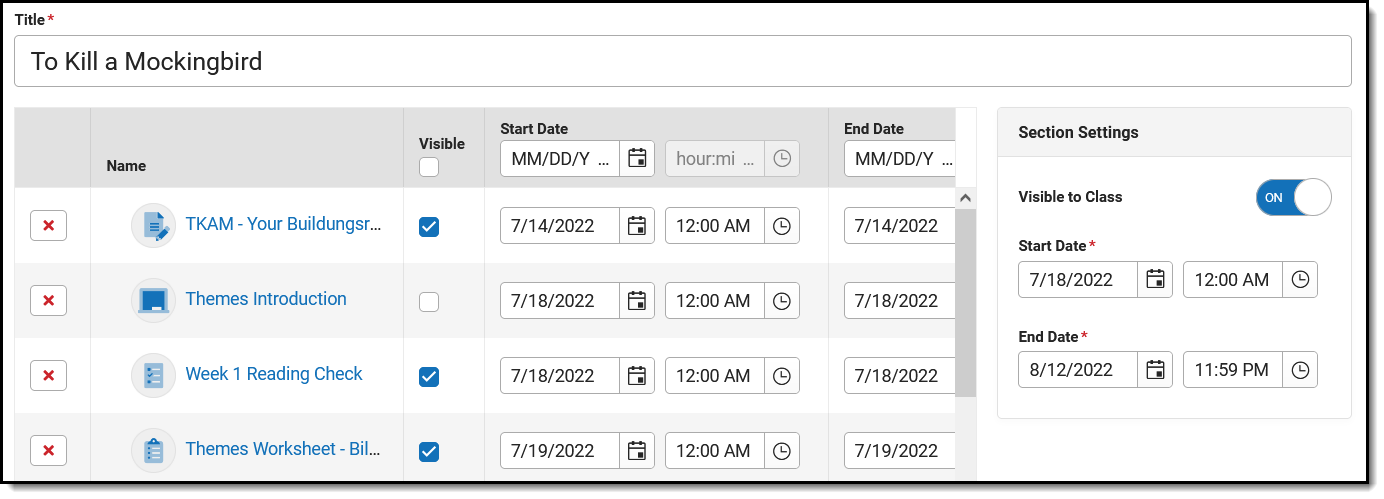
Edit the Title of the folder at the top. Edit the visibility of the folder and the dates in the Section Settings on the right. If a folder is hidden, all items within it are hidden by default.
Editing Items
All changes made in this view take effect once you click Save. Fill the visibility status or dates of all items using the fields in the table header.
- Click the red
 next to an item to delete it.
 - Click the name of an item to view a read-only version of it.
- Indicate if the item should be Visible on Campus Student and Campus Parent using the checkbox.
- Modify Start and End Dates by clicking the date to type or select another day. To set both dates easily, click the date to open the calendar, then click the Start Date you want and then the End Date, without closing the calendar. Click the clock icons to set times for the assignment
- Click the Grading link to view the grading setup for the item. Resources are not scored; click Grading Setup for a resource to change it to an assignment and set up grading.
 next to an item to delete it.
As you modify items, a dot next to the name indicates which items have unsaved changes. | 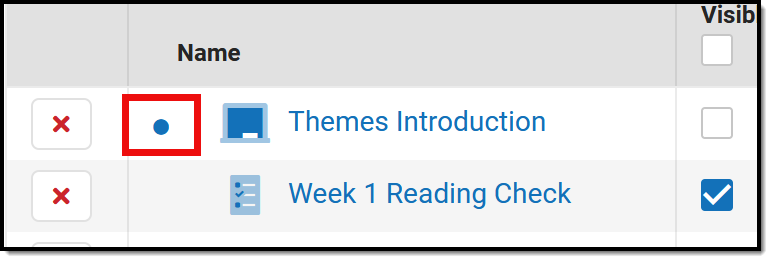 |
Click Save when finished to apply all changes.
Click the arrow next to the Edit button and select Move to change the parent folder of an item.
Without Enhanced Curriculum
Teachers who do not have Campus Learning and the Enhanced Curriculum tool right only see assignments in this list.
Search for assignments in the section using the Search Section bar at the top. Assignments are listed by Start Date. Add an assignment, open edit mode for the section (described below), or copy assignments from this section using the buttons at the top. Click an assignment to view a read-only version. With the assignment, click Edit to make changes. Click Edit to make changes to multiple assignments without opening them individually. See the Editing Items section above for more information. | 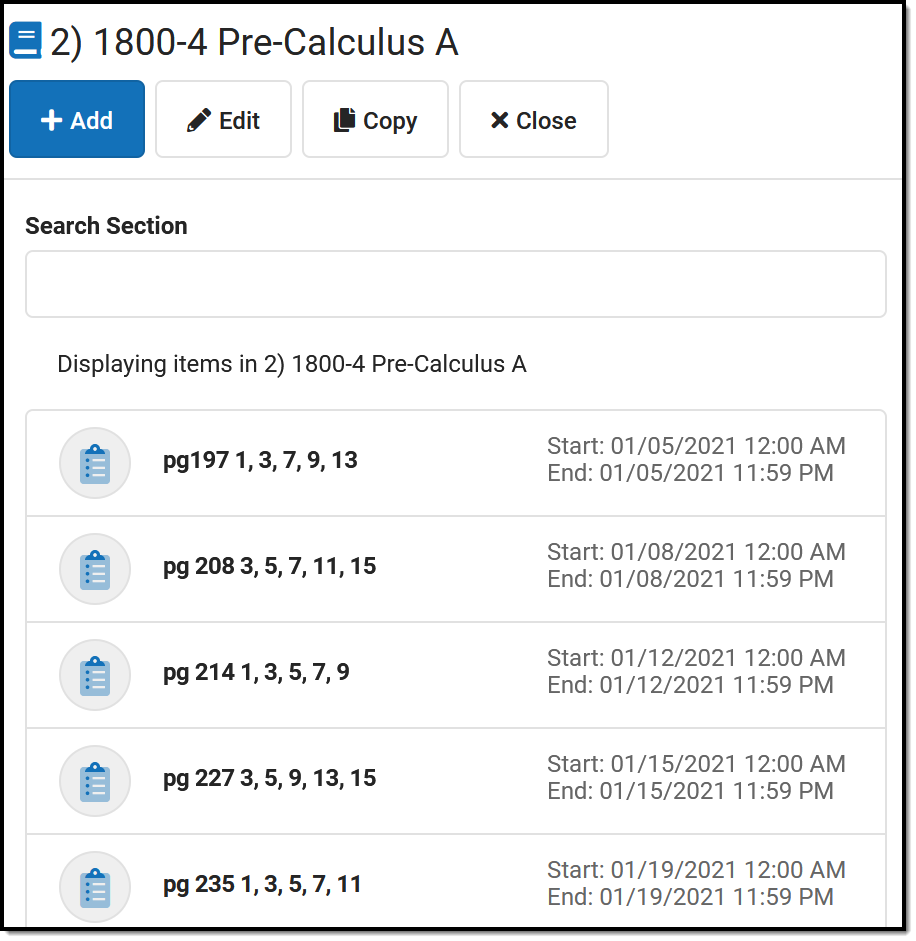 |
