Staff Evaluations will no longer be available after June 30th, 2025. For more information, visit the Human Resources and Staff Evaluation Deprecation FAQ.
Tool Search: Evaluations (HR-enabled)
Evaluation Templates provide the format from which staff evaluations are created. Once Evaluation Templates are created, administrators can Generate Evaluations for Supervisors to Use and supervisors can Generate New Evaluations for Employees for their direct reports.
You can also define a new Evaluation Template by copying an existing Evaluation Template.
Complete the following steps to define a new Evaluation Template.
- Click the New button.
Result
The New Evaluation editor displays.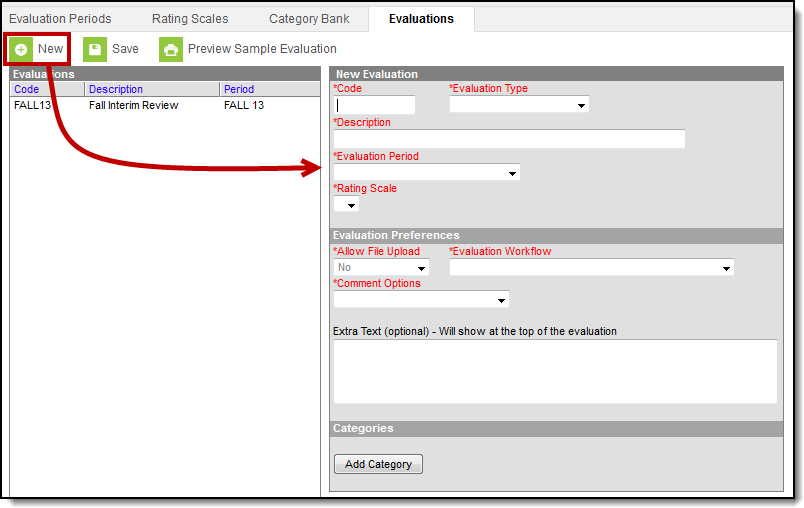
- Enter a unique Code to identify the Evaluation Template.
- Select the Evaluation Type. Options include the following:
- Annual
- Interim
- Observation (This type does not require a Rating Scale.)
- Enter a detailed Description of the Evaluation Template.
- Select the Evaluation Period to which the Evaluation Template applies.
Select the Rating Scale supervisors will use to measure overall performance.
This field is not required if the Evaluation Type is Observation.
This Rating Scale displays as a dropdown list called Overall Rating when the evaluation is in Evaluator Review status (Full Review Process) or in Draft status (No Reflection).
Select one of the following Comment Options.
- Reflection Box. This option provides an area for entering reflection comments.
- Evidence Box. This option provides an area for typing evidence comments.
- Evidence and Reflection Boxes. This option provides two areas for entering comments.
- None
Specify whether files may be added to the evaluation by selecting Yes, No, or Evaluator Only in the Allow File Upload dropdown list.
You can only change this field if the Staff Evaluations service has been enabled in the Digital Repository.
Select the Evaluation Workflow.
See the article About Evaluation Workflows for detailed information about each workflow.
Options include the following:
- Staff Reflection and Acknowledgement (Full Process)
- Staff Acknowledgement (No Reflection)
- No Staff Reflection or Acknowledgement
- Enter Extra Text that you want to display at the top of the evaluation. (optional)
Associate at least one Category by clicking the Add Category button.
Result
The Add Category to Evaluation window displays.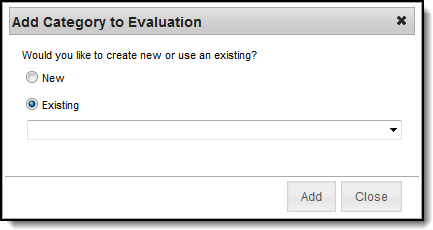
Select one of the following options.
Option Description New Enter a Code and Description for a new Category then click Add.

Existing The existing Code and Description display. Click Add.
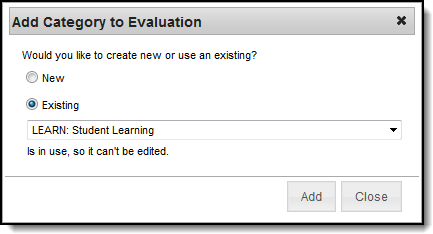
You may change any of the details for the Category as long as the Category is not associated with an evaluation that is assigned to staff members.
For more detailed information about adding Categories, see the article Add Categories to the Category Bank.
Set up the Category by completing one of the following options.
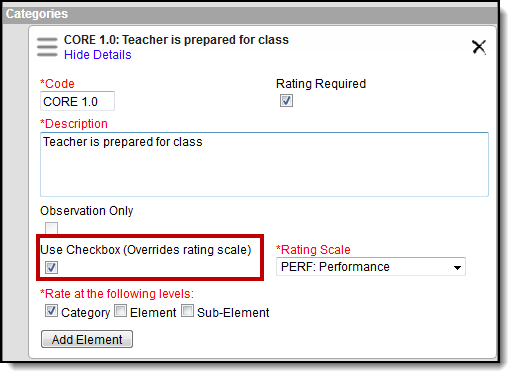
Option Description Add a Rating Scale Select the Rating Scale and levels to which the Rating Scale applies. Mark the Rating Required checkbox if you want to require a rating on the level(s) you select. If you do not mark the Rating Required checkbox, the administrator and/or supervisor can make the rating required later when they create the evaluation.
If you do not mark the Rating Required checkbox and the administrator or supervisor does not mark this checkbox when they generate evaluations, the component will not appear on the evaluation.
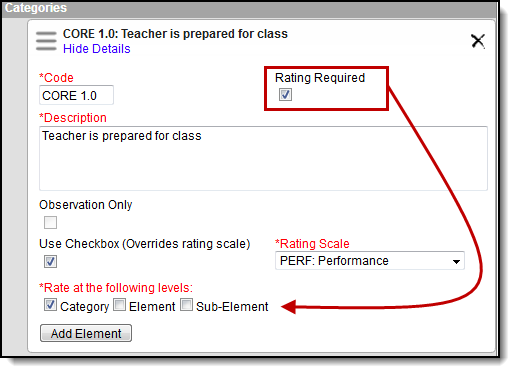
Use Checkbox (Overrides rating scale) Select the Use Checkbox (Overrides rating scale) to use a checkbox called "Meets Requirements" instead of selecting a rating on the Category.
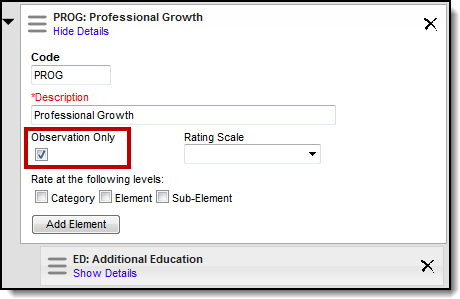
Observation Only If you are creating an Observation, you can select the Observation Only checkbox to indicate the Category does not require a rating.
Repeat steps 11 -13 until all Categories are added.
For more detailed information about adding Categories, see the article Add Categories to the Category Bank.
Click the Save button.
Result
The new Evaluation Template displays in the Evaluations group.


