Staff Evaluations will no longer be available after June 30th, 2025. For more information, visit the Human Resources and Staff Evaluation Deprecation FAQ.
Tool Search: Category Bank
The Category Bank contains the areas of responsibility for which employees are being evaluated. Categories can include Elements and Sub-Elements which allow you to divide a Category into specific features that can be rated.
You can also add Categories by copying existing Categories or add them while creating Evaluation Templates.
Complete the following steps to add a new Category.
The images used in the following procedure are examples only and may not reflect the Categories, Elements, Sub-Elements or Rating Scales used by your District.
- Click the New button.
The New Category editor displays.
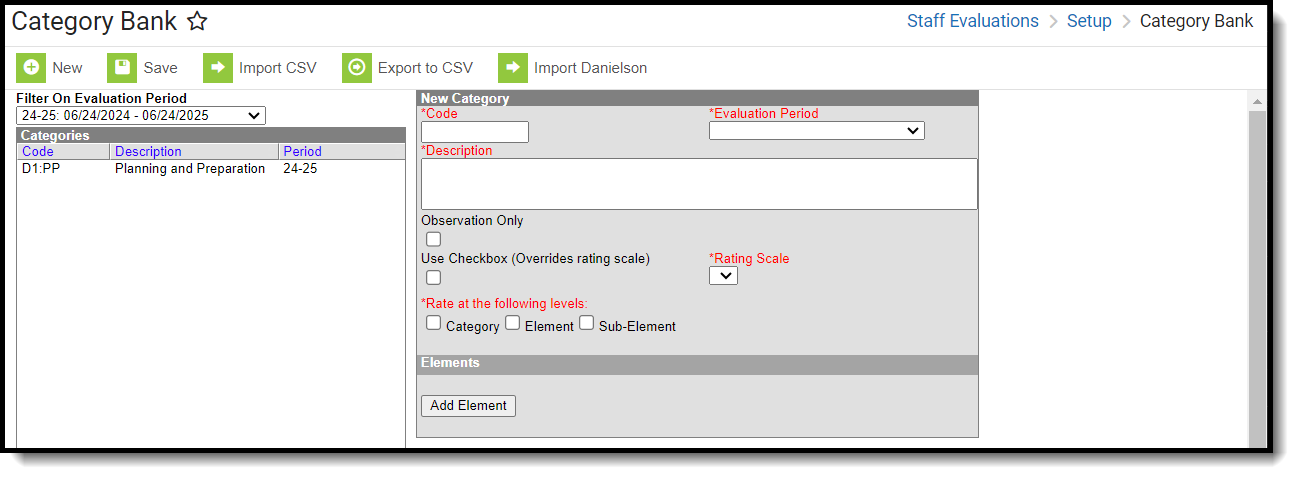
- Enter a unique Code to identify the Category.
- Select the Evaluation Period to which you want to associate the Category.
- Enter a detailed Description of the Category.
- Mark the Observation Only checkbox if the Category does not require a Rating Scale and will only be used for an Observation. (optional)
If you mark this checkbox, the Rating Scale and Rate at the following levels fields also become optional.
- Select the Rating Scale that will be used to measure employee's performance in this Category.
- Mark the Use Checkbox (Overrides rating scale) checkbox if you want to use a checkbox called "Meets Requirements" instead of selecting a rating on the Category. (optional)
- Identify the level(s) at which employee's will be rated by selecting any of the following checkboxes:
- Category
- Element
- Sub-element
-
Complete the following steps to add Elements.
The Category must include at least one Element.
- Click the Add Element button. The Add Element to Category window displays.
-
Complete one of the following options.
Option Example (Click to Enlarge) Select New and enter a Code and Description. 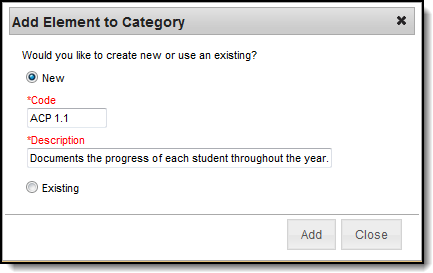
Select Existing and choose an element from the dropdown list. 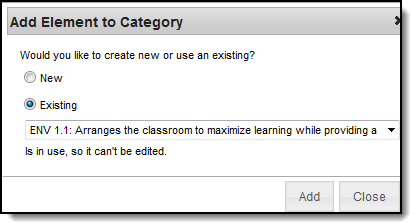
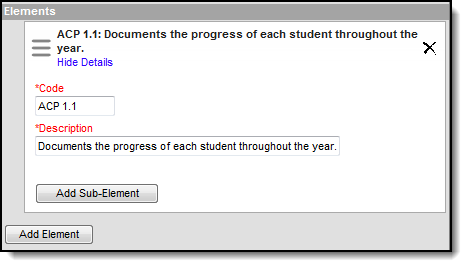
- Click the Add button.
The new element displays in the Elements group.
-
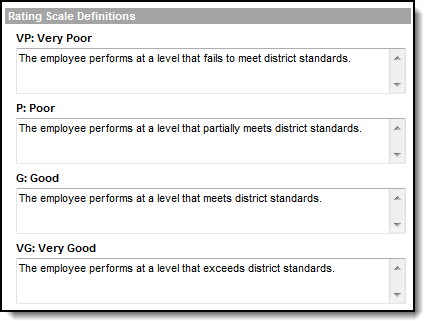
Enter Rating Scale Definitions for the Element if you are rating at the Element level and you are NOT using the Use Checkbox option (see step 8). (optional)
- Repeat steps a-d if necessary.
- Complete the following steps to add Sub-Element(s). (optional)
- Click the Add Sub-Element button. The Add Sub-Element window displays.
-
Complete one of the following options.
Option Example (Click to Enlarge) Select New and enter a Code and Description. 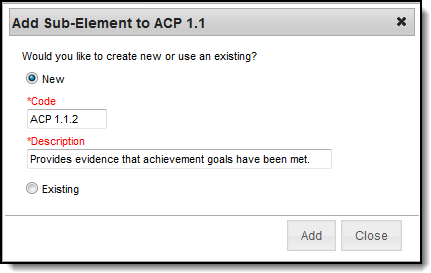
Select Existing and choose a sub-element from the dropdown list. 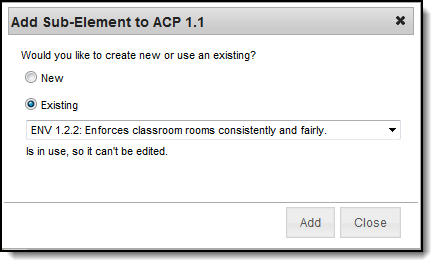
- Click the Add button. The new sub-element displays beneath the element.
-
Enter Rating Scale Definitions for the Sub-Element if you are rating at the Sub-Element level (see step 8) and you are NOT using the Use Checkbox option. (optional)
- Repeat steps a-d if necessary.
- Click the Save button. The Category displays in the Categories group.


