 WARNING: DATA DELETION IS PERMANENT
Please be sure all your setup settings are correct before running Data Deletion. Once a run is started, even if forced to stop, some data may be lost if not done immediately or correctly.
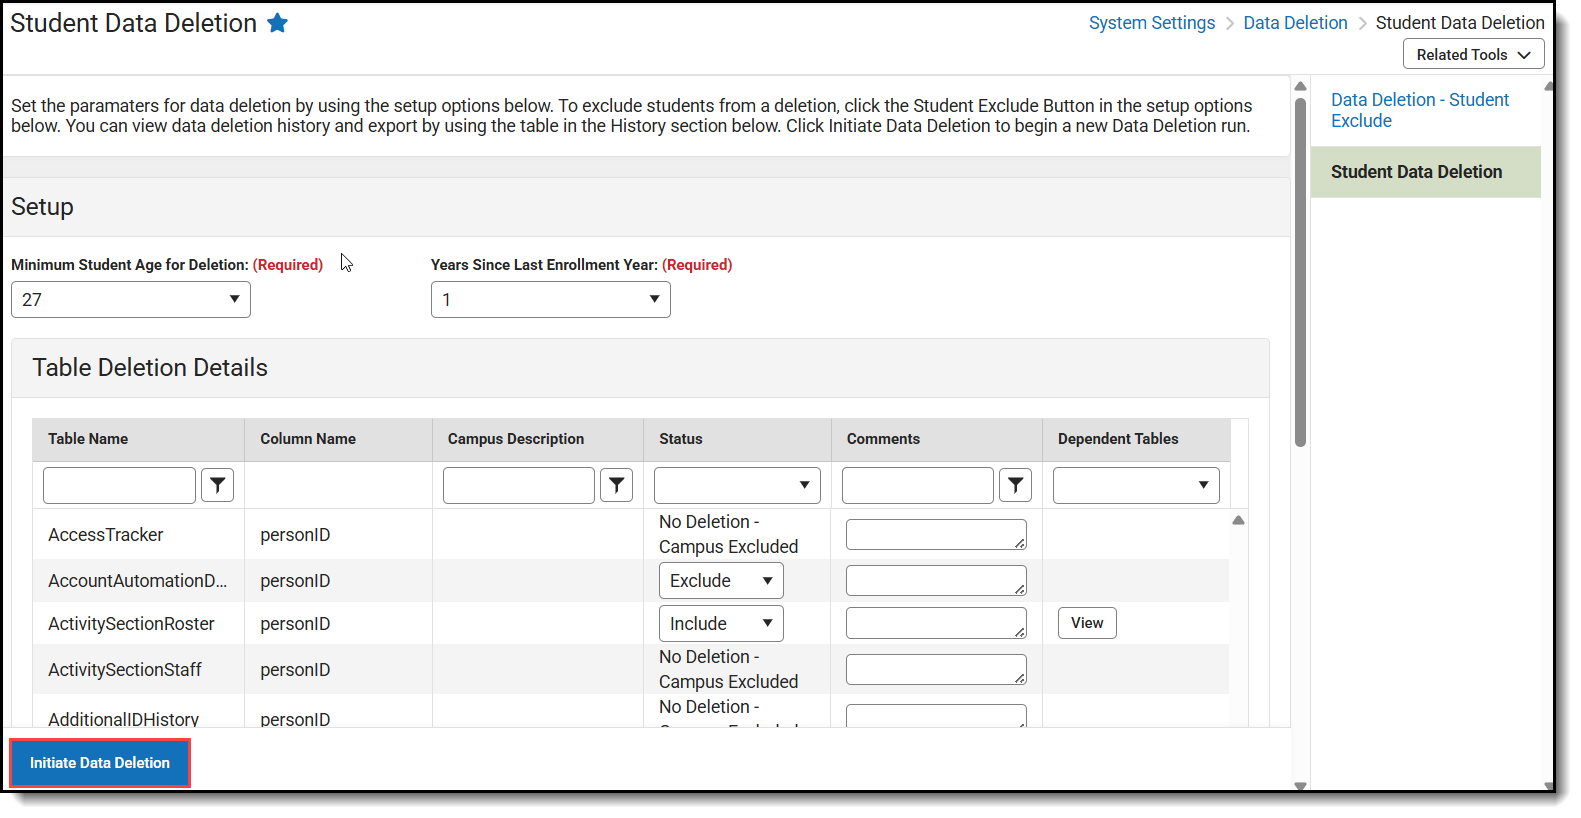
Tool Search: Data Deletion Tool
The Initiate Data Deletion button is used to execute Deletion Runs and send them to the Batch Queue Admin. If a student has “Exclude” marked in Student Exclude, they will not be included in the deletion run. Once the Minimum Student Age for Deletion and Years Since Last Enrollment Year have been selected/defined, click Initiate Data Deletion.
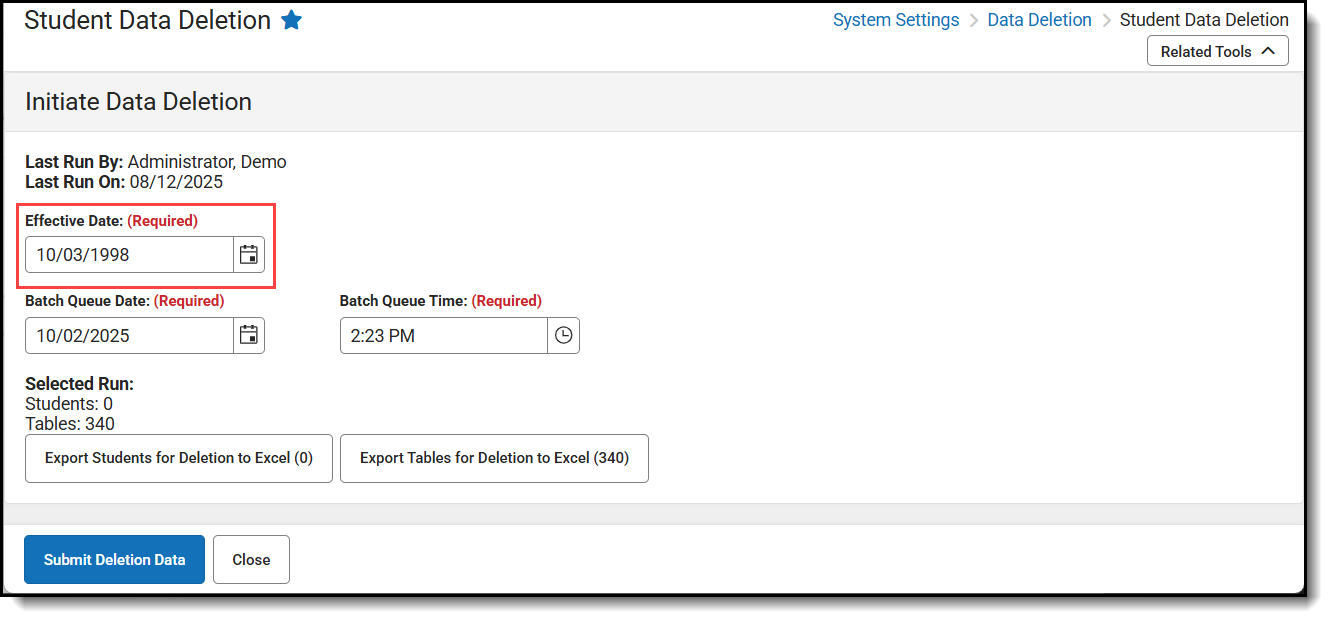
Selecting an Effective Date
The Effective Date will default to the date adjusted for the Age setting in Setup (e.g., if the age setting is 28, the date will default to today’s date 28 years ago). The tool will restrict users from selecting dates that are earlier than 27 years before today. However, it will allow for older dates if the user wants to run it for a smaller subset (like students 28 and a half or older). Once set, the Student Count will adjust and update the Excel Export with the students in that subset.
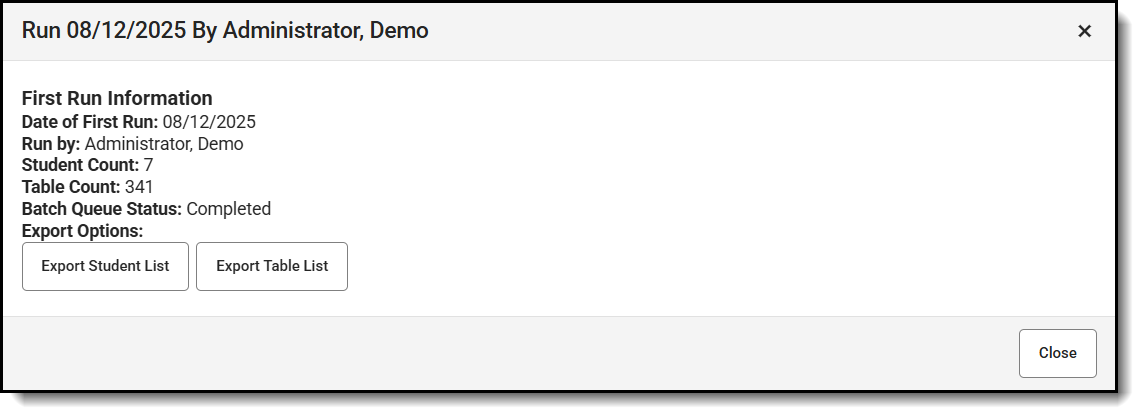
Using Excel Exports
Clicking the Export buttons will allow the users to download lists of the students that meet the criteria and the tables that are included.
Students are defined as anyone with a past enrollment record. Currently, 25 or older is the youngest that can be chosen. A secondary check that will only include students whose last enrollment was at least X years ago, and it can be any number of years ago.

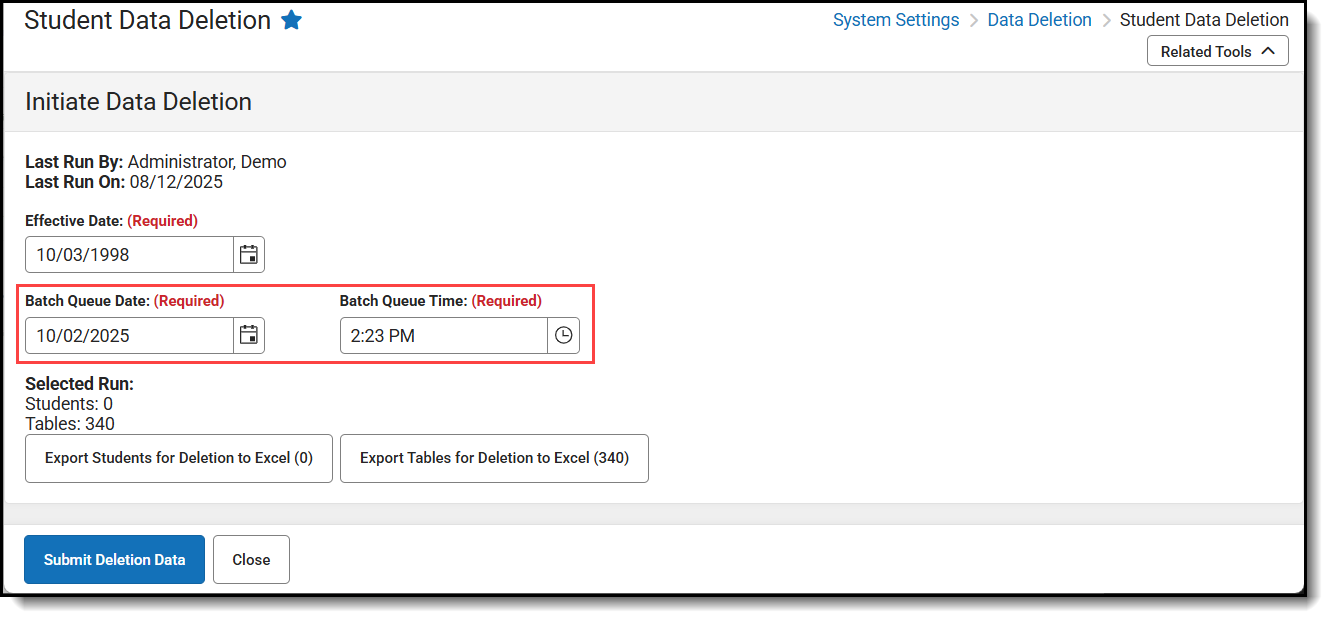
Setting the Batch Queue Date and Time
The Batch Queue Date and Time fields are used for scheduling when the deletion process occurs. For optimal performance, it is advisable to set deletions for overnight hours or during weekends. Depending on the volume of students selected for deletion, the process may take several hours to a few days to complete. The deletion process runs in the background, allowing regular use of Infinite Campus during school hours without interruption.
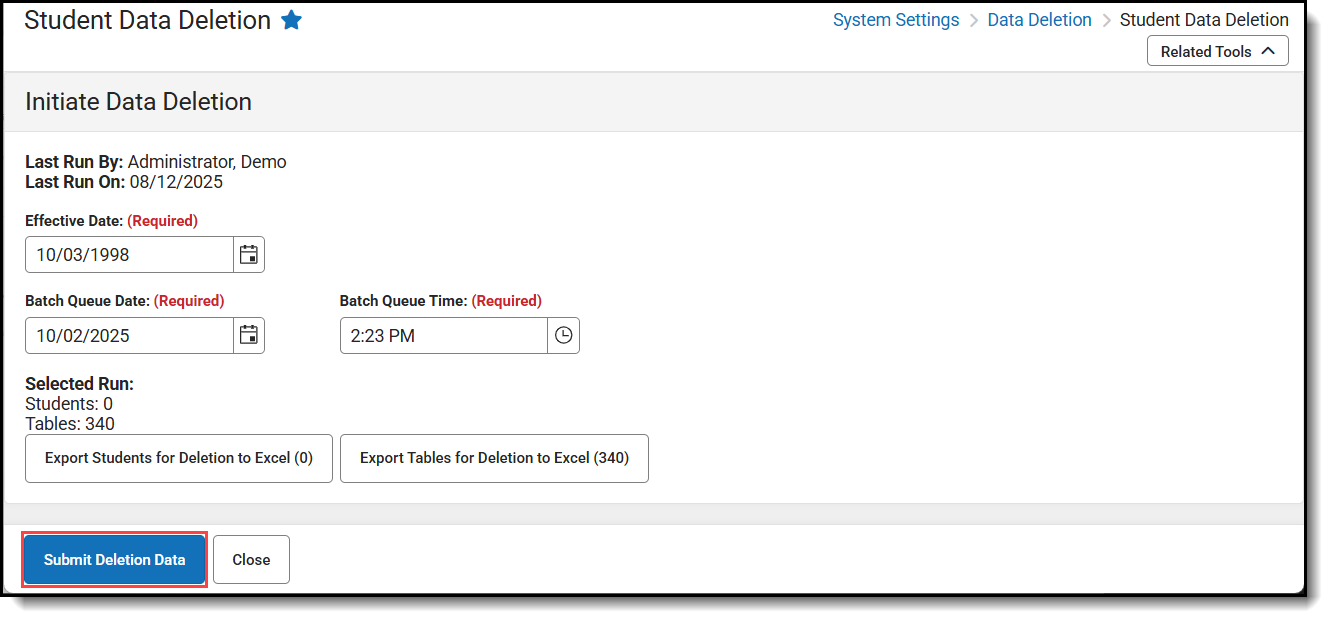
Submitting a Data Deletion
Click Submit Deletion Data to submit a deletion and then click Confirm - Send to Batch Queue. Once submitted, the process will be sent to the Batch Queue Admin. Any further actions for this Deletion Run will need to be handled through that tool. Once the status is in “Processing”, the tool cannot be stopped without accessing the database directly.
Run Statuses
After Submitting, the tool will show different statuses if users access the tool. When first submitted, it will create a Batch Queue entry. To cancel the run, the entry must be deleted from the Batch Queue Admin.
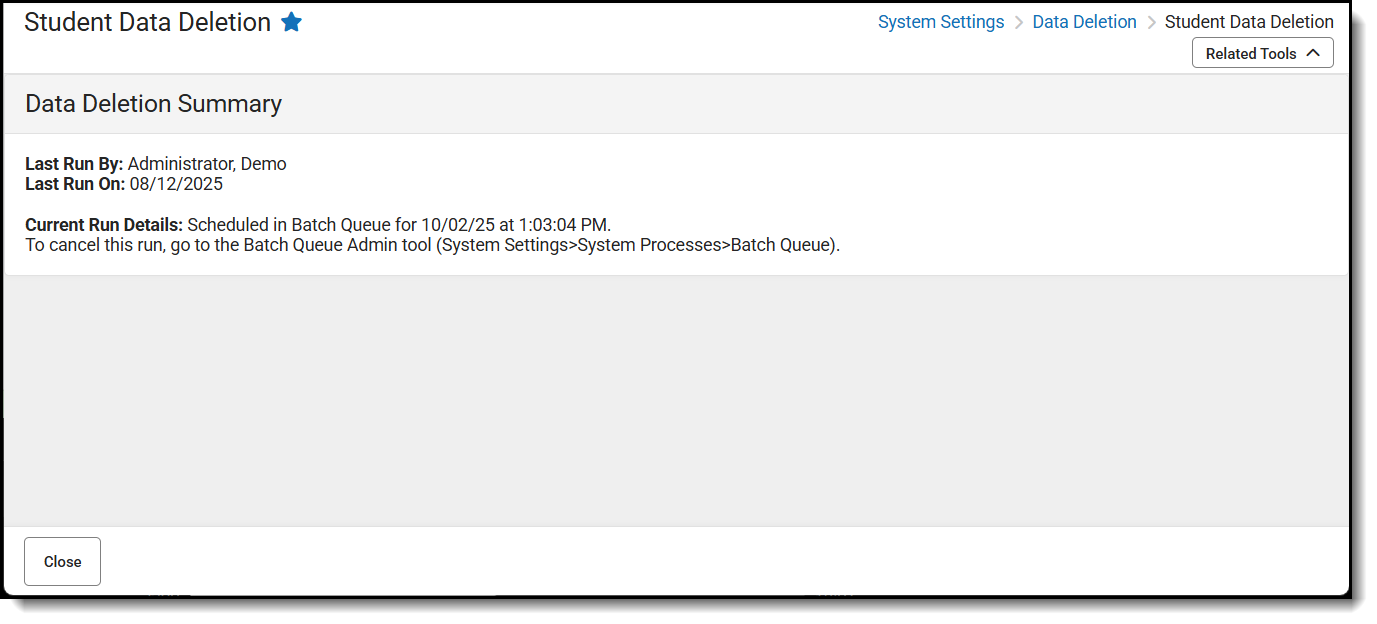
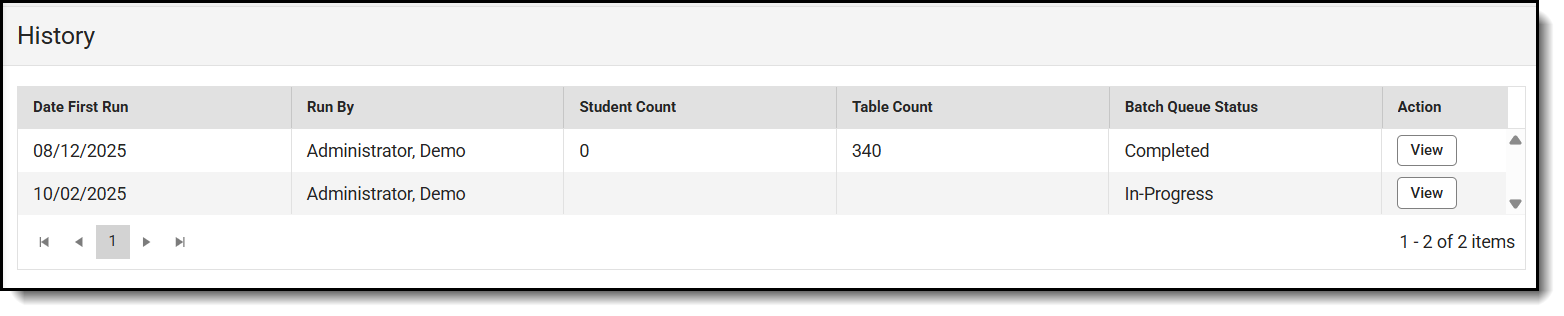
You can also leave the tool and return to it to check on its progress. If the run is still in progress, a "In-Progress" status will appear.
If there was an issue with the run (like an error or an unexpected stop), a "The last run did not finish" message will appear. If the user sees an Error message in the Batch Queue Status field, they may need to contact support to investigate the issue. Sometimes the Batch Queue will say Processing, but you will see "The last run did not finish" message. This means where was likely a short disconnect (like from a Campus Update restart) that caused an issue. If the message appears, restart the process if the Batch Queue Admin tool shows an 'Error,' or click Cancel and then restart if the Status field still shows 'Processing.'
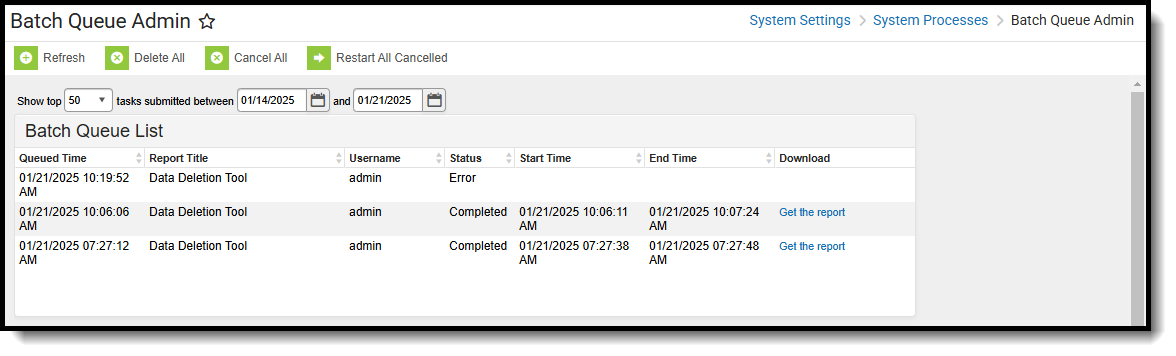
If the process has finished, the Student Data Deletion will show who and when the last run occurred, as well as a completed Status in the History field. A Completed status in the Batch Queue Admin tool and “Last Run” data with the expected results.
Cancel Deletion
Once a run has been submitted, the Cancel button will show up in Batch Queue Admin tool for Queued deletions. If the Run hasn’t started yet, you can go the Batch Queue Admin tool and delete the entry. This will reset the tool and it can be run again. If the Run has started, you’ll need to have Campus assist with the next steps. Any already deleted records cannot be recovered.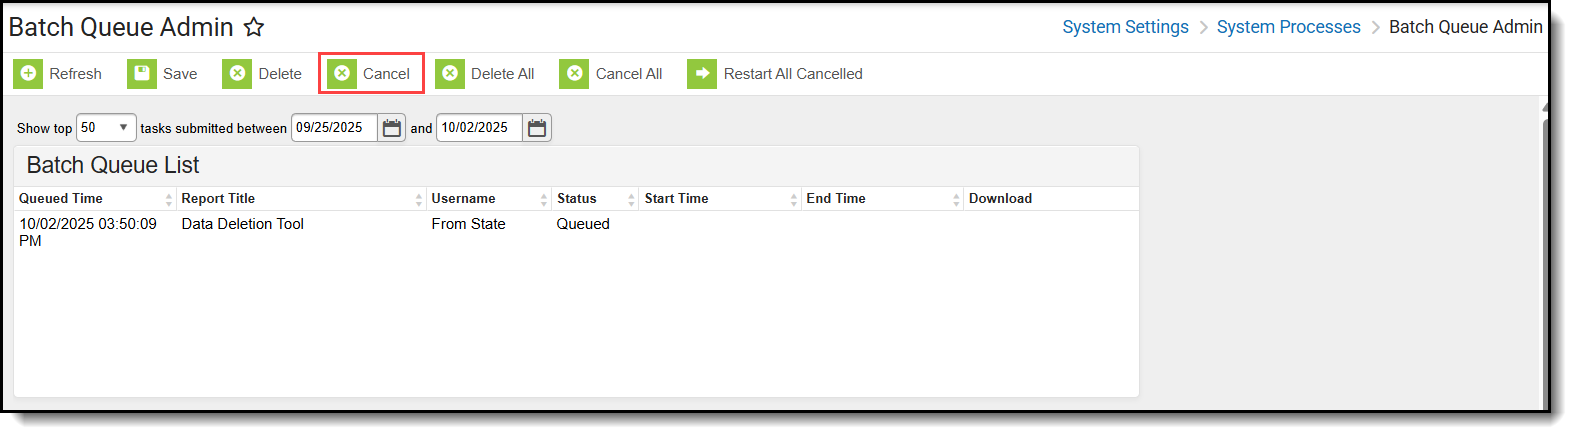
Restart Deletion
The user can restart a run that was cancelled by using the Restart button in Batch Queue Admin.
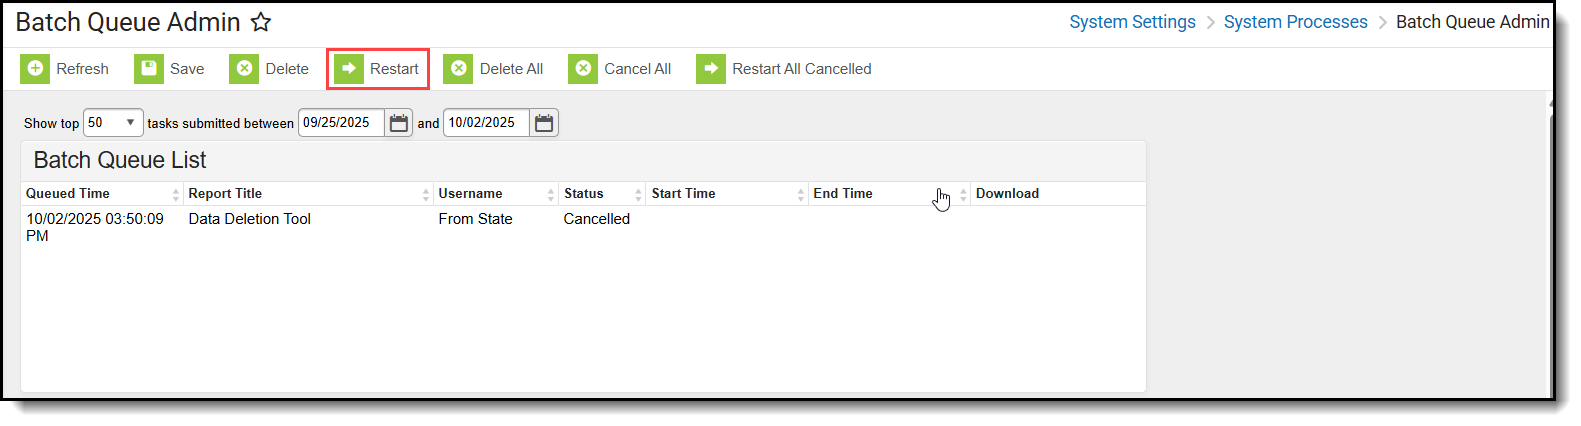
Batch Queue Admin
The Batch Queue Admin tool is located at System Administration > Batch Queue > Batch Queue Admin.
If a Run is still in Queued Status, you can use the Cancel button then the Delete Button to remove the Run. If a Run has already started, the Force Stop button will need to be used to stop the run. It cannot be stopped with the Batch Queue Admin tool once it has started.
If a Run is Cancelled or in an Error Status, it can be restarted with the Restart button. If the Run was set to a Force Stop, the Force Restart button will need to be used to reset and allow the Run to work. Other issues may cause the Run to stop aside from a Force Stop. Some Errors are because of unknown constraints on custom tables. These will need assistance to identify and update. The restart may not work until they are resolved. There are also times when a connection issue might stop the Run. These are usually resolved with a Restart. Deletion Runs during scheduled Campus Updates should be avoided.

