Classic View: School Store > Administration > Categories
Search Terms: Categories
Categories are how similar products are grouped together in the store. When a portal user selects a category, only the products assigned to that category display. Inactive categories and active categories with NO active products do not appear in the School Store.
- If you select All Schools in the Campus toolbar, you can see all of the Categories for every school.
- If you set the Show Inactive toggle to ON, inactive Categories also display. Otherwise, when the toggle is set to OFF, only active Categories display. Inactive Categories can be deleted if if there are no Products assigned.
 Example Categories
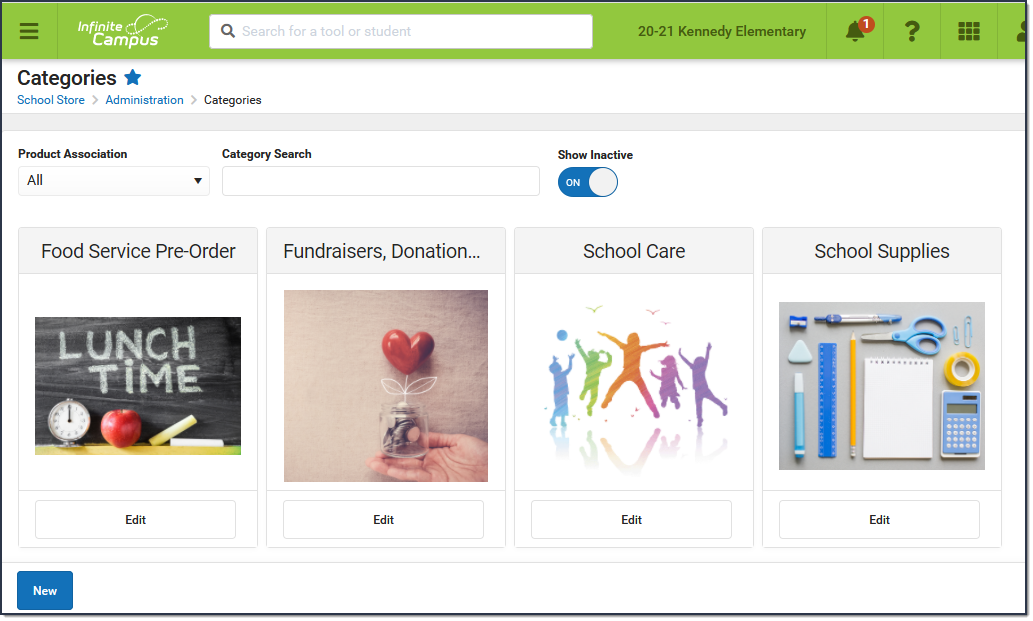
- Select School Store > Administration > Categories.
Result
The Categories screen displays.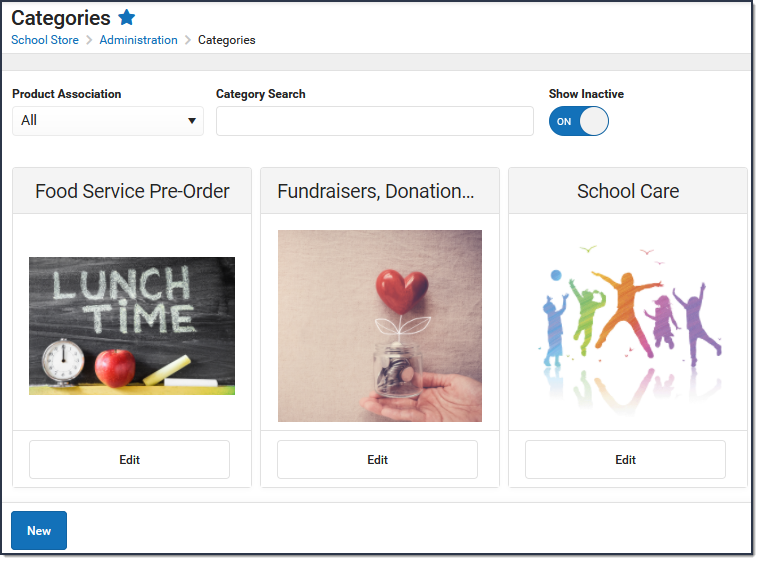
- Click New in the action bar.
Result
The Category panel displays. The Active checkbox and the Display On Portal checkbox are automatically selected.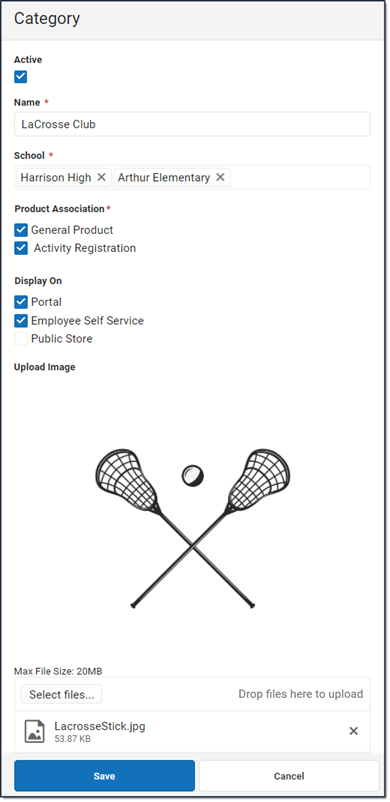
- Enter a Name for the category.
Select the Schools where you want the category to be available.
This field only displays schools to which you have tool rights.Mark the appropriate Product Association checkboxes:
General Product - Mark this checkbox if the category will include products for purchase in the School Store.
Activity Registration - Mark this checkbox if the category will include activities for which students can register. When this checkbox is marked, Campus makes the category available for selection in the Activity Builder. If this checkbox is not marked, the category will not be available in the Activity Builder.
Mark the appropriate Display On checkboxes:
Portal
Tip: This checkbox is automatically selected on new Categories. Clear this checkbox if you do not want this Category to display in Campus Parent or Campus Student.Employee Self Service
Public Store
Use the Select Files option to upload an image for the category.
The image must use one of the following extensions: .jpg, .jpeg, .png, or .gif.
- Click Save.
Result
The Category is ready for you to add Products.


- if someone else wants to edit the School field on the Category, they must have tool rights to all of the assigned schools. Otherwise, they cannot make changes to the School field.
if you decide to inactivate a Category and active products are tied to the Category, Campus also inactivates the products and the products will not display in the School Store until they are manually made active again.
the Product Category is a required field on the Orders Report. If you remove a school from a Category, you will not be able to use the Orders Report for purchases made for that combination of Category and School.
